Procedural Acoustic Foam Panels PBR Texture
Seamless texture (tileable) · PNG, WEBP, PBR ZIP. License: AITextured Free Commercial License (FCL) v1.1. Free personal and commercial use. Raw resale, standalone redistribution, mirroring/scraping, competing asset packs, and AI/ML training are not allowed without written permission. Attribution is not required, but appreciated..

| ID | foamy-bubbles-seamless-texture |
|---|---|
| Category | Foam |
| Formats | PNG, WEBP, PBR ZIP |
| Size | 1k (1024x1024px), 2k (2048x2048px), 4k (4096x4096px), 8k (8192x8192px) |
| Color | sRGB |
| Tileable | Yes |
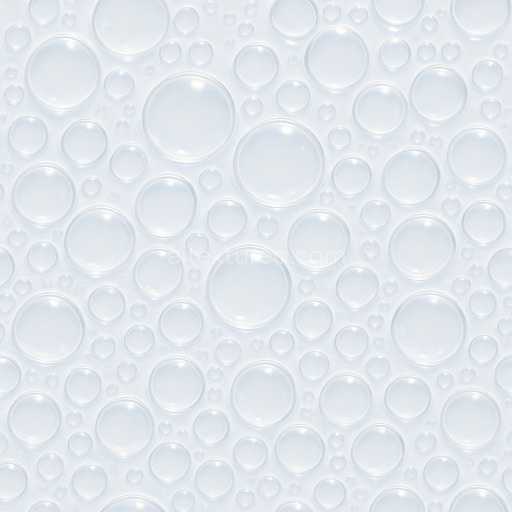
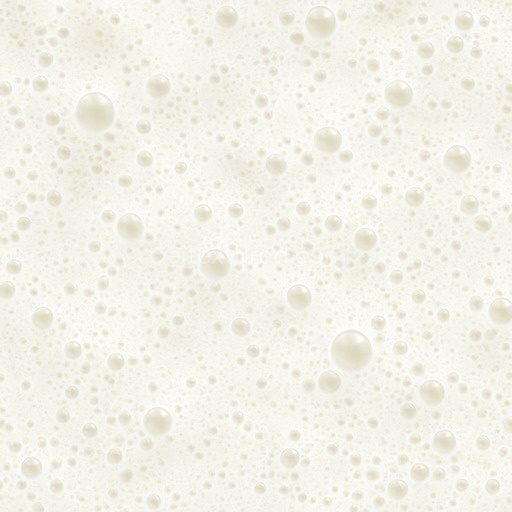
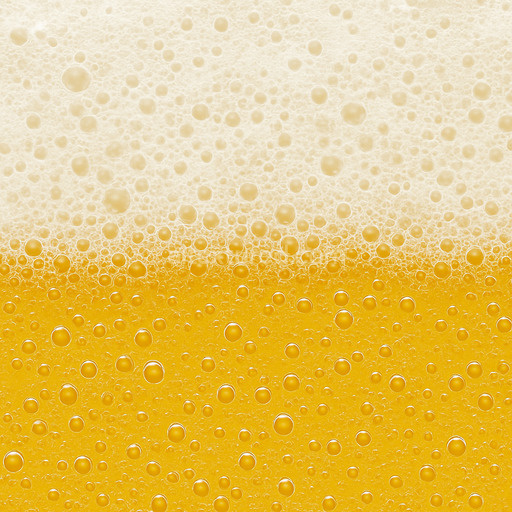
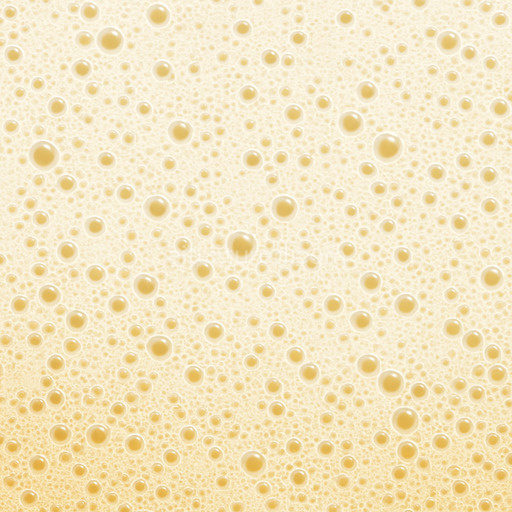
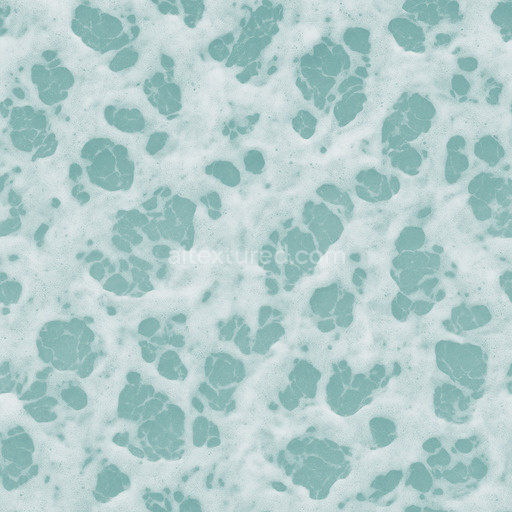
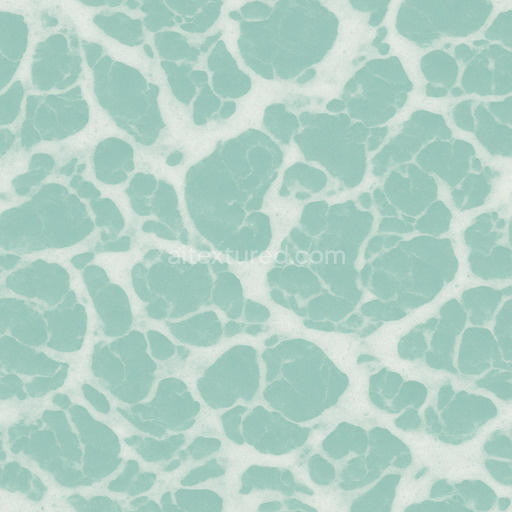
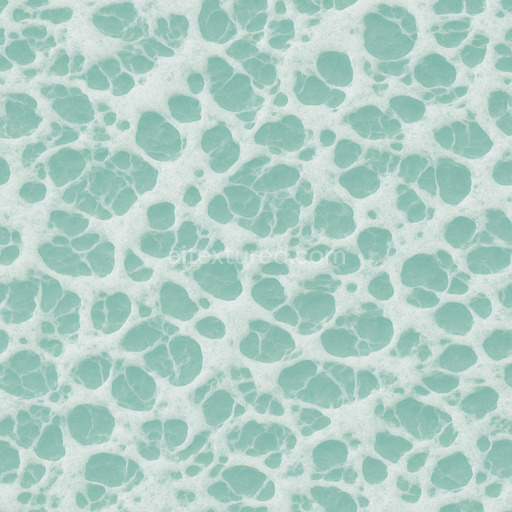
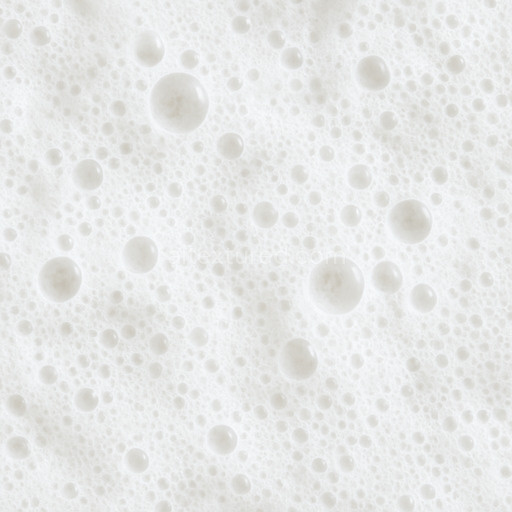
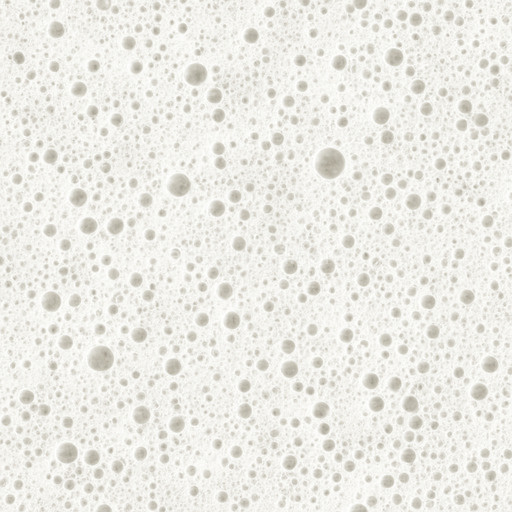
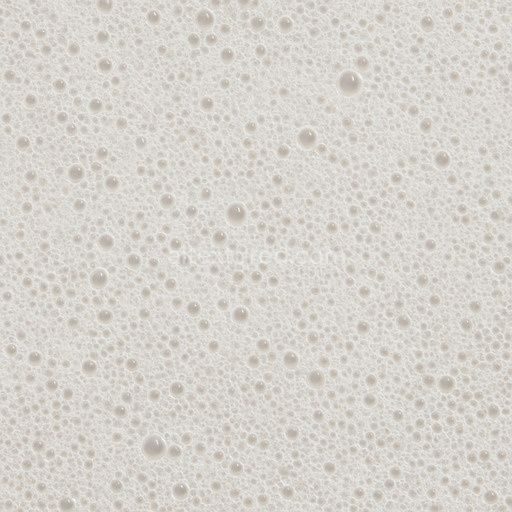
The Foamy Bubbles Seamless Texture is a meticulously designed tileable PBR texture that captures the intricate composition of natural foam surfaces. This texture simulates a delicate polymer-based foamy substrate where countless tiny bubbles are suspended within a thin organic film creating a complex network of interconnected cavities. The texture’s surface finish mimics a soft matte appearance with subtle gloss variations caused by light interacting with the thin bubble walls. The base color channel reflects pale off-white tones with hints of translucency enhanced by gentle gradients and subtle colorant variations that emulate organic pigments and dissolved substances. The normal map highlights the rounded convex shape of each bubble emphasizing depth and curvature while the roughness channel balances smooth wet-looking areas with slightly rougher diffused patches to suggest surface tension and moisture retention. Ambient occlusion adds shadowing within the crevices between bubbles enriching the texture’s three-dimensional realism without metallic reflections as the metallic channel remains neutral consistent with the non-metallic organic nature of foam. The height map captures fine displacement details allowing for realistic parallax effects and subtle surface undulations that contribute to the tactile quality of the material.
Rendered at an impressive resolution of up to 8K this seamless foamy bubbles texture is optimized for high-fidelity rendering workflows making it ideal for use in Blender Unreal Engine and Unity. Its clean repeatable pattern scales elegantly over large surfaces without visible seams ensuring consistent results for environment art architectural visualization concept prototyping and quick look development. The texture’s generated detail strikes a balance between crisp definition and controlled noise lending a natural and believable appearance that enhances scene authenticity. The seamless foamy bubbles texture is especially useful when applied to surfaces needing a realistic foam layer—such as soap bubbles frothy liquids or weathered polymer coatings—where subtle surface variation and translucency are critical for visual impact.
For optimal integration adjusting the UV scale allows you to control the size and repetition of the bubble pattern to best fit your scene’s requirements. Additionally fine-tuning the roughness channel can help match the lighting environment enhancing the perceived wetness or dryness of the foam surface. Employing the height or parallax displacement maps will further ground the material in the scene by introducing realistic surface depth which responds dynamically to changes in viewpoint and lighting. This makes the Foamy Bubbles Seamless Texture a versatile and highly practical resource for artists and developers aiming to elevate their 3D projects with convincingly detailed foam textures.
The tileable foamy bubbles seamless texture demonstrates a realistic PBR appearance with intricate details visible in the 3D preview making the PBR texture foamy bubbles seamless texture ideal for enhancing material surfaces with consistent foamy bubbles seamless texture patterns.
Import the texture maps into Blender with sRGB color space for albedo/base color and Non-Color for normal, roughness, metallic, AO, height, and ORM maps. Connect normal maps through a Normal Map node, then adjust UV scale with a Mapping node so the material repeats naturally on your model.
For the full step-by-step setup, see How to Use Seamless Textures in Blender. Browse related material examples in wood, concrete, and metal.
Yes. This texture is designed as a seamless tileable PBR material, so it can repeat across large surfaces without visible borders.
You can download PNG/WEBP versions and use 1K, 2K, 4K and 8K download options when available on the page.
Yes. The download options and engine-mapped ZIP workflow are designed for Blender, Unreal Engine, Unity Standard, URP and HDRP material pipelines.
Yes. The texture is available under the AITextured free commercial license. Review the license page for redistribution and AI-training restrictions.
Generate, preview, and export seamless PBR materials for Blender, Unity, and Unreal Engine—directly in your browser.
AI text-to-texture: type a prompt and get a seamless, tileable base image ready for PBR workflows (great starting point for materials).
Create a full PBR set (Normal, Roughness, AO, Metallic, etc.) from a single image. Seamless and tiling-friendly.
Instant WebGL viewer: inspect materials on a sphere, plane, and cube. Check tiling and lighting in real time.
Re-packages maps per engine: Unreal (BaseColor + ORM), Unity (Mask/MetallicSmoothness), Blender (separate channels).
PNG ↔ JPG ↔ SVG: fast convert, SVG rasterize, embed/trace options, quality & background controls.