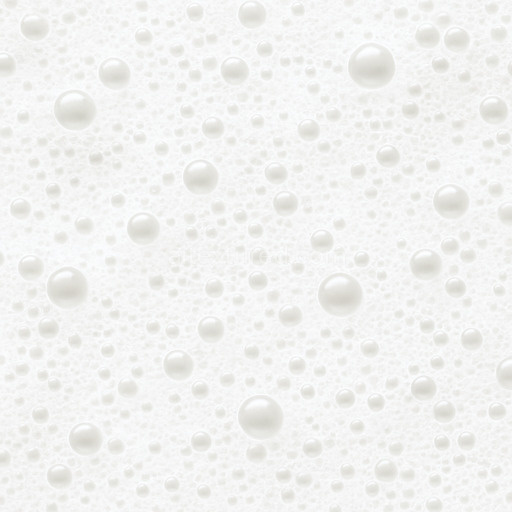
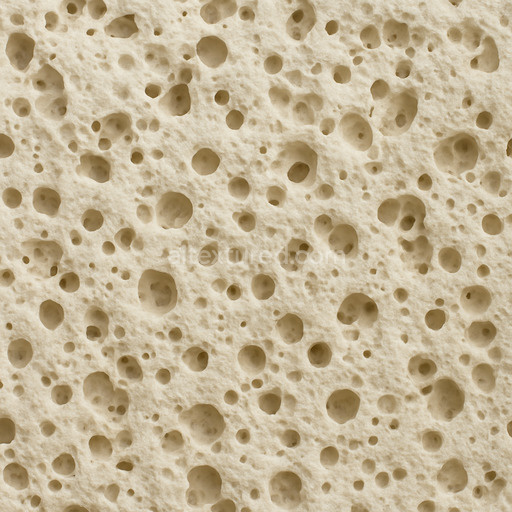
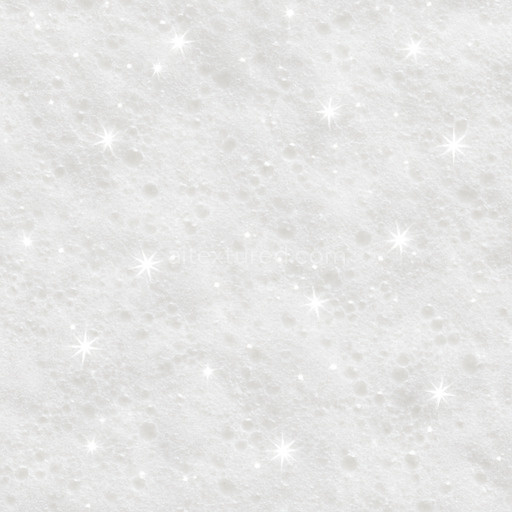
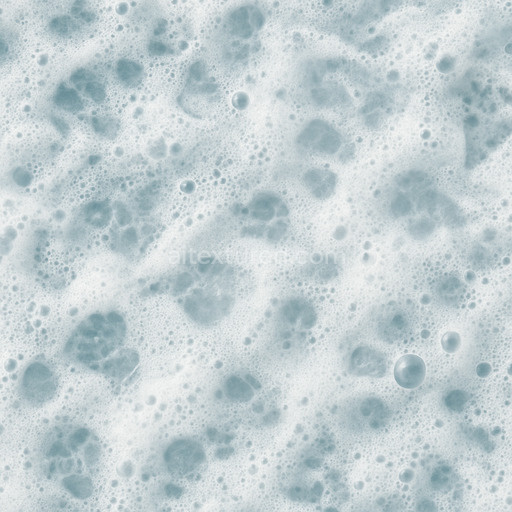
Soft Soap Foam Seamless Texture
Seamless texture (tileable) · PNG, WEBP, PBR ZIP. License: AITextured Free Commercial License (FCL) v1.1. Free personal and commercial use. Raw resale, standalone redistribution, mirroring/scraping, competing asset packs, and AI/ML training are not allowed without written permission. Attribution is not required, but appreciated..

| ID | foamy-sea-foam-seamless-texture |
|---|---|
| Category | Foam |
| Formats | PNG, WEBP, PBR ZIP |
| Size | 1k (1024x1024px), 2k (2048x2048px), 4k (4096x4096px), 8k (8192x8192px) |
| Color | sRGB |
| Tileable | Yes |
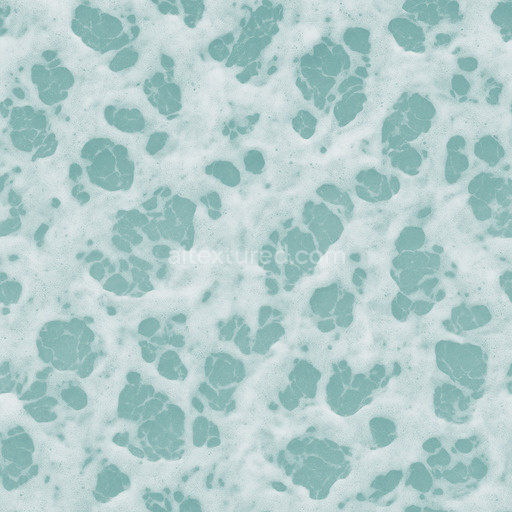
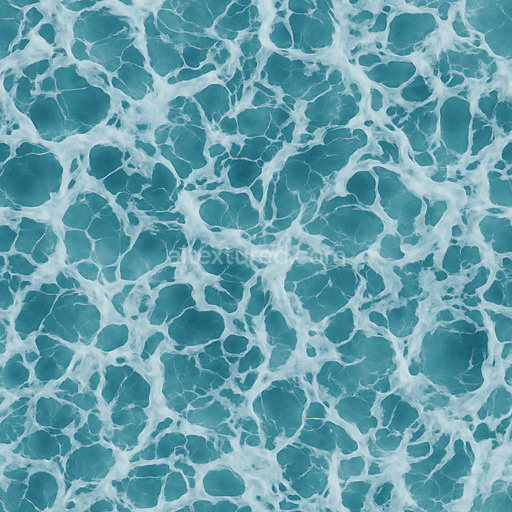
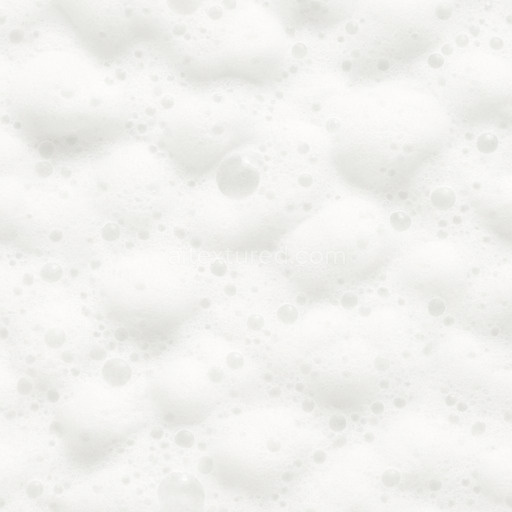
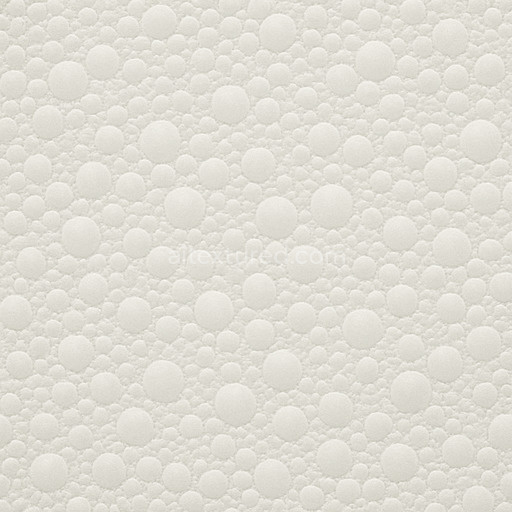
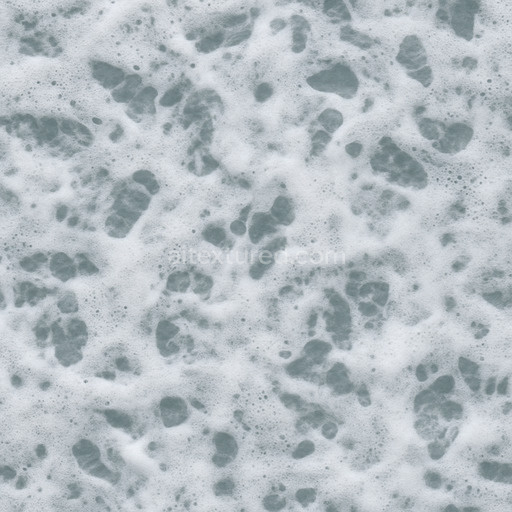
The Foamy Sea Foam Seamless Texture presents a meticulously crafted high-resolution texture designed to replicate the intricate composition of natural sea foam. This texture simulates the organic interplay of fine air bubbles and liquid water creating a delicate porous surface with a slightly irregular grain orientation that mimics the chaotic yet harmonious aggregation of foam on ocean waves. The base substrate appears as a translucent polymer-like layer subtly interspersed with microscopic mineral particles and organic matter resulting in a soft matte finish with a gentle sheen reminiscent of wet foamy surfaces. The coloration is predominantly off-white with pale greenish and bluish undertones achieved through subtle dyeing and pigment layering that enhances depth and realism without overpowering the delicate pattern.*
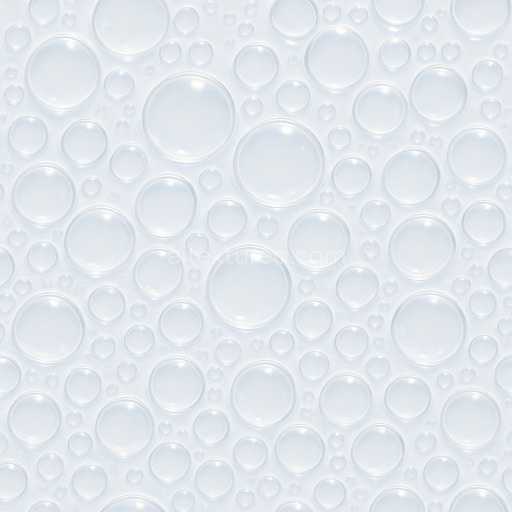
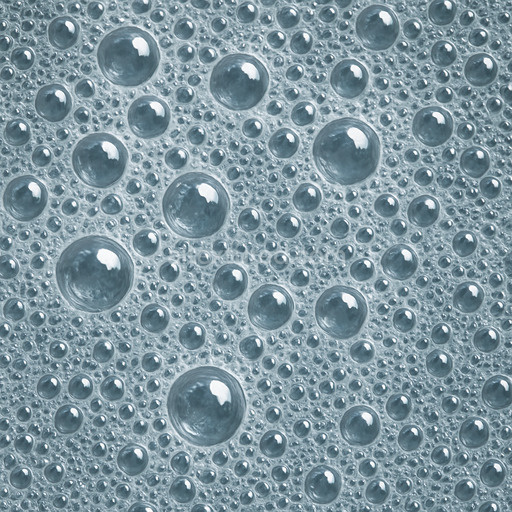
In terms of physically based rendering (PBR) channels the BaseColor (Albedo) captures the nuanced variation in color and translucency simulating the way ambient light diffuses through the foam’s thin walls. The Normal map emphasizes the fine bubbly texture and subtle undulations giving depth and tactile realism to the surface. The Roughness channel is carefully calibrated to reflect the semi-matte slightly damp nature of sea foam avoiding overly glossy reflections that would reduce authenticity. There is minimal Metallic presence as the texture is organic and non-metallic by nature while the Ambient Occlusion map enhances shadowed crevices between foam clusters reinforcing the sense of volume. The Height or Displacement map contributes to realistic surface relief by subtly raising the foam’s peaks and valleys perfect for enhancing parallax effects in real-time engines.*
This tileable foamy sea foam seamless texture is optimized for use in Blender Unreal Engine and Unity offering up to 8K resolution for exceptional detail on large surfaces without visible seams or repetitive artifacts. Its clean repeatable pattern makes it ideal for cinematic renders real-time scenes level dressing and material studies where naturalistic foam effects are required. The texture is tuned for clarity and stability ensuring consistent visual quality even under dynamic lighting conditions. For best results adjust the roughness and normal map intensity to match your specific lighting rig and scene context and experiment with UV scaling to maintain a natural foam grain size across various surfaces.*
Whether used to simulate ocean spray on a weathered shore foamy crests in game environments or atmospheric detail in cinematic sequences this seamless foamy sea foam texture provides a versatile and realistic foundation. Its organic high-fidelity composition and seamless tiling capabilities make it an essential asset for designers and artists seeking to enrich their projects with authentic natural foam surfaces rendered with precision and ease.
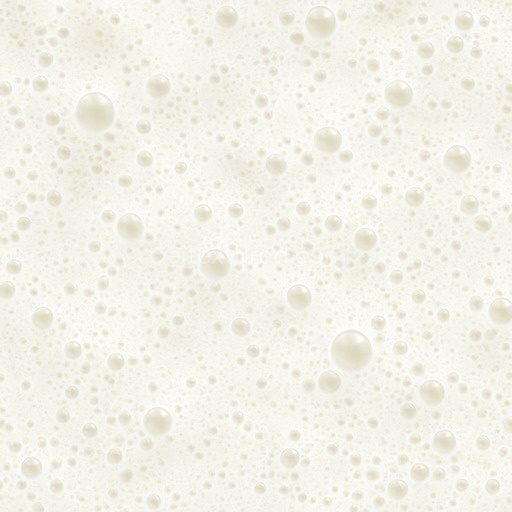
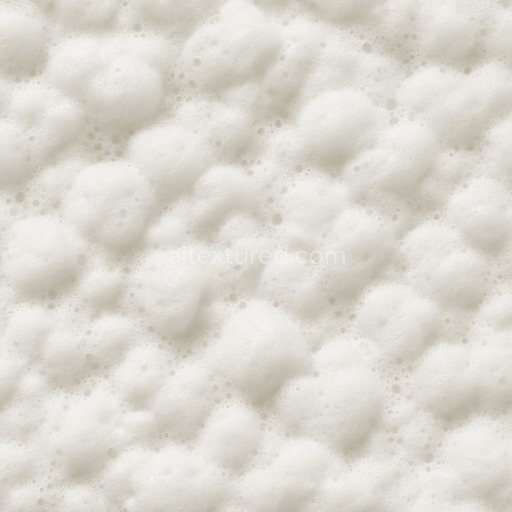
The PBR texture foamy sea foam seamless texture offers a realistic 3D preview with detailed foam textures that enhance the material’s foamy sea foam seamless texture and overall PBR appearance.
Import the texture maps into Blender with sRGB color space for albedo/base color and Non-Color for normal, roughness, metallic, AO, height, and ORM maps. Connect normal maps through a Normal Map node, then adjust UV scale with a Mapping node so the material repeats naturally on your model.
For the full step-by-step setup, see How to Use Seamless Textures in Blender. Browse related material examples in wood, concrete, and metal.
Yes. This texture is designed as a seamless tileable PBR material, so it can repeat across large surfaces without visible borders.
You can download PNG/WEBP versions and use 1K, 2K, 4K and 8K download options when available on the page.
Yes. The download options and engine-mapped ZIP workflow are designed for Blender, Unreal Engine, Unity Standard, URP and HDRP material pipelines.
Yes. The texture is available under the AITextured free commercial license. Review the license page for redistribution and AI-training restrictions.


Generate, preview, and export seamless PBR materials for Blender, Unity, and Unreal Engine—directly in your browser.
AI text-to-texture: type a prompt and get a seamless, tileable base image ready for PBR workflows (great starting point for materials).
Create a full PBR set (Normal, Roughness, AO, Metallic, etc.) from a single image. Seamless and tiling-friendly.
Instant WebGL viewer: inspect materials on a sphere, plane, and cube. Check tiling and lighting in real time.
Re-packages maps per engine: Unreal (BaseColor + ORM), Unity (Mask/MetallicSmoothness), Blender (separate channels).
PNG ↔ JPG ↔ SVG: fast convert, SVG rasterize, embed/trace options, quality & background controls.