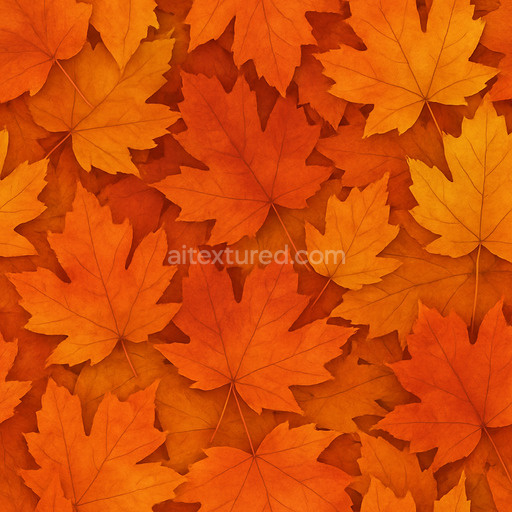
Synthetic Autumn Leaves Seamless Texture
Seamless texture (tileable) · PNG, WEBP, PBR ZIP. License: AITextured Free Commercial License (FCL) v1.1. Free personal and commercial use. Raw resale, standalone redistribution, mirroring/scraping, competing asset packs, and AI/ML training are not allowed without written permission. Attribution is not required, but appreciated..

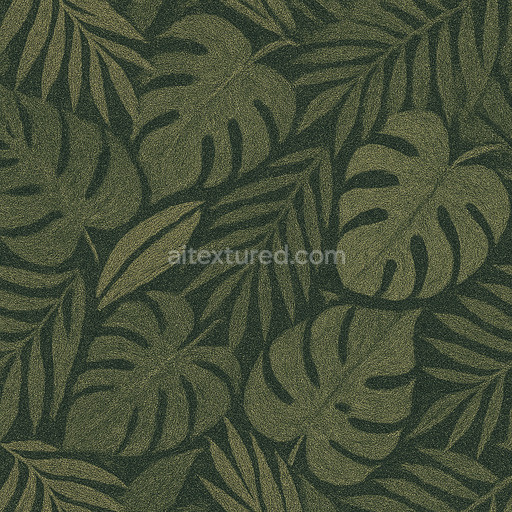
| ID | clean-tropical-leaves-texture-seamless |
|---|---|
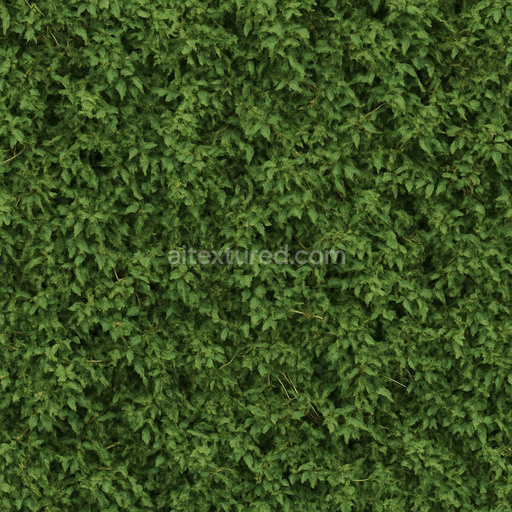
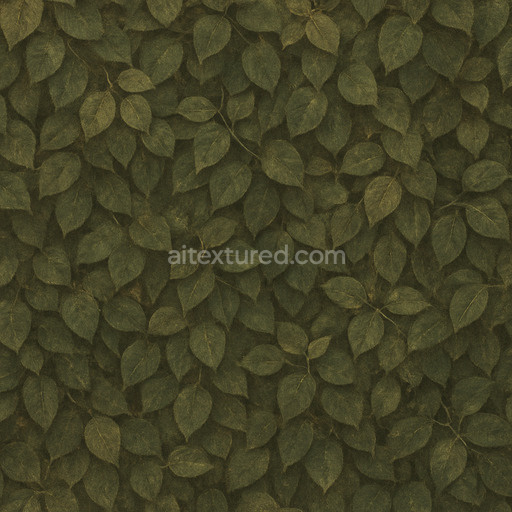
| Category | Foliage |
| Formats | PNG, WEBP, PBR ZIP |
| Size | 1k (1024x1024px), 2k (2048x2048px), 4k (4096x4096px), 8k (8192x8192px) |
| Color | sRGB |
| Tileable | Yes |
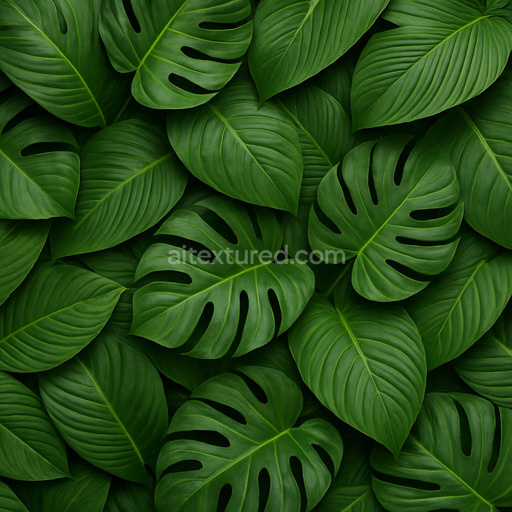
The Clean Tropical Leaves Texture Seamless high resolution up to 8K offers a meticulously crafted organic surface that captures the vibrant essence of tropical foliage in stunning detail. This texture emulates a natural polymer-based leaf substrate characterized by delicate veins and subtle fiber orientation that create a realistic grain pattern. The surface finish is smooth yet slightly matte reflecting the natural waxy coating typical of fresh tropical leaves. Pigments in deep greens and occasional lighter hues are distributed unevenly mimicking natural chlorophyll variations and subtle weathering effects such as moisture-induced color shifts. This complexity is faithfully represented across PBR channels: the BaseColor (Albedo) channel displays rich true-to-life coloration while the Normal map enhances the tactile leaf veins and surface undulations. The Roughness channel balances a semi-matte finish avoiding excessive glossiness to maintain authenticity and the Metallic channel remains near zero reflecting the organic non-metallic nature of foliage. Ambient Occlusion subtly emphasizes crevices between leaf veins and the Height or Displacement map adds fine surface relief for enhanced depth in 3D renders.
Designed for seamless tiling and optimized for modern production pipelines this tileable clean tropical leaves texture seamless high resolution up to 8K is perfectly suited for integration into Blender Unity and Unreal Engine. Its ultra-high resolution ensures crisp detail retention even on large UV islands essential for archviz game environments product mockups and interior staging where visual fidelity is paramount. The texture’s cohesion across seams prevents distracting repetitive artifacts commonly found in auto-generated textures thus maintaining professional quality and clarity throughout your scene. By leveraging the 3D preview capabilities users can confidently visualize the texture’s interaction with lighting and geometry prior to deployment streamlining workflow and creative decision-making.
When applying this texture clean tropical leaves texture seamless high resolution up to 8K a practical tip is to carefully adjust the roughness intensity to match your scene’s lighting rig. This fine-tuning helps keep the material grounded enhancing realism by controlling how light diffuses across the waxy leaf surface. Additionally consider UV scaling to optimize the texture’s detail density relative to object size ensuring the natural grain and fiber orientation remain visually convincing. This asset’s free license for personal and commercial use makes it a versatile and reliable choice for elevating foliage textures in any project.
Import the texture maps into Blender with sRGB color space for albedo/base color and Non-Color for normal, roughness, metallic, AO, height, and ORM maps. Connect normal maps through a Normal Map node, then adjust UV scale with a Mapping node so the material repeats naturally on your model.
For the full step-by-step setup, see How to Use Seamless Textures in Blender. Browse related material examples in wood, concrete, and metal.
Yes. This texture is designed as a seamless tileable PBR material, so it can repeat across large surfaces without visible borders.
You can download PNG/WEBP versions and use 1K, 2K, 4K and 8K download options when available on the page.
Yes. The download options and engine-mapped ZIP workflow are designed for Blender, Unreal Engine, Unity Standard, URP and HDRP material pipelines.
Yes. The texture is available under the AITextured free commercial license. Review the license page for redistribution and AI-training restrictions.

Generate, preview, and export seamless PBR materials for Blender, Unity, and Unreal Engine—directly in your browser.
AI text-to-texture: type a prompt and get a seamless, tileable base image ready for PBR workflows (great starting point for materials).
Create a full PBR set (Normal, Roughness, AO, Metallic, etc.) from a single image. Seamless and tiling-friendly.
Instant WebGL viewer: inspect materials on a sphere, plane, and cube. Check tiling and lighting in real time.
Re-packages maps per engine: Unreal (BaseColor + ORM), Unity (Mask/MetallicSmoothness), Blender (separate channels).
PNG ↔ JPG ↔ SVG: fast convert, SVG rasterize, embed/trace options, quality & background controls.