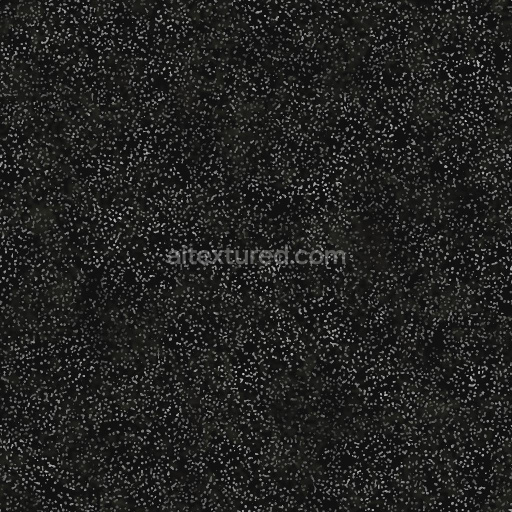
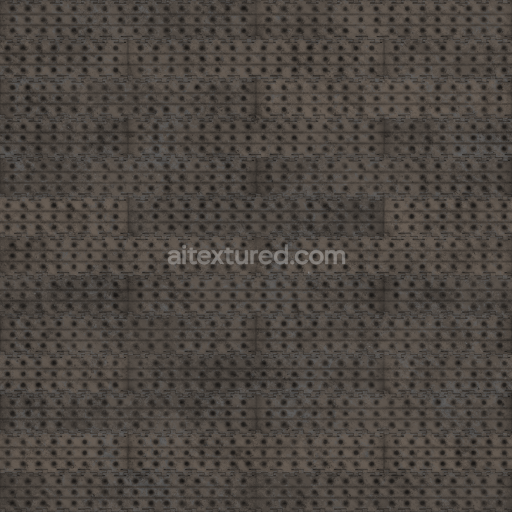
Black Floor with White Dots and Dirt | Free PBR
Seamless texture (tileable) · PNG, WEBP, PBR ZIP. License: AITextured Free Commercial License (FCL) v1.1. Free personal and commercial use. Raw resale, standalone redistribution, mirroring/scraping, competing asset packs, and AI/ML training are not allowed without written permission. Attribution is not required, but appreciated..

| ID | seamless-3d-texture-pbr-8k-of-compacted-clay-with-mud-cracks-and-dry-soil-patches |
|---|---|
| Category | Ground surface |
| Formats | PNG, WEBP, PBR ZIP |
| Size | 1k (1024x1024px), 2k (2048x2048px), 4k (4096x4096px), 8k (8192x8192px) |
| Color | sRGB |
| Tileable | Yes |
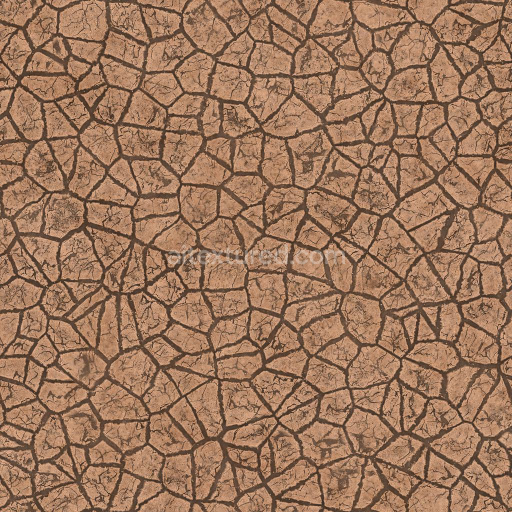
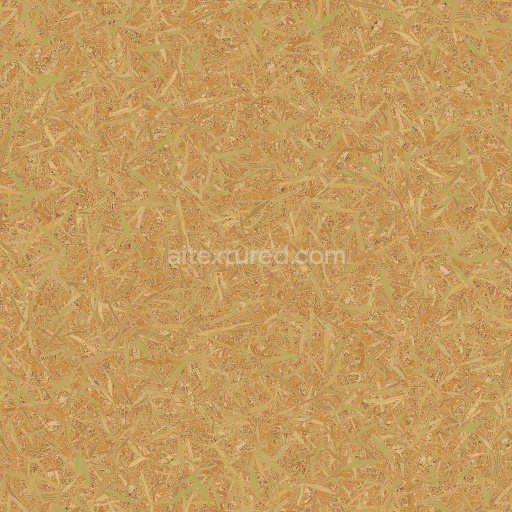
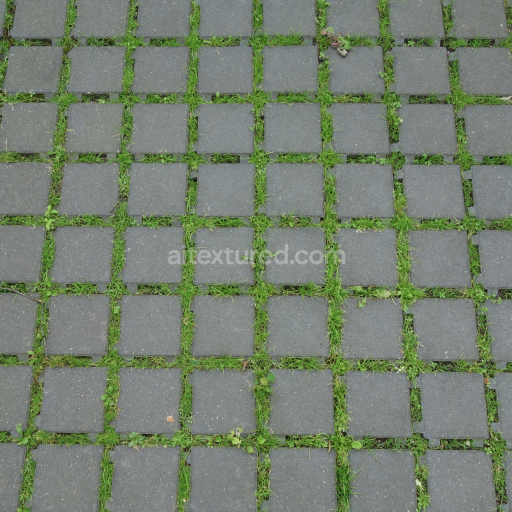
This seamless 3D texture in 8K resolution presents a highly detailed and photorealistic depiction of compacted clay terrain characterized by natural mud cracks and scattered dry soil patches. The base substrate consists primarily of fine mineral clay particles tightly bound together forming a dense and slightly crumbly surface. These particles interact with organic and inorganic binders that give the clay its compacted cohesive structure while preserving subtle porosity from weathering and drying processes. The texture captures the intricate grain orientation and micro-variations inherent in natural clay soil where the cracked patterns emerge due to prolonged exposure to arid conditions and shrinking of the surface layer. The color palette is dominated by muted earth tones enriched by oxide pigments that reflect the dry sunbaked quality of the material without artificial saturation or glossiness ensuring a realistic matte finish typical of exposed clay ground.
In terms of PBR channel composition the BaseColor (Albedo) map accurately reproduces the nuanced hues of the compacted clay and dry soil patches while the Normal map enhances the perception of fine cracks and surface irregularities adding depth to the otherwise flat appearance. The Roughness channel emphasizes the matte non-reflective qualities of the terrain mimicking the coarse slightly crumbly texture of drying clay and there is no Metallic component consistent with the organic nature of the material. Ambient Occlusion subtly defines the recessed mud cracks and soil depressions increasing realism by simulating natural shadowing in crevices. The Height/Displacement map provides detailed elevation data enabling realistic parallax effects and accurate surface deformation in 3D environments which is especially useful for close-up renders or interactive applications.
This compacted clay seamless texture is optimized for use in Blender Unreal Engine and Unity supporting realistic terrain creation in high-fidelity visualizations architectural visualizations games and simulations that require detailed ground surfaces. Its tileable design ensures that large terrain areas can be covered without visible seams or repetition artifacts maintaining immersion. For best results adjusting the UV scale to moderate levels helps preserve the natural size of mud cracks and soil patterns while fine-tuning the Roughness map can simulate varying moisture levels—from drier rough patches to slightly softer more cohesive clay sections. This flexibility makes the texture versatile for diverse environmental conditions and artistic needs.
Import the texture maps into Blender with sRGB color space for albedo/base color and Non-Color for normal, roughness, metallic, AO, height, and ORM maps. Connect normal maps through a Normal Map node, then adjust UV scale with a Mapping node so the material repeats naturally on your model.
For the full step-by-step setup, see How to Use Seamless Textures in Blender. Browse related material examples in wood, concrete, and metal.
Yes. This texture is designed as a seamless tileable PBR material, so it can repeat across large surfaces without visible borders.
You can download PNG/WEBP versions and use 1K, 2K, 4K and 8K download options when available on the page.
Yes. The download options and engine-mapped ZIP workflow are designed for Blender, Unreal Engine, Unity Standard, URP and HDRP material pipelines.
Yes. The texture is available under the AITextured free commercial license. Review the license page for redistribution and AI-training restrictions.


Generate, preview, and export seamless PBR materials for Blender, Unity, and Unreal Engine—directly in your browser.
AI text-to-texture: type a prompt and get a seamless, tileable base image ready for PBR workflows (great starting point for materials).
Create a full PBR set (Normal, Roughness, AO, Metallic, etc.) from a single image. Seamless and tiling-friendly.
Instant WebGL viewer: inspect materials on a sphere, plane, and cube. Check tiling and lighting in real time.
Re-packages maps per engine: Unreal (BaseColor + ORM), Unity (Mask/MetallicSmoothness), Blender (separate channels).
PNG ↔ JPG ↔ SVG: fast convert, SVG rasterize, embed/trace options, quality & background controls.