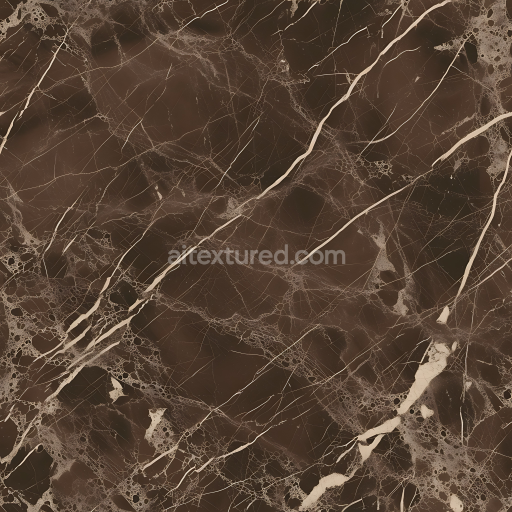
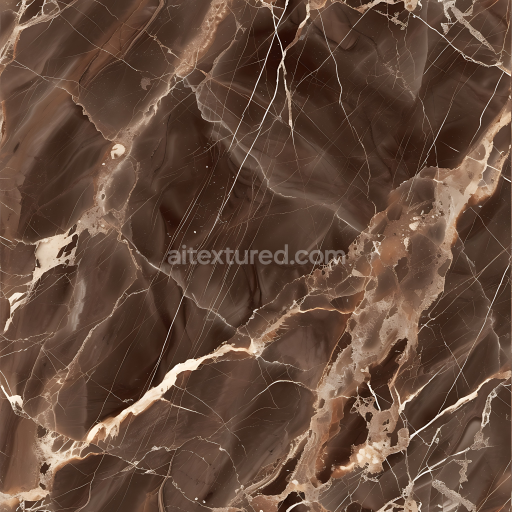
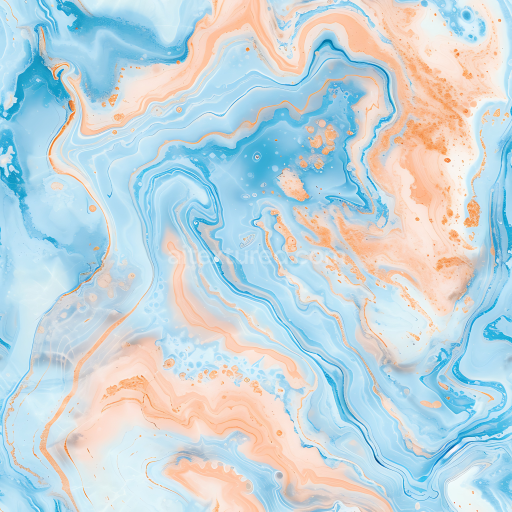
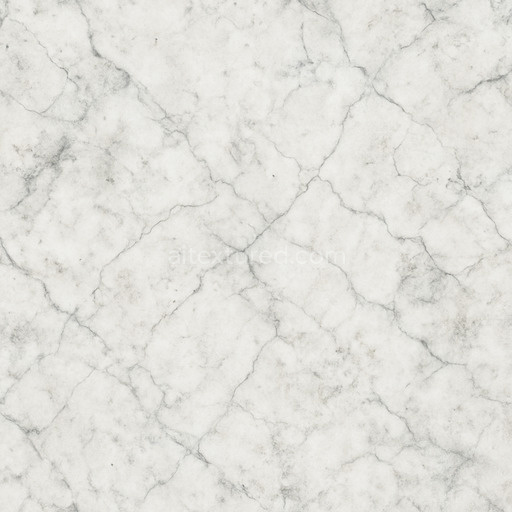
Armani Brown Marble PBR Texture with Polished Veined Stone Surface
Seamless texture (tileable) · PNG, WEBP, PBR ZIP. License: AITextured Free Commercial License (FCL) v1.1. Free personal and commercial use. Raw resale, standalone redistribution, mirroring/scraping, competing asset packs, and AI/ML training are not allowed without written permission. Attribution is not required, but appreciated..

| ID | tiny-brown-and-white-wall-tiles-free-pbr |
|---|---|
| Category | Marble |
| Formats | PNG, WEBP, PBR ZIP |
| Size | 1k (1024x1024px), 2k (2048x2048px), 4k (4096x4096px), 8k (8192x8192px) |
| Color | sRGB |
| Tileable | Yes |
The Tiny Brown and White Wall Tiles (Tiles 0129) feature a classical design with a refined marble-like pattern that combines warm brown hues and crisp white accents. These tiles are modeled on a durable ceramic base substrate, known for its excellent hardness and low porosity, ensuring long-lasting performance and resistance to weathering. The surface finish is polished to a subtle sheen, enhancing the natural veining and tonal variations typical of marble. Pigments embedded within the ceramic body create the intricate brown and white colorants, while mineral binders and fine aggregates contribute to the tile’s structural integrity and smooth texture.
In the PBR workflow, these material properties are accurately represented across multiple texture channels. The BaseColor (Albedo) map captures the distinct brown and white marble pattern with realistic color depth. The Normal map accentuates the gentle surface undulations and subtle tile grout lines, adding dimensional detail without excessive bumpiness. Roughness values are finely balanced to replicate the polished yet slightly matte finish, avoiding overly reflective highlights while preserving natural light diffusion. The Metallic channel is nearly absent, reflecting the non-metallic ceramic composition. Ambient Occlusion enhances crevices and grout shadows, while the Height/Displacement map conveys the slight relief of the tile edges and pattern depth, perfect for realistic parallax effects.
This texture set is optimized at up to 8K resolution, ensuring crisp detail for close-up renders and high-fidelity visualizations. It is fully compatible and ready for seamless integration with major 3D software such as Blender, Unreal Engine, and Unity, making it ideal for architectural visualizations, interior design projects, and game environments. For practical use, adjusting the UV scale to slightly increase tile repetition can prevent pattern monotony on larger surfaces. Additionally, fine-tuning the roughness parameter allows you to shift between a more glossy or matte appearance depending on the lighting context and desired ambiance.
Import the texture maps into Blender with sRGB color space for albedo/base color and Non-Color for normal, roughness, metallic, AO, height, and ORM maps. Connect normal maps through a Normal Map node, then adjust UV scale with a Mapping node so the material repeats naturally on your model.
For the full step-by-step setup, see How to Use Seamless Textures in Blender. Browse related material examples in wood, concrete, and metal.
Yes. This texture is designed as a seamless tileable PBR material, so it can repeat across large surfaces without visible borders.
You can download PNG/WEBP versions and use 1K, 2K, 4K and 8K download options when available on the page.
Yes. The download options and engine-mapped ZIP workflow are designed for Blender, Unreal Engine, Unity Standard, URP and HDRP material pipelines.
Yes. The texture is available under the AITextured free commercial license. Review the license page for redistribution and AI-training restrictions.

Build, preview, and export seamless PBR materials. Generate full map sets from a single image, inspect them in a real-time WebGL viewer, and re-package maps for Unreal, Unity, and Blender—directly in your browser.
AI text-to-texture: type a prompt and get a seamless, tileable base image ready for PBR workflows (great starting point for materials).
Create a full PBR set (Normal, Roughness, AO, Metallic, etc.) from a single image. Seamless and tiling-friendly.
Instant WebGL viewer: inspect materials on a sphere, plane, and cube. Check tiling and lighting in real time.
Re-packages maps per engine: Unreal (BaseColor + ORM), Unity (Mask/MetallicSmoothness), Blender (separate channels).
PNG ↔ JPG ↔ SVG: fast convert, SVG rasterize, embed/trace options, quality & background controls.