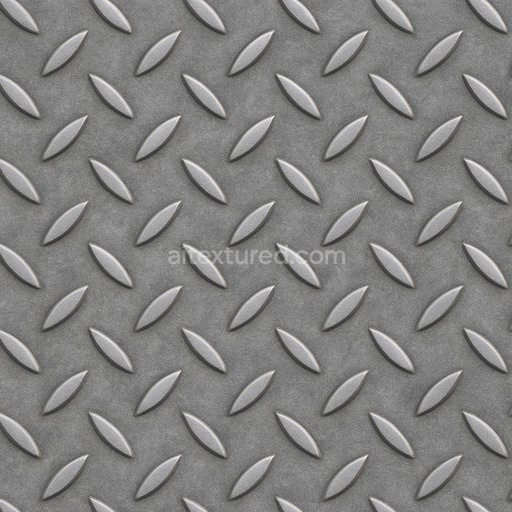
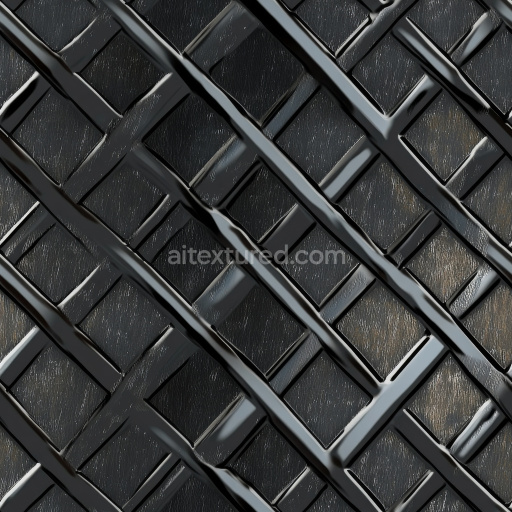
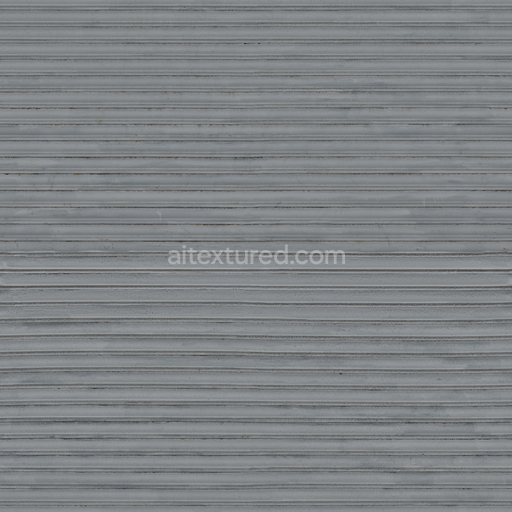
Patterned Steel Seamless Texture
Seamless texture (tileable) · PNG, WEBP, PBR ZIP. License: AITextured Free Commercial License (FCL) v1.1. Free personal and commercial use. Raw resale, standalone redistribution, mirroring/scraping, competing asset packs, and AI/ML training are not allowed without written permission. Attribution is not required, but appreciated..

| ID | brushed-stainless-steel-fine-linear-grain |
|---|---|
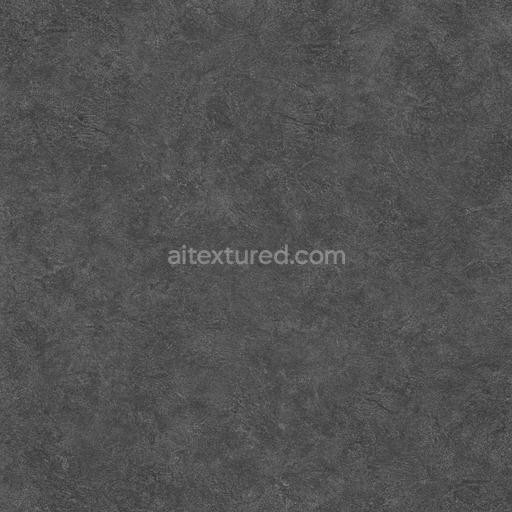
| Category | Metal |
| Formats | PNG, WEBP, PBR ZIP |
| Size | 1k (1024x1024px), 2k (2048x2048px), 4k (4096x4096px), 8k (8192x8192px) |
| Color | sRGB |
| Tileable | Yes |
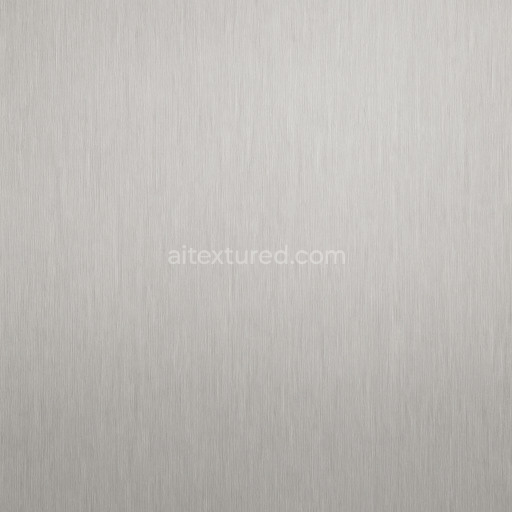
The brushed stainless steel fine linear grain texture is a meticulously crafted metal surface designed to bring realism and sophistication to your 3D projects. This seamless brushed stainless steel fine linear grain texture replicates the characteristic appearance of stainless steel featuring subtle fine linear grain patterns created by a controlled brushing process that orients microscopic grooves uniformly along the material. The base substrate is high-grade stainless steel known for its corrosion resistance and smooth metallic properties while the fine linear grain results from precise mechanical abrasion techniques that remove surface imperfections and produce a consistent directional texture. The surface finish is matte-brushed rather than polished which diffuses reflections and emphasizes the grain without glossy highlights. This texture shows minimal porosity maintaining a dense compact metal surface with no visible weathering or oxidation. Colorants in the form of natural oxide layers subtly influence the base color resulting in a cool silvery-gray tone that is faithfully captured in the BaseColor/Albedo map with smooth gradations and slight metallic luster visible in the Metallic channel.
In the PBR workflow this tileable brushed stainless steel fine linear grain texture excels by incorporating a comprehensive set of maps that accurately convey the fine details of the metal surface. The Normal map enhances the subtle linear grooves adding depth and tactile realism to the material when illuminated from various angles. The Roughness map controls the diffuse reflection reflecting the brushed finish’s characteristic muted shine avoiding overly glossy or flat appearances. The Metallic channel reinforces the metal’s inherent reflectivity while the Ambient Occlusion map adds soft shadows in the crevices between grain lines enhancing visual cohesion and surface complexity. Height and Displacement maps allow for physical surface variation enabling realistic parallax effects and micro-surface relief that improve fidelity in both close-up renders and wide-angle shots. With a high resolution of up to 8K this texture brushed stainless steel fine linear grain ensures crisp artifact-free details suitable for demanding modern 3D pipelines.
This seamless brushed stainless steel fine linear grain texture is optimized for immediate integration into popular 3D engines such as Blender Unreal Engine and Unity streamlining workflows for real-time rendering cinematic production and material studies. Its stable tileability avoids visible repetition even on large UV islands making it ideal for industrial design architectural visualization and high-tech equipment surfaces requiring consistent metal textures. For best results adjusting the UV scale to match the model’s proportions ensures the fine linear grain appears natural and avoids distortion or compression. Additionally tuning the roughness and normal map intensity according to the scene’s lighting conditions can further enhance the material’s realistic appearance helping to ground the metal surface in the environment and deliver exceptional clarity and visual depth in your 3D preview setups.
Import the texture maps into Blender with sRGB color space for albedo/base color and Non-Color for normal, roughness, metallic, AO, height, and ORM maps. Connect normal maps through a Normal Map node, then adjust UV scale with a Mapping node so the material repeats naturally on your model.
For the full step-by-step setup, see How to Use Seamless Textures in Blender. Browse related material examples in wood, concrete, and metal.
Yes. This texture is designed as a seamless tileable PBR material, so it can repeat across large surfaces without visible borders.
You can download PNG/WEBP versions and use 1K, 2K, 4K and 8K download options when available on the page.
Yes. The download options and engine-mapped ZIP workflow are designed for Blender, Unreal Engine, Unity Standard, URP and HDRP material pipelines.
Yes. The texture is available under the AITextured free commercial license. Review the license page for redistribution and AI-training restrictions.


Build, preview, and export seamless PBR materials. Generate full map sets from a single image, inspect them in a real-time WebGL viewer, and re-package maps for Unreal, Unity, and Blender—directly in your browser.
AI text-to-texture: type a prompt and get a seamless, tileable base image ready for PBR workflows (great starting point for materials).
Create a full PBR set (Normal, Roughness, AO, Metallic, etc.) from a single image. Seamless and tiling-friendly.
Instant WebGL viewer: inspect materials on a sphere, plane, and cube. Check tiling and lighting in real time.
Re-packages maps per engine: Unreal (BaseColor + ORM), Unity (Mask/MetallicSmoothness), Blender (separate channels).
PNG ↔ JPG ↔ SVG: fast convert, SVG rasterize, embed/trace options, quality & background controls.