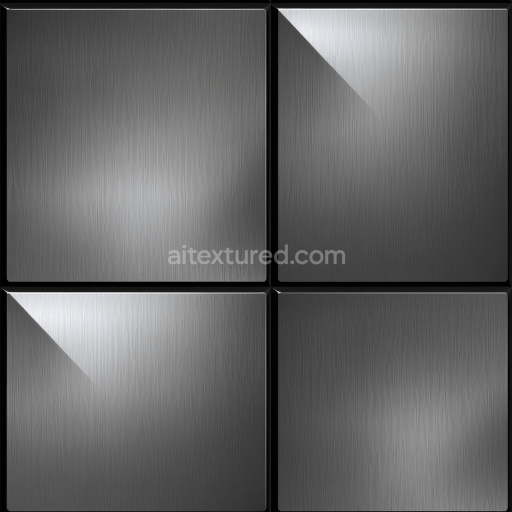
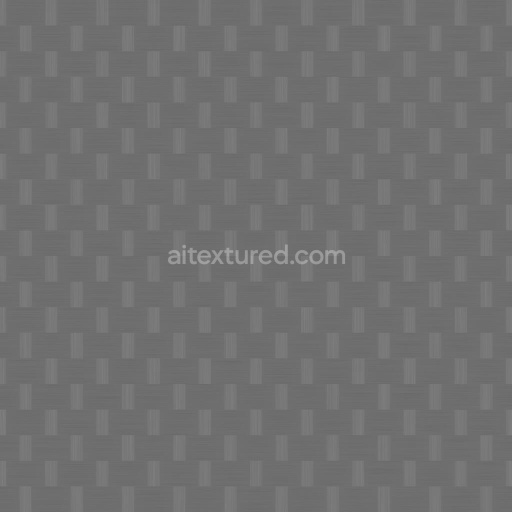
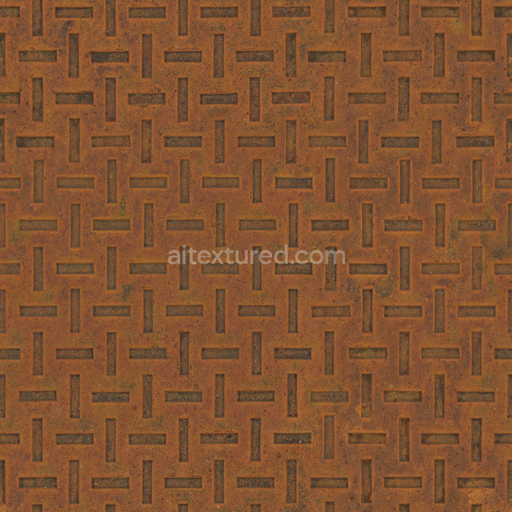
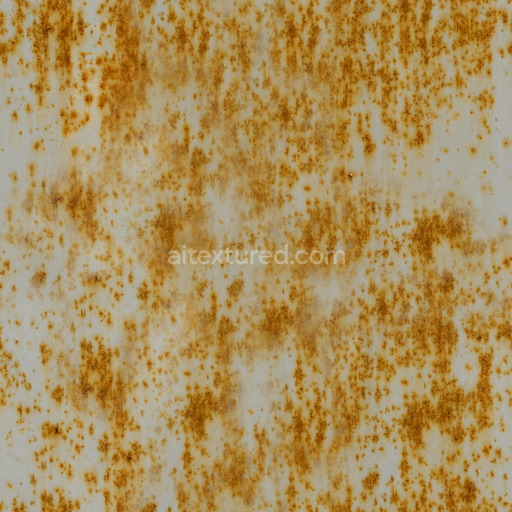
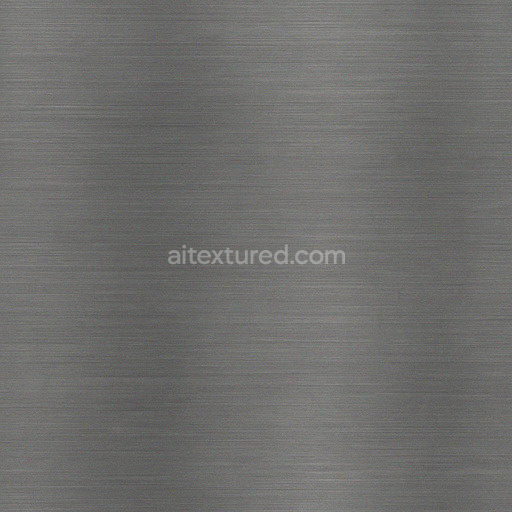
Brushed Steel Metal Texture with Panel Overlay
Seamless texture (tileable) · PNG, WEBP, PBR ZIP. License: AITextured Free Commercial License (FCL) v1.1. Free personal and commercial use. Raw resale, standalone redistribution, mirroring/scraping, competing asset packs, and AI/ML training are not allowed without written permission. Attribution is not required, but appreciated..

| ID | cooking-pan-coating-texture-free-pbr |
|---|---|
| Category | Metal |
| Formats | PNG, WEBP, PBR ZIP |
| Size | 1k (1024x1024px), 2k (2048x2048px), 4k (4096x4096px), 8k (8192x8192px) |
| Color | sRGB |
| Tileable | Yes |
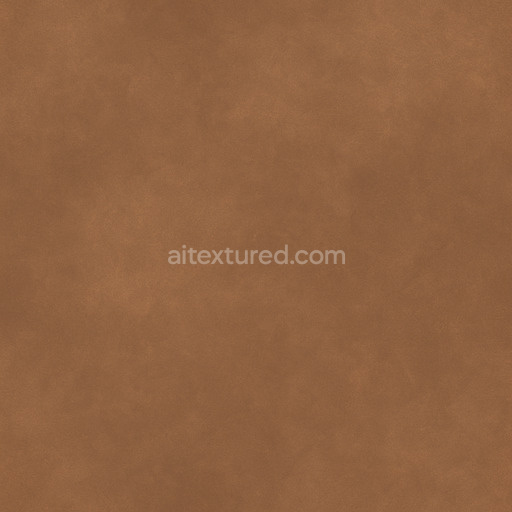
This cooking pan coating texture represents a meticulously crafted, high-quality PBR material designed for seamless integration into diverse 3D projects. At its core, the base substrate simulates a robust metal surface, typically steel or aluminum, which forms the essential structural foundation of the pan. Over this metal core lies a specialized polymer-based coating, often composed of ceramic or advanced non-stick composites, engineered to provide exceptional durability, heat resistance, and chemical stability. The coating’s composition includes finely dispersed pigment particles that deliver a consistent, uniform color tone clearly visible in the BaseColor/Albedo channel. Subtle surface variations are artfully captured through a combination of micro-roughness and carefully modeled grain orientation, which are expressed in the Roughness and Normal maps, imparting a tactile sense of the pan’s slightly textured finish and authentic material complexity.
The surface finish featured in this texture is semi-matte with a delicate hint of glossiness, characteristic of a well-maintained non-stick cooking pan. This nuanced finish is accurately conveyed using the Metallic and Roughness channels, where the metallic base substrate exhibits low reflectivity values to prevent an overly shiny appearance, while the polymer coating introduces moderate roughness to achieve realistic light diffusion and subtle reflections. Ambient Occlusion enhances the perception of tiny crevices, edge wear, and subtle signs of gentle use or weathering, adding depth and authenticity to the material. Height and Displacement maps provide additional microstructural detail, simulating slight elevations and surface undulations typical of real cooking pan coatings, which is especially valuable for close-up renders in Blender, Unreal Engine, or Unity. This texture is available at resolutions up to 8K, ensuring exceptional detail and clarity in high-end visualizations.
Optimized for seamless tiling and high-resolution workflows, this cooking pan coating texture offers great versatility for realistic kitchen and cookware visualizations, bringing authenticity to any 3D environment. For best results, it is recommended to carefully adjust the UV scale during application to maintain a balanced relationship between visible surface detail and overall pattern repetition. Additionally, fine-tuning the roughness map can significantly improve light interaction with the coating, allowing artists to simulate either a freshly cleaned or gently used pan surface depending on their scene requirements. This attention to material fidelity and detail makes the texture an excellent choice for artists and developers seeking to create realistic, high-quality renders of cookware and kitchen assets within Blender, Unreal Engine, or Unity projects.
Import the texture maps into Blender with sRGB color space for albedo/base color and Non-Color for normal, roughness, metallic, AO, height, and ORM maps. Connect normal maps through a Normal Map node, then adjust UV scale with a Mapping node so the material repeats naturally on your model.
For the full step-by-step setup, see How to Use Seamless Textures in Blender. Browse related material examples in wood, concrete, and metal.
Yes. This texture is designed as a seamless tileable PBR material, so it can repeat across large surfaces without visible borders.
You can download PNG/WEBP versions and use 1K, 2K, 4K and 8K download options when available on the page.
Yes. The download options and engine-mapped ZIP workflow are designed for Blender, Unreal Engine, Unity Standard, URP and HDRP material pipelines.
Yes. The texture is available under the AITextured free commercial license. Review the license page for redistribution and AI-training restrictions.


Build, preview, and export seamless PBR materials. Generate full map sets from a single image, inspect them in a real-time WebGL viewer, and re-package maps for Unreal, Unity, and Blender—directly in your browser.
AI text-to-texture: type a prompt and get a seamless, tileable base image ready for PBR workflows (great starting point for materials).
Create a full PBR set (Normal, Roughness, AO, Metallic, etc.) from a single image. Seamless and tiling-friendly.
Instant WebGL viewer: inspect materials on a sphere, plane, and cube. Check tiling and lighting in real time.
Re-packages maps per engine: Unreal (BaseColor + ORM), Unity (Mask/MetallicSmoothness), Blender (separate channels).
PNG ↔ JPG ↔ SVG: fast convert, SVG rasterize, embed/trace options, quality & background controls.