
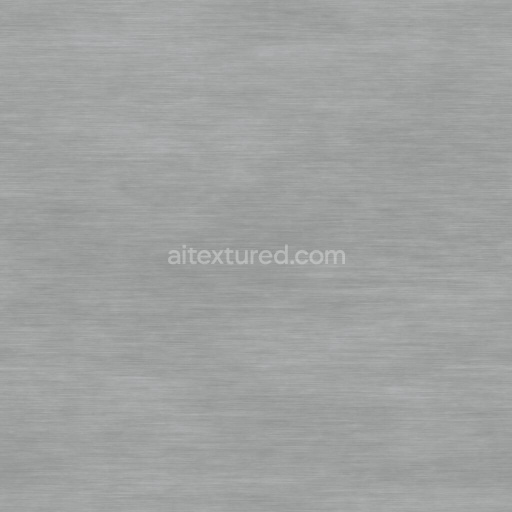
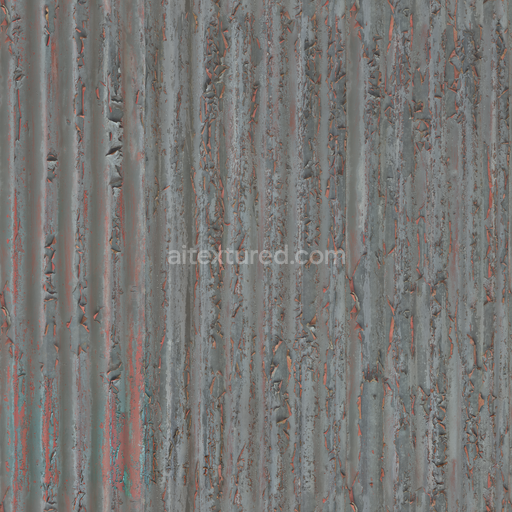
Metal Texture with Diagonal Polished Lines | Free PBR
Seamless texture (tileable) · PNG, WEBP, PBR ZIP. License: AITextured Free Commercial License (FCL) v1.1. Free personal and commercial use. Raw resale, standalone redistribution, mirroring/scraping, competing asset packs, and AI/ML training are not allowed without written permission. Attribution is not required, but appreciated..

| ID | gold-golden-japan-japanese-kintsugi-metal-metallic |
|---|---|
| Category | Metal |
| Formats | PNG, WEBP, PBR ZIP |
| Size | 1k (1024x1024px), 2k (2048x2048px), 4k (4096x4096px), 8k (8192x8192px) |
| Color | sRGB |
| Tileable | Yes |
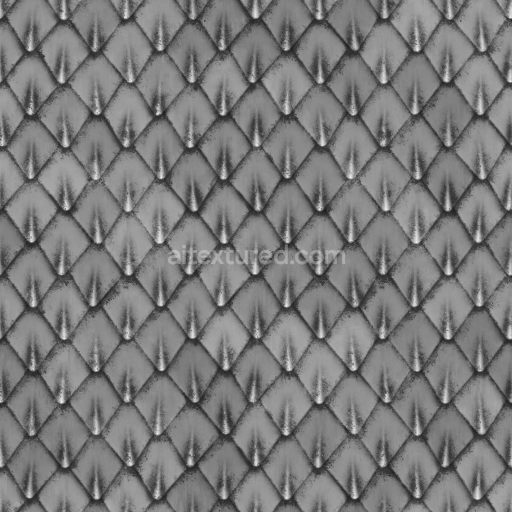
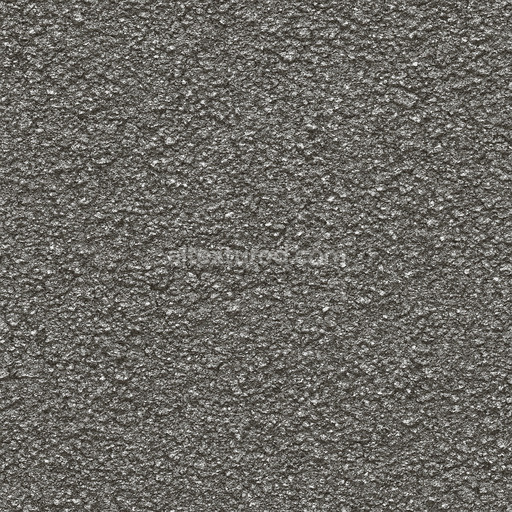
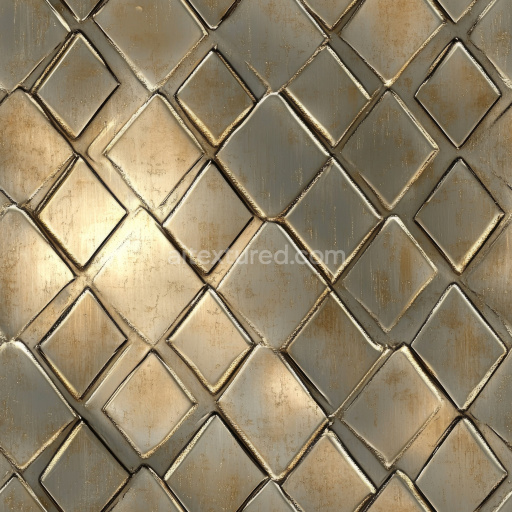
This seamless PBR texture captures the distinctive beauty of traditional Japanese kintsugi art featuring a rich golden metallic surface that emulates the refined appearance of gold-infused metalwork. The base substrate is a finely detailed metal layer with subtle grain orientation and a smooth yet tactile finish reminiscent of polished metal surfaces often seen in high-quality craftwork. The texture simulates the intricate fissures and delicate cracks filled with lustrous gold reflecting the ancient Japanese philosophy of embracing imperfections. The material composition suggests a harmonious blend of metallic pigments and oxide layers creating a consistent and warm golden color response across the surface ideal for realistic physically based rendering workflows.
Prepared for advanced rendering pipelines this texture set includes all essential PBR maps such as BaseColor (Albedo) Normal Roughness Metallic Ambient Occlusion and Height/Displacement each carefully calibrated to represent the material’s physical and optical properties accurately. The BaseColor channel conveys the vivid golden hues and subtle variations in tone while the Metallic map ensures the surface behaves like real metal under lighting conditions. The Roughness map controls the polished yet slightly irregular finish enhancing realism by simulating micro-surface imperfections and soft reflections. Normal and Height maps add depth to the intricate kintsugi cracks allowing for enhanced parallax effects and surface detail which are especially impactful in real-time engines like Unreal Engine and Unity or offline renderers such as Blender’s Cycles.
Thanks to its 8K resolution this texture maintains exceptional clarity and detail even when applied to large-scale tiling surfaces making it highly suitable for architectural visualization game environments and any project demanding premium metallic textures with a unique Japanese cultural aesthetic. To achieve optimal results it is recommended to verify the color space and gamma settings in your project to ensure the golden tones remain true to life. For practical use adjusting the roughness value slightly can help to fine-tune the balance between glossiness and diffuse reflection enhancing the natural look of the metal finish without losing the intricate detail of the kintsugi cracks. This texture is licensed curated for quality and designed to integrate seamlessly into diverse PBR workflows delivering consistent performance and artistic authenticity across multiple rendering platforms.
Import the texture maps into Blender with sRGB color space for albedo/base color and Non-Color for normal, roughness, metallic, AO, height, and ORM maps. Connect normal maps through a Normal Map node, then adjust UV scale with a Mapping node so the material repeats naturally on your model.
For the full step-by-step setup, see How to Use Seamless Textures in Blender. Browse related material examples in wood, concrete, and metal.
Yes. This texture is designed as a seamless tileable PBR material, so it can repeat across large surfaces without visible borders.
You can download PNG/WEBP versions and use 1K, 2K, 4K and 8K download options when available on the page.
Yes. The download options and engine-mapped ZIP workflow are designed for Blender, Unreal Engine, Unity Standard, URP and HDRP material pipelines.
Yes. The texture is available under the AITextured free commercial license. Review the license page for redistribution and AI-training restrictions.

Build, preview, and export seamless PBR materials. Generate full map sets from a single image, inspect them in a real-time WebGL viewer, and re-package maps for Unreal, Unity, and Blender—directly in your browser.
AI text-to-texture: type a prompt and get a seamless, tileable base image ready for PBR workflows (great starting point for materials).
Create a full PBR set (Normal, Roughness, AO, Metallic, etc.) from a single image. Seamless and tiling-friendly.
Instant WebGL viewer: inspect materials on a sphere, plane, and cube. Check tiling and lighting in real time.
Re-packages maps per engine: Unreal (BaseColor + ORM), Unity (Mask/MetallicSmoothness), Blender (separate channels).
PNG ↔ JPG ↔ SVG: fast convert, SVG rasterize, embed/trace options, quality & background controls.