
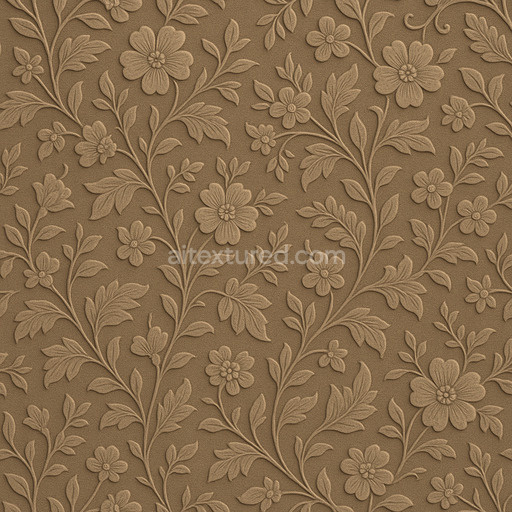
Polished Geometric Pattern Seamless Texture
Seamless texture (tileable) · PNG, WEBP, PBR ZIP. License: AITextured Free Commercial License (FCL) v1.1. Free personal and commercial use. Raw resale, standalone redistribution, mirroring/scraping, competing asset packs, and AI/ML training are not allowed without written permission. Attribution is not required, but appreciated..

| ID | detailed-abstract-pattern-texture-seamless |
|---|---|
| Category | Patterns |
| Formats | PNG, WEBP, PBR ZIP |
| Size | 1k (1024x1024px), 2k (2048x2048px), 4k (4096x4096px), 8k (8192x8192px) |
| Color | sRGB |
| Tileable | Yes |
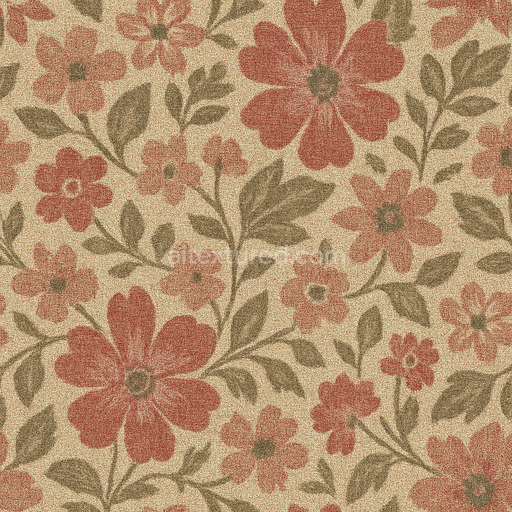
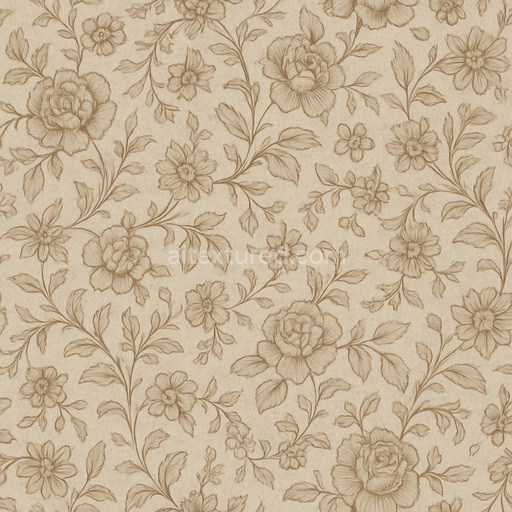
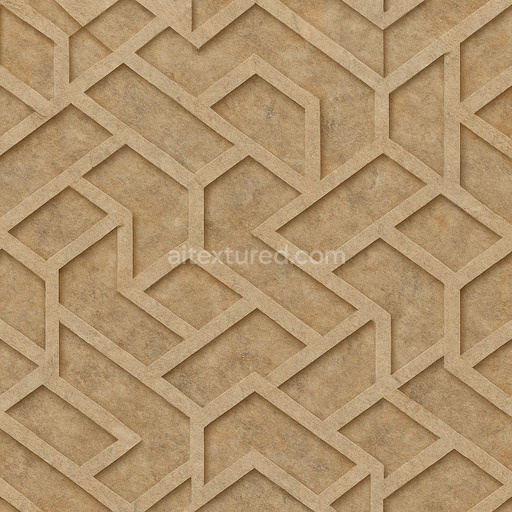
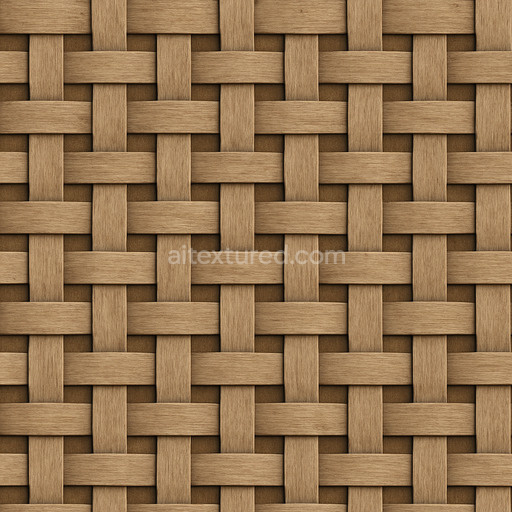
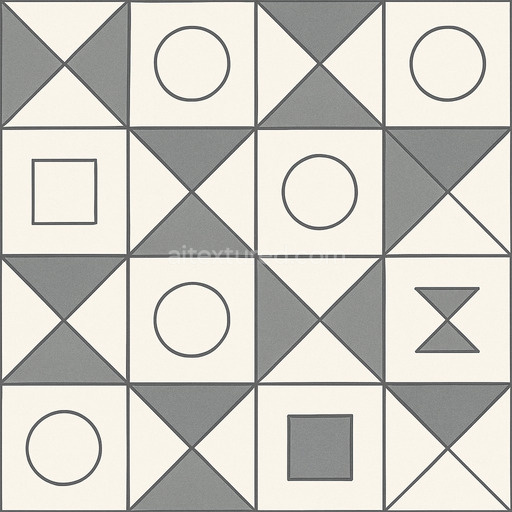
The Detailed Abstract Pattern Texture Seamless high resolution up to 8K is a finely crafted generated material designed to replicate the complexity and richness of layered composite surfaces with outstanding clarity and realism. Its base substrate suggests a sophisticated blend of mineral and polymer components creating a texture reminiscent of engineered ceramics or advanced composites. This texture features embedded aggregates and subtle fiber orientations that contribute to a nuanced grain and structural depth. The surface finish is semi-matte with a softly brushed appearance balancing intricate pattern definition with a natural diffuse reflection that avoids harsh glossiness. The coloration incorporates muted earth tones enriched by oxide-like patinas simulating realistic weathering and slight chromatic variations that enhance the material’s authenticity.
In terms of physically based rendering (PBR) this tileable detailed abstract pattern texture seamlessly integrates key channels to maximize visual fidelity. The BaseColor (Albedo) channel captures the complex pigment distribution and subtle hue shifts within the pattern while the Normal map conveys micro-relief details from embedded aggregates and fiber textures adding tactile realism. The Roughness map controls the semi-matte finish modulating specular highlights to preserve a balanced reflection that feels natural under varying lighting. The Metallic channel remains minimal consistent with the non-metallic polymer-ceramic composition whereas Ambient Occlusion deepens shadowing in recesses and pattern folds. Height (Displacement) data enhances surface elevation cues enabling realistic shadowing and parallax effects that respond dynamically to scene lighting.
Rendered at ultra-high resolution up to 8K this seamless detailed abstract pattern texture is ideal for use in Blender Unreal Engine and Unity supporting both 3D preview workflows and real-time rendering applications. Its tileable nature allows for continuous coverage of expansive surfaces or terrains without visible seams preserving immersion and detail. For optimal results adjusting the UV scale is recommended to tailor pattern repetition and maintain proportionality within your scene preventing pixelation or over-tiling artifacts. Fine-tuning the roughness map can further customize surface reflectivity achieving either a softer diffuse look or a more polished finish to suit your project’s aesthetic. Utilizing height or displacement maps adds dimensionality and enhances realism without increasing polygon count delivering convincing parallax and shadow effects that elevate the texture’s presence under diverse lighting conditions.
This tileable detailed abstract pattern texture seamless high resolution up to 8K offers a highly realistic PBR appearance with intricate patterns textures suitable for advanced PBR texture applications.
Import the texture maps into Blender with sRGB color space for albedo/base color and Non-Color for normal, roughness, metallic, AO, height, and ORM maps. Connect normal maps through a Normal Map node, then adjust UV scale with a Mapping node so the material repeats naturally on your model.
For the full step-by-step setup, see How to Use Seamless Textures in Blender. Browse related material examples in wood, concrete, and metal.
Yes. This texture is designed as a seamless tileable PBR material, so it can repeat across large surfaces without visible borders.
You can download PNG/WEBP versions and use 1K, 2K, 4K and 8K download options when available on the page.
Yes. The download options and engine-mapped ZIP workflow are designed for Blender, Unreal Engine, Unity Standard, URP and HDRP material pipelines.
Yes. The texture is available under the AITextured free commercial license. Review the license page for redistribution and AI-training restrictions.


Generate, preview, and export seamless PBR materials for Blender, Unity, and Unreal Engine—directly in your browser.
AI text-to-texture: type a prompt and get a seamless, tileable base image ready for PBR workflows (great starting point for materials).
Create a full PBR set (Normal, Roughness, AO, Metallic, etc.) from a single image. Seamless and tiling-friendly.
Instant WebGL viewer: inspect materials on a sphere, plane, and cube. Check tiling and lighting in real time.
Re-packages maps per engine: Unreal (BaseColor + ORM), Unity (Mask/MetallicSmoothness), Blender (separate channels).
PNG ↔ JPG ↔ SVG: fast convert, SVG rasterize, embed/trace options, quality & background controls.