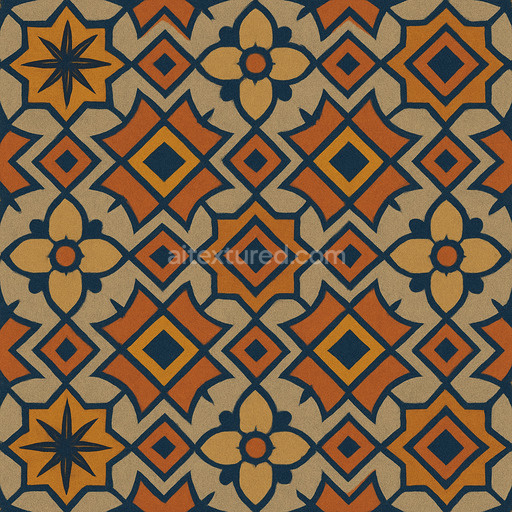
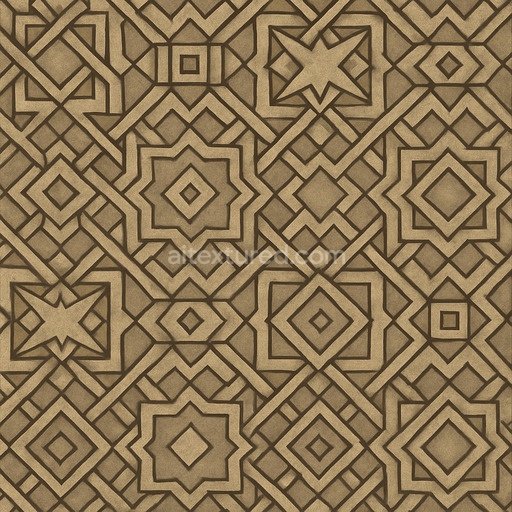
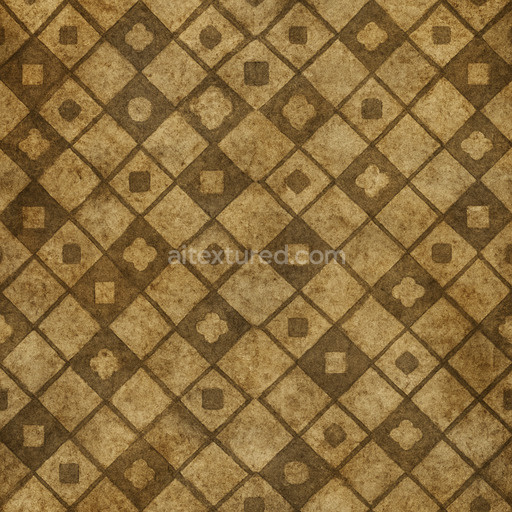
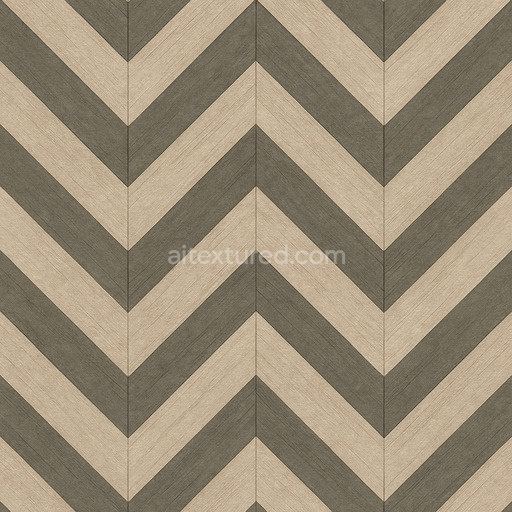
Decorative Geometric Pattern Seamless Texture
Seamless texture (tileable) · PNG, WEBP, PBR ZIP. License: AITextured Free Commercial License (FCL) v1.1. Free personal and commercial use. Raw resale, standalone redistribution, mirroring/scraping, competing asset packs, and AI/ML training are not allowed without written permission. Attribution is not required, but appreciated..

| ID | honeycomb-cells-tight-grid |
|---|---|
| Category | Patterns |
| Formats | PNG, WEBP, PBR ZIP |
| Size | 1k (1024x1024px), 2k (2048x2048px), 4k (4096x4096px), 8k (8192x8192px) |
| Color | sRGB |
| Tileable | Yes |
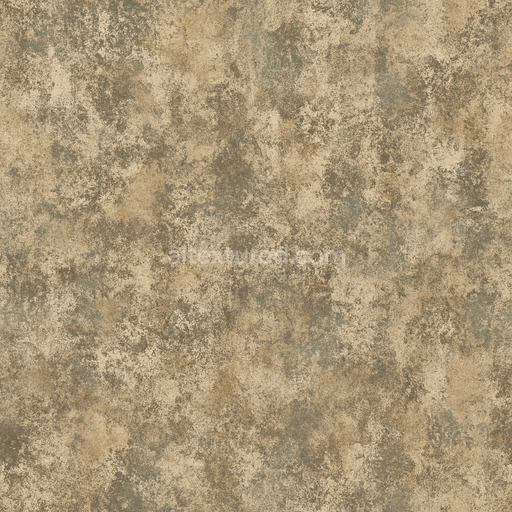
The honeycomb cells tight grid texture is a meticulously crafted high-resolution pattern that faithfully emulates the intricate structure of natural honeycomb formations arranged in a precise tight grid. This seamless honeycomb cells tight grid texture presents an organic yet engineered surface reminiscent of a polymer or ceramic base substrate with subtle mineral inclusions dispersed throughout. The composition suggests a finely woven matrix where microscopic binders and adhesive elements secure each individual cell resulting in a durable lightweight material. The surface finish is semi-matte with a delicate sheen exhibiting minimal oxidation or weathering effects that contribute to a refined modern aesthetic. Pigments embedded within the basecolor channel maintain a consistent honey-yellow tone enhanced by subtle color variations that add natural depth and complexity while the normal and height maps highlight the three-dimensional relief of each cell wall and cavity capturing the tactile essence of this tight grid arrangement.
This tileable honeycomb cells tight grid texture excels in modern PBR workflows providing a comprehensive set of maps designed to reproduce realistic materials with precision. The BaseColor (Albedo) channel delivers crisp detailed color information without any blurring preserving clarity even at its impressive 8K resolution. The Normal map defines the subtle ridges and recesses between cells adding intricate surface detail that interacts convincingly with light sources. Roughness and Metallic maps work together to portray a predominantly non-metallic surface with a finely tuned roughness range allowing controlled light diffusion and realistic specular highlights that emphasize the semi-gloss finish. Ambient Occlusion deepens crevices and intersections within the grid enhancing visual depth while the Height (Displacement) map enables accurate simulation of physical depth and volume which is essential for close-up renders or advanced parallax mapping. This texture honeycomb cells tight grid is fully optimized for seamless integration into Blender Unreal Engine and Unity ensuring artifact-free results and stable performance across diverse 3D platforms.
When applying this seamless honeycomb cells tight grid texture maintaining consistent UV scaling is crucial to preserve the integrity of the tight grid pattern and prevent distortion across extensive surface areas. Adjusting the roughness map allows users to refine how the material interacts with light enabling a transition from a softer matte appearance to a sharper more reflective finish depending on the scene’s lighting requirements. Utilizing the height or parallax displacement maps further enhances the three-dimensionality of flat surfaces making this patterns texture particularly effective for architectural visualization concept prototyping and environmental art where realism and detailed consistency are paramount. By incorporating this meticulously curated honeycomb cells tight grid texture into your material library you ensure predictable repeatable results that elevate the visual cohesion and overall quality of your 3D projects while benefiting from high-resolution detail and a versatile tileable design.
Import the texture maps into Blender with sRGB color space for albedo/base color and Non-Color for normal, roughness, metallic, AO, height, and ORM maps. Connect normal maps through a Normal Map node, then adjust UV scale with a Mapping node so the material repeats naturally on your model.
For the full step-by-step setup, see How to Use Seamless Textures in Blender. Browse related material examples in wood, concrete, and metal.
Yes. This texture is designed as a seamless tileable PBR material, so it can repeat across large surfaces without visible borders.
You can download PNG/WEBP versions and use 1K, 2K, 4K and 8K download options when available on the page.
Yes. The download options and engine-mapped ZIP workflow are designed for Blender, Unreal Engine, Unity Standard, URP and HDRP material pipelines.
Yes. The texture is available under the AITextured free commercial license. Review the license page for redistribution and AI-training restrictions.

Generate, preview, and export seamless PBR materials for Blender, Unity, and Unreal Engine—directly in your browser.
AI text-to-texture: type a prompt and get a seamless, tileable base image ready for PBR workflows (great starting point for materials).
Create a full PBR set (Normal, Roughness, AO, Metallic, etc.) from a single image. Seamless and tiling-friendly.
Instant WebGL viewer: inspect materials on a sphere, plane, and cube. Check tiling and lighting in real time.
Re-packages maps per engine: Unreal (BaseColor + ORM), Unity (Mask/MetallicSmoothness), Blender (separate channels).
PNG ↔ JPG ↔ SVG: fast convert, SVG rasterize, embed/trace options, quality & background controls.