Shiny Abstract Pattern Seamless Texture
Seamless texture (tileable) · PNG, WEBP, PBR ZIP. License: AITextured Free Commercial License (FCL) v1.1. Free personal and commercial use. Raw resale, standalone redistribution, mirroring/scraping, competing asset packs, and AI/ML training are not allowed without written permission. Attribution is not required, but appreciated..

| ID | geometric-hex-pattern-embossed |
|---|---|
| Category | Patterns |
| Formats | PNG, WEBP, PBR ZIP |
| Size | 1k (1024x1024px), 2k (2048x2048px), 4k (4096x4096px), 8k (8192x8192px) |
| Color | sRGB |
| Tileable | Yes |
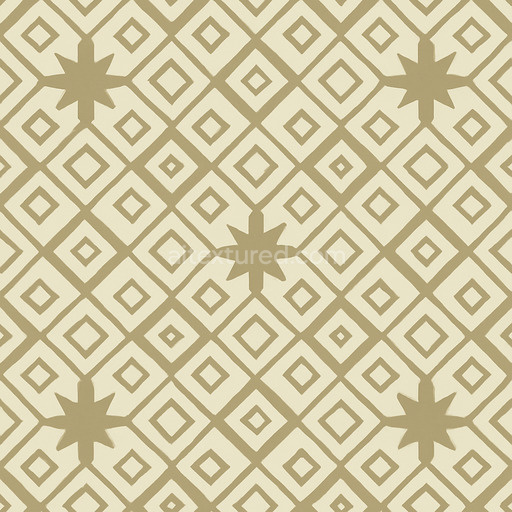
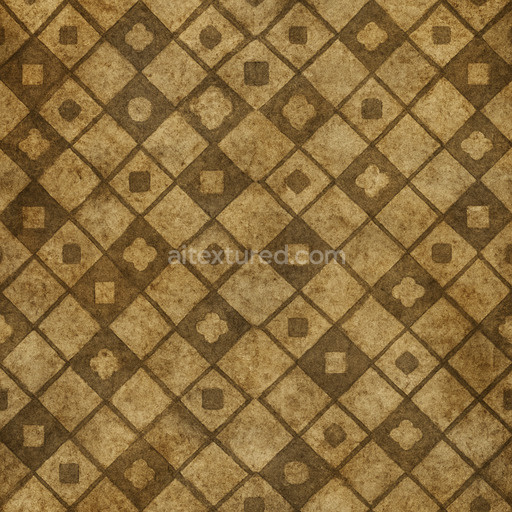
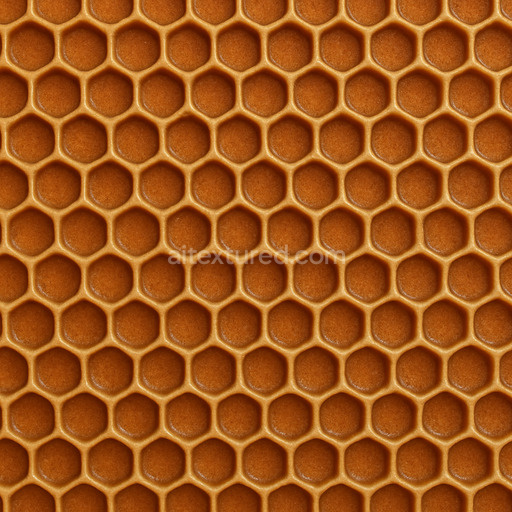
The geometric hex pattern embossed texture showcases a meticulously designed surface inspired by contemporary industrial materials resembling a high-quality polymer or metal substrate enhanced with precise embossing techniques. This seamless geometric hex pattern embossed texture features a finely crafted hexagonal design that combines a durable base composition with subtle binders and surface treatments resulting in a low-porosity smooth finish accented by slight micro-roughness. The embossing effect creates delicate relief patterns that simulate the tactile sensation of pressed or stamped metal sheets or engineered composites while neutral slightly metallic pigments are embedded within the BaseColor/Albedo channel. This lends the surface an authentic understated sheen and tonal complexity without overpowering saturation or excessive glossiness perfectly balancing modern industrial aesthetics with practical material realism.
In physically based rendering (PBR) workflows this texture geometric hex pattern embossed asset excels at delivering intricate material detail and realistic depth. The Normal map precisely captures the crisp elevations and recesses of the hexagonal pattern enhancing the three-dimensional relief as light interacts with the surface. Complementing this the Roughness map controls subtle variations between matte and semi-gloss finishes reflecting natural wear and a brushed industrial look. The Metallic channel introduces restrained metallic properties reinforcing the impression of treated metal or high-performance polymer composites while Ambient Occlusion enriches shadowing within the embossed recesses to emphasize pattern depth. Height and Displacement maps further enhance the three-dimensional fidelity enabling convincing parallax effects suitable for both real-time 3D preview and cinematic rendering. All channels maintain exceptional clarity and cohesion across large UV islands supporting ultra-high resolution outputs up to 8K for close-up inspection or expansive surface applications.
This tileable geometric hex pattern embossed texture is optimized for seamless integration with leading 3D engines such as Blender Unreal Engine and Unity ensuring broad compatibility and minimal setup effort. Its perfectly tileable design guarantees consistent repetition without visible seams or artifacts making it ideal for diverse uses including architectural visualization prop detailing level dressing and detailed patterns textures studies. For optimal results adjusting the UV scale is recommended to balance pattern density and avoid stretching or excessive repetition on large models. Additionally fine-tuning roughness values can help modulate surface reflectivity softening highlights to better showcase embossed details without harsh glare. These qualities make the asset a versatile and reliable choice for artists seeking a high-quality realistic embossed geometric hex pattern texture with a clean modern industrial finish.
Import the texture maps into Blender with sRGB color space for albedo/base color and Non-Color for normal, roughness, metallic, AO, height, and ORM maps. Connect normal maps through a Normal Map node, then adjust UV scale with a Mapping node so the material repeats naturally on your model.
For the full step-by-step setup, see How to Use Seamless Textures in Blender. Browse related material examples in wood, concrete, and metal.
Yes. This texture is designed as a seamless tileable PBR material, so it can repeat across large surfaces without visible borders.
You can download PNG/WEBP versions and use 1K, 2K, 4K and 8K download options when available on the page.
Yes. The download options and engine-mapped ZIP workflow are designed for Blender, Unreal Engine, Unity Standard, URP and HDRP material pipelines.
Yes. The texture is available under the AITextured free commercial license. Review the license page for redistribution and AI-training restrictions.

Generate, preview, and export seamless PBR materials for Blender, Unity, and Unreal Engine—directly in your browser.
AI text-to-texture: type a prompt and get a seamless, tileable base image ready for PBR workflows (great starting point for materials).
Create a full PBR set (Normal, Roughness, AO, Metallic, etc.) from a single image. Seamless and tiling-friendly.
Instant WebGL viewer: inspect materials on a sphere, plane, and cube. Check tiling and lighting in real time.
Re-packages maps per engine: Unreal (BaseColor + ORM), Unity (Mask/MetallicSmoothness), Blender (separate channels).
PNG ↔ JPG ↔ SVG: fast convert, SVG rasterize, embed/trace options, quality & background controls.