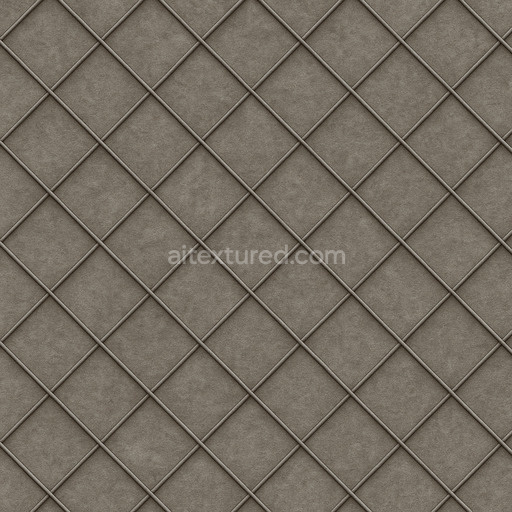
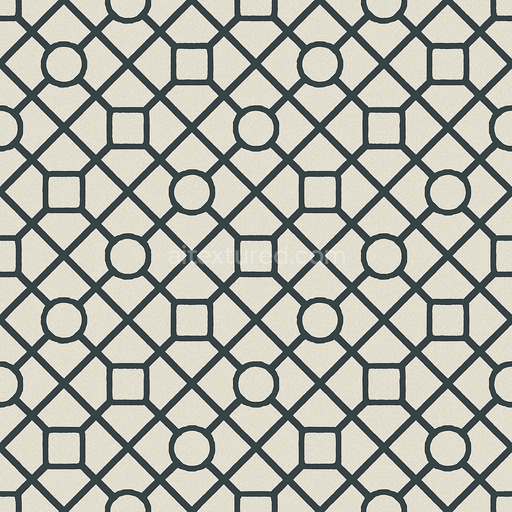
Diamond Lattice Thin Lines
Seamless texture (tileable) · PNG, WEBP, PBR ZIP. License: AITextured Free Commercial License (FCL) v1.1. Free personal and commercial use. Raw resale, standalone redistribution, mirroring/scraping, competing asset packs, and AI/ML training are not allowed without written permission. Attribution is not required, but appreciated..

| ID | hounds-tooth-classic-textile |
|---|---|
| Category | Patterns |
| Formats | PNG, WEBP, PBR ZIP |
| Size | 1k (1024x1024px), 2k (2048x2048px), 4k (4096x4096px), 8k (8192x8192px) |
| Color | sRGB |
| Tileable | Yes |
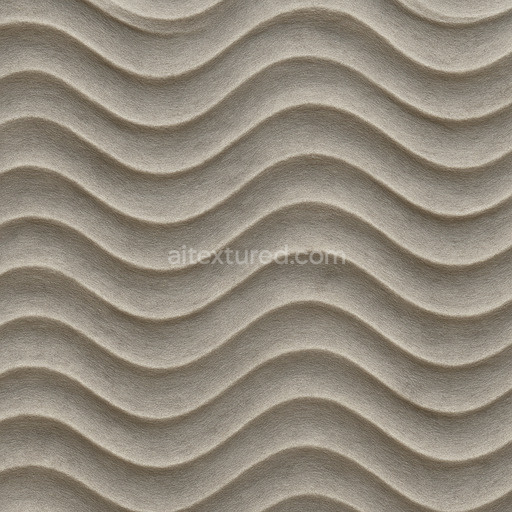
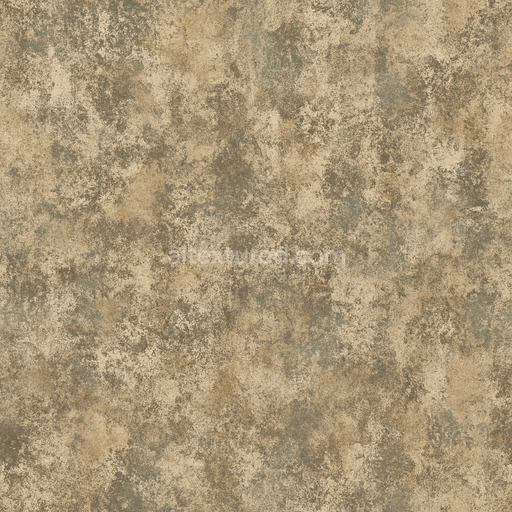
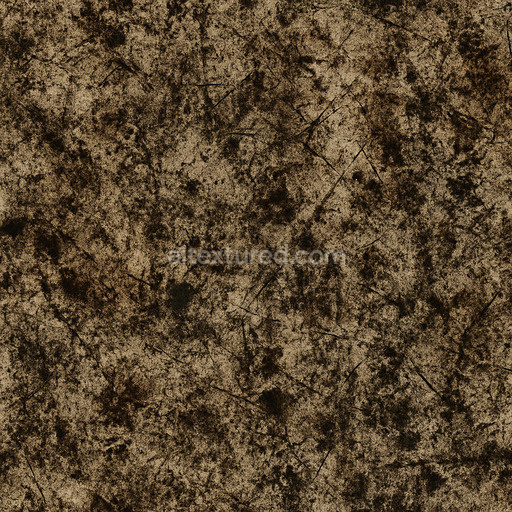
The Hounds Tooth Classic Textile texture is a seamlessly tileable generated material meticulously crafted to bring a refined and authentic fabric pattern to your physically based rendering (PBR) workflows. This high-resolution texture available up to 8K expertly captures the intricate weave and distinctive hounds tooth pattern with exceptional clarity and cohesion. The base substrate emulates a tightly woven organic fiber fabric where individual fibers align in a subtle grain orientation and are held together by natural or synthetic binders that preserve the textile’s structural integrity. The surface finish mimics a soft matte fabric with a slight tactile roughness revealing delicate porosity and gentle signs of wear that enhance realism. The classic two-tone coloration achieved through pigment-based colorants appears as alternating dark and light threads accurately represented within the BaseColor/Albedo channel for true-to-life diffuse color reproduction.
This comprehensive texture set includes all essential PBR maps: BaseColor/Albedo Normal Roughness Metallic Ambient Occlusion and Height/Displacement. The Normal map faithfully simulates the fine fiber relief and fabric weave adding convincing surface depth without increasing geometry complexity. Roughness defines the fabric’s soft matte finish and subtle reflectivity typical of woven textiles while the Metallic channel remains minimal reflecting the non-metallic nature of the organic textile substrate. Ambient Occlusion gently accentuates fiber intersections and pattern depth by adding soft shadows and the Height/Displacement maps provide nuanced surface elevation that replicates the tactile quality and slight imperfections of the fabric’s surface. These maps integrate seamlessly into Blender Unreal Engine and Unity pipelines optimized for both real-time rendering and high-fidelity cinematic projects ensuring sharp detail and visual stability even on expansive UV islands.
The tileable hounds tooth classic textile texture avoids the repetitive artifacts commonly found in auto-generated patterns maintaining crisp pattern definition across large surfaces. Its versatile design suits a wide range of environments from architectural visualizations and game assets to film productions making it an ideal resource for both personal and commercial projects. For best results uniform UV scaling is recommended to preserve the textile’s sharpness and prevent distortion. Fine-tuning the Roughness map can further enhance the fabric’s softness and its interaction with dynamic lighting while subtle adjustments to the Height or Displacement maps add tactile realism without overwhelming the visual detail. This texture offers a reliable high-quality foundation that elevates patterns textures and accelerates material creation workflows within modern PBR pipelines easily examined through a detailed 3D preview to ensure perfect integration into your projects.
Import the texture maps into Blender with sRGB color space for albedo/base color and Non-Color for normal, roughness, metallic, AO, height, and ORM maps. Connect normal maps through a Normal Map node, then adjust UV scale with a Mapping node so the material repeats naturally on your model.
For the full step-by-step setup, see How to Use Seamless Textures in Blender. Browse related material examples in wood, concrete, and metal.
Yes. This texture is designed as a seamless tileable PBR material, so it can repeat across large surfaces without visible borders.
You can download PNG/WEBP versions and use 1K, 2K, 4K and 8K download options when available on the page.
Yes. The download options and engine-mapped ZIP workflow are designed for Blender, Unreal Engine, Unity Standard, URP and HDRP material pipelines.
Yes. The texture is available under the AITextured free commercial license. Review the license page for redistribution and AI-training restrictions.
Generate, preview, and export seamless PBR materials for Blender, Unity, and Unreal Engine—directly in your browser.
AI text-to-texture: type a prompt and get a seamless, tileable base image ready for PBR workflows (great starting point for materials).
Create a full PBR set (Normal, Roughness, AO, Metallic, etc.) from a single image. Seamless and tiling-friendly.
Instant WebGL viewer: inspect materials on a sphere, plane, and cube. Check tiling and lighting in real time.
Re-packages maps per engine: Unreal (BaseColor + ORM), Unity (Mask/MetallicSmoothness), Blender (separate channels).
PNG ↔ JPG ↔ SVG: fast convert, SVG rasterize, embed/trace options, quality & background controls.