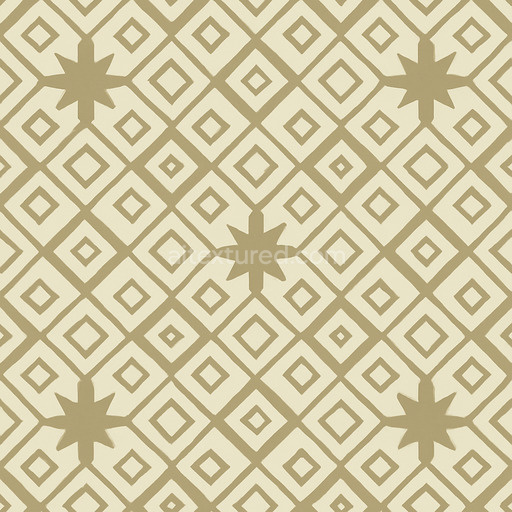
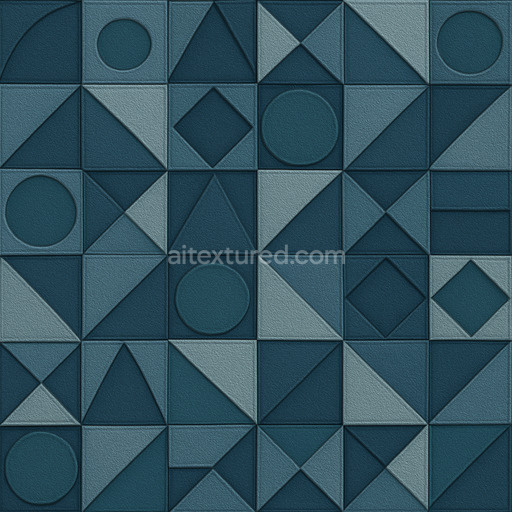
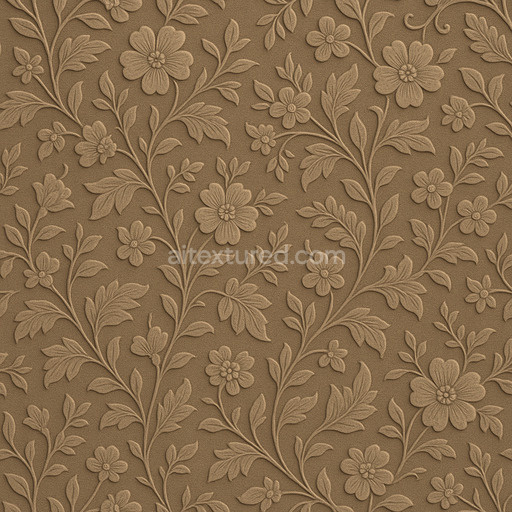
Seamless Geometric Pattern Seamless Texture
Seamless texture (tileable) · PNG, WEBP, PBR ZIP. License: AITextured Free Commercial License (FCL) v1.1. Free personal and commercial use. Raw resale, standalone redistribution, mirroring/scraping, competing asset packs, and AI/ML training are not allowed without written permission. Attribution is not required, but appreciated..

| ID | polka-dots-uniform-spacing |
|---|---|
| Category | Patterns |
| Formats | PNG, WEBP, PBR ZIP |
| Size | 1k (1024x1024px), 2k (2048x2048px), 4k (4096x4096px), 8k (8192x8192px) |
| Color | sRGB |
| Tileable | Yes |
The polka dots uniform spacing texture is a generated seamless pattern crafted to emulate a polymer-based surface characterized by a smooth semi-matte finish. This texture features a consistent evenly spaced arrangement of circular dots reminiscent of printed or subtly embossed polka dots found on coated synthetic materials such as vinyl or laminated textiles. The base substrate presents as dense and slightly flexible with minimal porosity that preserves the pattern’s crispness and clarity even across expansive UV islands. Fine binders and delicate adhesive layers are implied within the texture producing smooth transitions between the dots and the base material. The dots themselves exhibit a gentle raised or recessed effect indicating slight variations in surface height without disrupting the uniformity while colorants resemble stable pigments embedded within the substrate. This ensures a vibrant yet natural contrast between the dots and the background maintaining visual cohesion across diverse lighting conditions and viewing angles.
In terms of materials and composition the base polymer substrate simulates a synthetic non-metallic surface with minimal porosity and moderate flexibility supported structurally by fine binders and adhesive layers that help maintain surface integrity. The colorants are designed to replicate embedded pigments offering vibrant saturation without glossiness contributing to the semi-matte appearance. The texture’s physical attributes are effectively represented across PBR channels: the Base Color (Albedo) channel captures accurate pigmentation and color distribution; the Normal and Height/Displacement maps emphasize subtle variations in elevation between the dots and the base surface enhancing tactile depth; the Roughness map balances diffuse reflection and soft specular highlights to reinforce the semi-matte finish; the Metallic channel remains minimal reflecting the non-metallic nature of the polymer base; and the Ambient Occlusion map adds gentle shading in crevices and edges amplifying dimensionality and depth within the pattern.
This tileable polka dots uniform spacing texture is delivered at an ultra-high resolution of up to 8K providing exceptional detail and realism suited for modern 3D pipelines. It integrates seamlessly with popular software such as Blender Unreal Engine and Unity supporting real-time 3D preview and rapid workflow implementation. To optimize visual fidelity adjusting the UV scale is recommended to fine-tune dot size and spacing according to specific project needs. Additionally subtle tuning of the roughness channel can help customize surface reflectivity enabling the texture to adapt from matte fabric-like materials to lightly glossy laminates. This versatile seamless polka dots uniform spacing texture offers a reliable visually consistent solution for adding polished uniform polka dot patterns to your materials library ensuring clarity and cohesion in architectural visualization product mockups game environments and interior staging applications.
Import the texture maps into Blender with sRGB color space for albedo/base color and Non-Color for normal, roughness, metallic, AO, height, and ORM maps. Connect normal maps through a Normal Map node, then adjust UV scale with a Mapping node so the material repeats naturally on your model.
For the full step-by-step setup, see How to Use Seamless Textures in Blender. Browse related material examples in wood, concrete, and metal.
Yes. This texture is designed as a seamless tileable PBR material, so it can repeat across large surfaces without visible borders.
You can download PNG/WEBP versions and use 1K, 2K, 4K and 8K download options when available on the page.
Yes. The download options and engine-mapped ZIP workflow are designed for Blender, Unreal Engine, Unity Standard, URP and HDRP material pipelines.
Yes. The texture is available under the AITextured free commercial license. Review the license page for redistribution and AI-training restrictions.


Generate, preview, and export seamless PBR materials for Blender, Unity, and Unreal Engine—directly in your browser.
AI text-to-texture: type a prompt and get a seamless, tileable base image ready for PBR workflows (great starting point for materials).
Create a full PBR set (Normal, Roughness, AO, Metallic, etc.) from a single image. Seamless and tiling-friendly.
Instant WebGL viewer: inspect materials on a sphere, plane, and cube. Check tiling and lighting in real time.
Re-packages maps per engine: Unreal (BaseColor + ORM), Unity (Mask/MetallicSmoothness), Blender (separate channels).
PNG ↔ JPG ↔ SVG: fast convert, SVG rasterize, embed/trace options, quality & background controls.