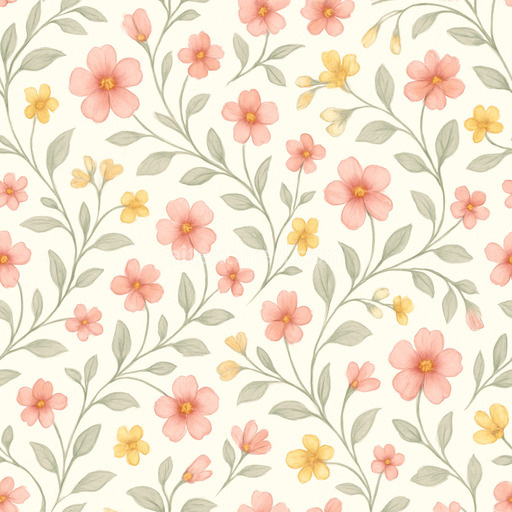
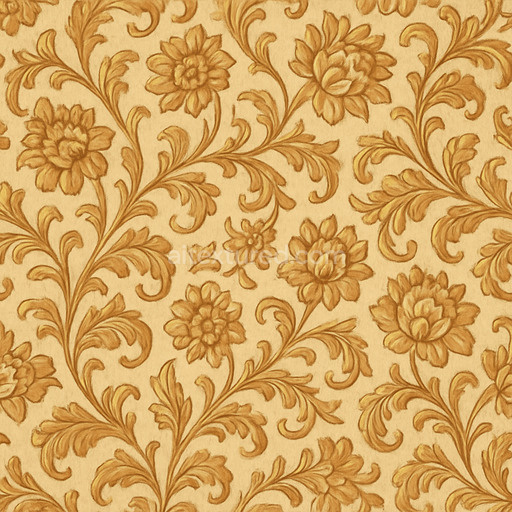
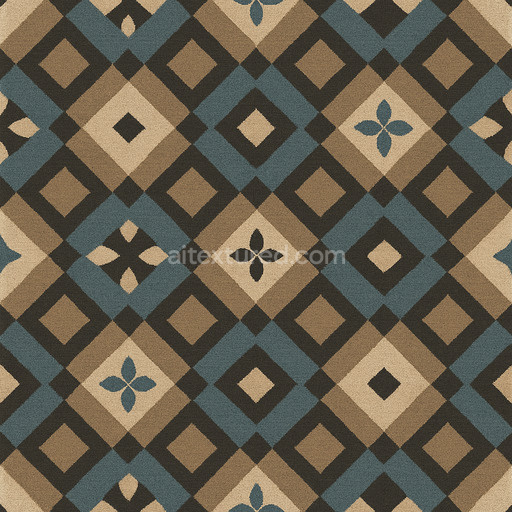
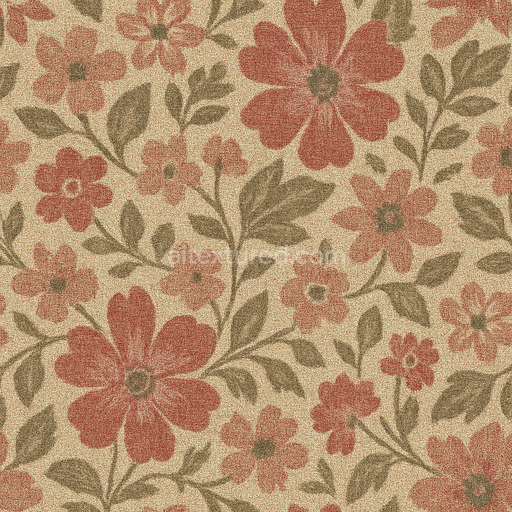
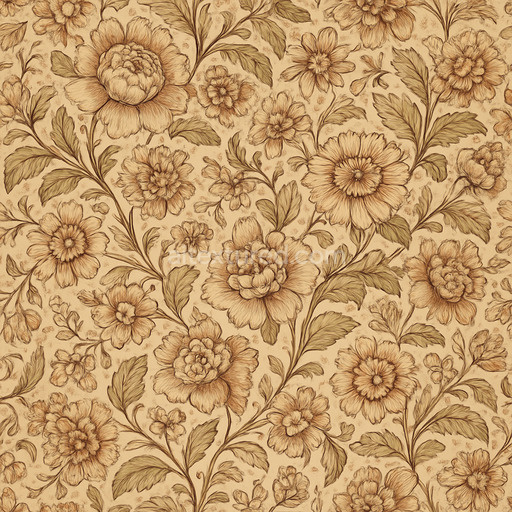
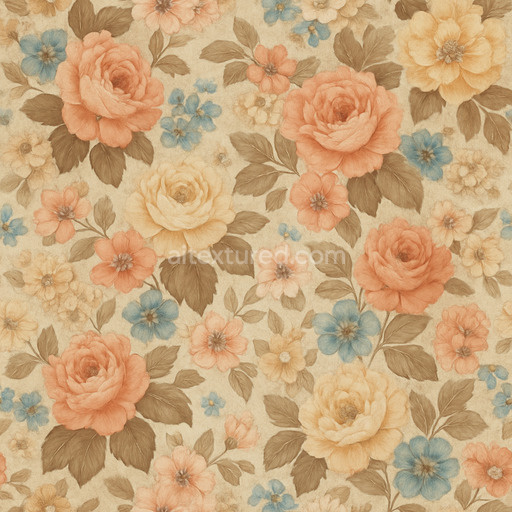
Clean Floral Pattern Seamless Texture
Seamless texture (tileable) · PNG, WEBP, PBR ZIP. License: AITextured Free Commercial License (FCL) v1.1. Free personal and commercial use. Raw resale, standalone redistribution, mirroring/scraping, competing asset packs, and AI/ML training are not allowed without written permission. Attribution is not required, but appreciated..

| ID | worn-abstract-pattern-texture-seamless |
|---|---|
| Category | Patterns |
| Formats | PNG, WEBP, PBR ZIP |
| Size | 1k (1024x1024px), 2k (2048x2048px), 4k (4096x4096px), 8k (8192x8192px) |
| Color | sRGB |
| Tileable | Yes |
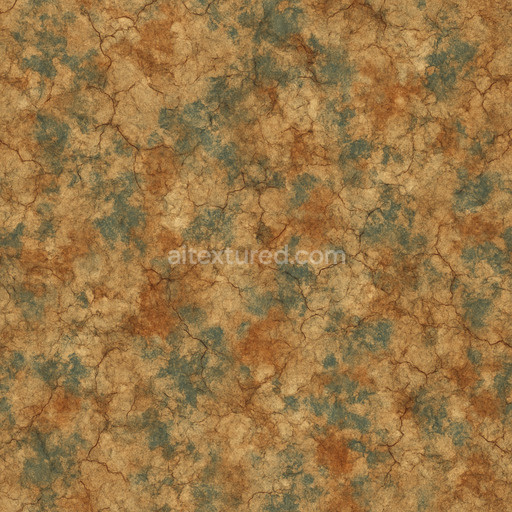
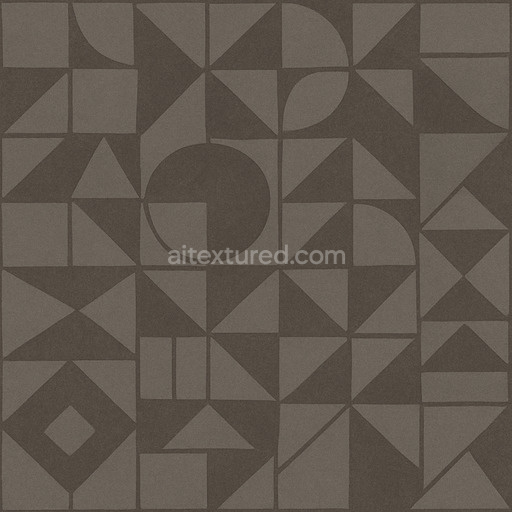
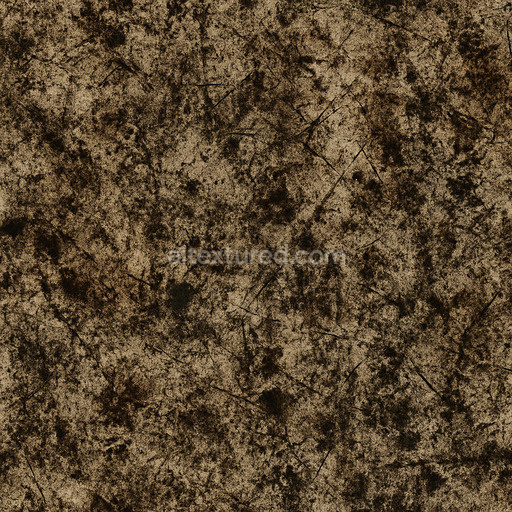
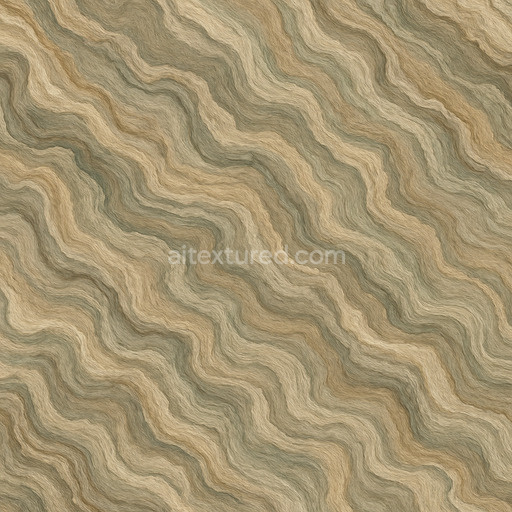
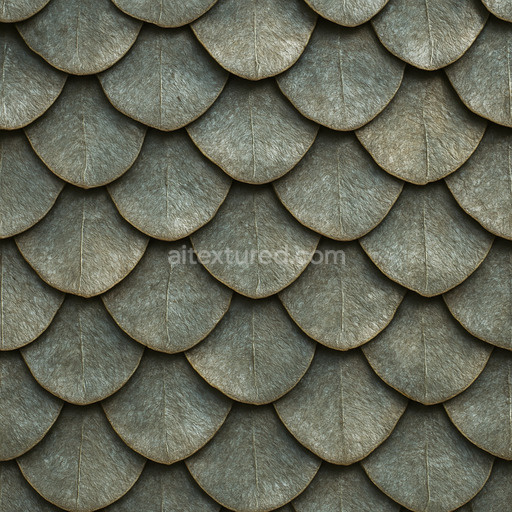
The Worn Abstract Pattern Texture Seamless high resolution up to 8K presents a richly detailed surface inspired by naturally weathered composite materials combining elements reminiscent of mineral substrates with subtle organic fibers and fine aggregates embedded in a durable polymeric binder. This interplay creates an intricate microstructure characterized by varied porosity and delicate surface erosion evoking the tactile qualities of aged ceramic or oxidized metal panels with a matte slightly rough finish. The base color channel (Albedo) captures nuanced pigment variations and oxide layers that give depth and authenticity to the pattern while the Normal map reveals fine grain orientation and micro-detailing enhancing the three-dimensional feel of the texture. Roughness values are carefully balanced to simulate the imperfect worn surface reflectivity avoiding overly glossy or flat appearances. Metallic channels remain minimal or neutral preserving the non-metallic nature of the material whereas Ambient Occlusion and Height maps emphasize subtle surface depressions and weathering effects that contribute to realism in close-up renders.
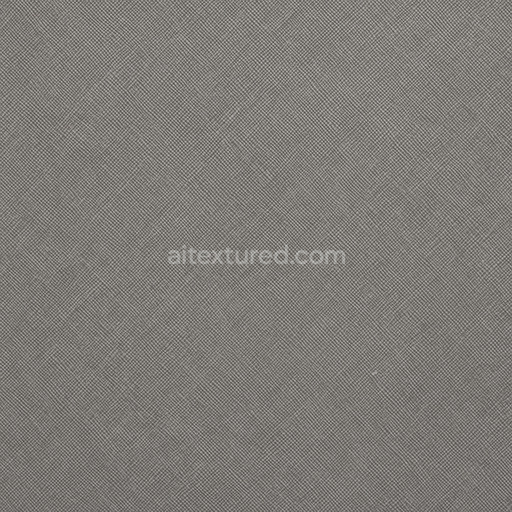
This tileable worn abstract pattern texture seamless high resolution up to 8K is engineered for versatility and high fidelity making it ideal for use in architectural visualization game environments product mockups and interior staging projects. Its seamless tiling capability allows for effortless coverage of large areas without visible repetition maintaining consistent detail and enhancing visual immersion. Compatible with major 3D engines such as Blender Unreal Engine and Unity the texture integrates smoothly into PBR workflows with minimal setup supporting formats like PNG and WEBP for optimized performance. The AI-driven creation pipeline ensures a production-ready asset that balances micro-detail with structural consistency offering a convincing material appearance that holds up under diverse lighting conditions and camera angles.
For practical application a recommended approach is to combine this worn abstract pattern texture seamless high resolution up to 8K with a subtle ambient occlusion pass and a light normal map overlay to break up uniformity without introducing harsh edges. Adjusting the UV scale to moderate dimensions helps retain the intricate details without overwhelming the scene while fine-tuning roughness parameters can simulate varying degrees of surface wear or moisture accumulation. Leveraging the height or parallax maps can further enhance depth perception on flat surfaces making this texture a flexible and valuable addition to any materials library focused on realistic high-quality patterns textures with detailed 3D preview capabilities.
Import the texture maps into Blender with sRGB color space for albedo/base color and Non-Color for normal, roughness, metallic, AO, height, and ORM maps. Connect normal maps through a Normal Map node, then adjust UV scale with a Mapping node so the material repeats naturally on your model.
For the full step-by-step setup, see How to Use Seamless Textures in Blender. Browse related material examples in wood, concrete, and metal.
Yes. This texture is designed as a seamless tileable PBR material, so it can repeat across large surfaces without visible borders.
You can download PNG/WEBP versions and use 1K, 2K, 4K and 8K download options when available on the page.
Yes. The download options and engine-mapped ZIP workflow are designed for Blender, Unreal Engine, Unity Standard, URP and HDRP material pipelines.
Yes. The texture is available under the AITextured free commercial license. Review the license page for redistribution and AI-training restrictions.
Generate, preview, and export seamless PBR materials for Blender, Unity, and Unreal Engine—directly in your browser.
AI text-to-texture: type a prompt and get a seamless, tileable base image ready for PBR workflows (great starting point for materials).
Create a full PBR set (Normal, Roughness, AO, Metallic, etc.) from a single image. Seamless and tiling-friendly.
Instant WebGL viewer: inspect materials on a sphere, plane, and cube. Check tiling and lighting in real time.
Re-packages maps per engine: Unreal (BaseColor + ORM), Unity (Mask/MetallicSmoothness), Blender (separate channels).
PNG ↔ JPG ↔ SVG: fast convert, SVG rasterize, embed/trace options, quality & background controls.