
Air Duct Rubber Texture | Free PBR
Seamless texture (tileable) · PNG, WEBP, PBR ZIP. License: AITextured Free Commercial License (FCL) v1.1. Free personal and commercial use. Raw resale, standalone redistribution, mirroring/scraping, competing asset packs, and AI/ML training are not allowed without written permission. Attribution is not required, but appreciated..

| ID | acoustical-eggcrate-foam-panels-free-pbr |
|---|---|
| Category | Plastic |
| Formats | PNG, WEBP, PBR ZIP |
| Size | 1k (1024x1024px), 2k (2048x2048px), 4k (4096x4096px), 8k (8192x8192px) |
| Color | sRGB |
| Tileable | Yes |
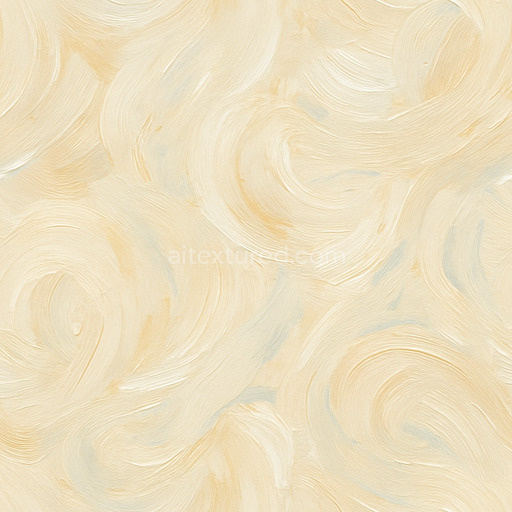
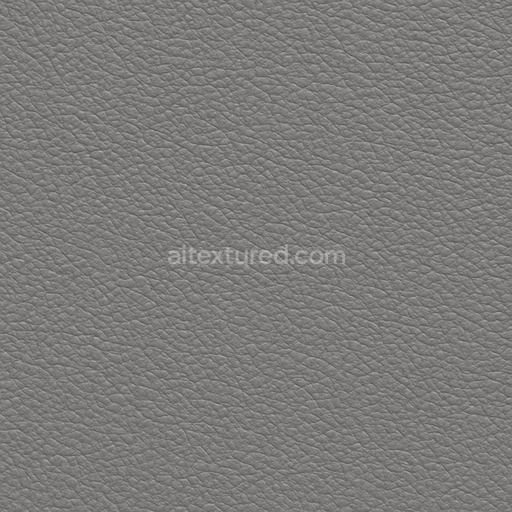
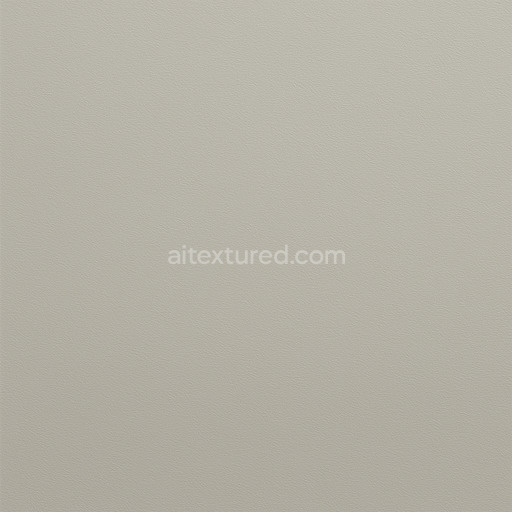
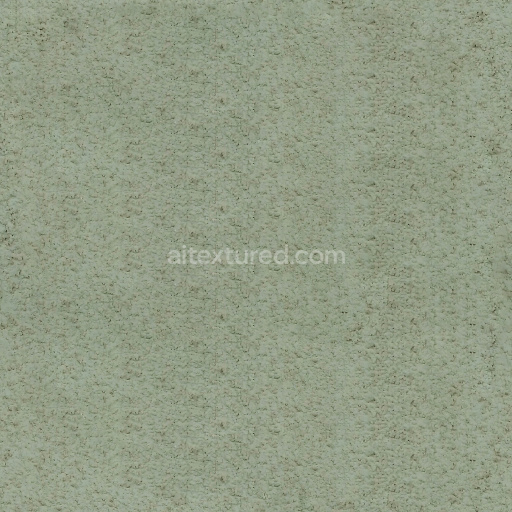
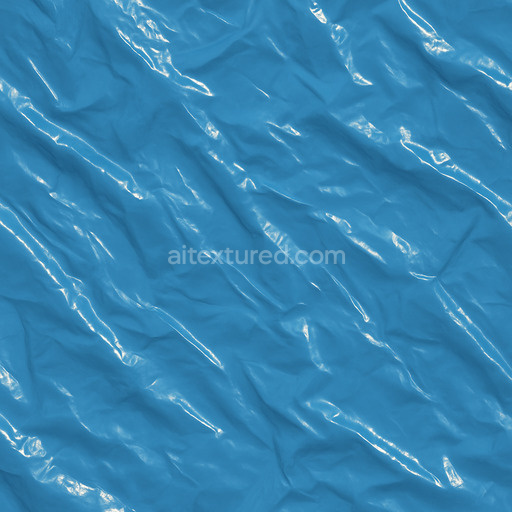
These acoustical eggcrate foam panels consist primarily of a lightweight, polymer-based substrate engineered for superior sound absorption and diffusion. The base material is typically composed of polyurethane or melamine resin, forming a durable foam matrix that is precisely molded or cut into the signature eggcrate pattern. This open-cell structure significantly enhances porosity, allowing sound waves and air to penetrate deeply and dissipate efficiently, which improves acoustic performance by reducing echoes and ambient noise. The panels are bonded using minimal adhesive additives to preserve the foam’s natural flexibility and resilience, ensuring long-lasting durability without compromising softness or structural integrity. During manufacturing, carefully integrated pigments provide a consistent, subtle off-white or light gray hue, contributing to the material’s natural appearance and ensuring uniform coloration across the surface. The finish is matte and slightly textured, deliberately avoiding gloss to minimize unwanted light reflections and visually reinforce the panel’s acoustic function.
In the physically based rendering (PBR) workflow, these panels are captured with advanced texture maps to reflect their detailed surface composition accurately. The BaseColor (Albedo) map records the foam’s subtle, uniform color and fine textural nuances inherent to the polymer matrix. The Normal map intricately simulates the distinctive eggcrate relief, highlighting the sharp ridges and deep cavities with high precision to enhance three-dimensional depth. Roughness values are calibrated high to represent the foam’s soft, non-reflective surface, effectively reducing specular highlights and contributing to a natural matte appearance. The Metallic channel remains near zero, reflecting the non-metallic nature of the polymer foam. Ambient Occlusion intensifies the perception of depth within the grooves and recesses, while Height or Displacement maps add realistic volume and contour detail, enabling enhanced parallax effects for close-up views in 3D environments.
Rendered in seamless, high-resolution textures up to 8K, these acoustical eggcrate foam panels are fully optimized for integration into Blender, Unreal Engine, and Unity platforms, supporting realistic architectural visualization, game design, and virtual reality simulations. To achieve the best visual fidelity, it is recommended to carefully adjust UV scaling to maintain the natural proportions of the eggcrate pattern and fine-tune roughness levels to balance diffuse scattering with subtle light interaction. Additionally, utilizing Height or Displacement maps in conjunction with parallax occlusion mapping can substantially elevate the tactile realism of these foam panels, especially in close-up shots, enhancing immersion and material authenticity in digital scenes.
Import the texture maps into Blender with sRGB color space for albedo/base color and Non-Color for normal, roughness, metallic, AO, height, and ORM maps. Connect normal maps through a Normal Map node, then adjust UV scale with a Mapping node so the material repeats naturally on your model.
For the full step-by-step setup, see How to Use Seamless Textures in Blender. Browse related material examples in wood, concrete, and metal.
Yes. This texture is designed as a seamless tileable PBR material, so it can repeat across large surfaces without visible borders.
You can download PNG/WEBP versions and use 1K, 2K, 4K and 8K download options when available on the page.
Yes. The download options and engine-mapped ZIP workflow are designed for Blender, Unreal Engine, Unity Standard, URP and HDRP material pipelines.
Yes. The texture is available under the AITextured free commercial license. Review the license page for redistribution and AI-training restrictions.


Build, preview, and export seamless PBR materials. Generate full map sets from a single image, inspect them in a real-time WebGL viewer, and re-package maps for Unreal, Unity, and Blender—directly in your browser.
AI text-to-texture: type a prompt and get a seamless, tileable base image ready for PBR workflows (great starting point for materials).
Create a full PBR set (Normal, Roughness, AO, Metallic, etc.) from a single image. Seamless and tiling-friendly.
Instant WebGL viewer: inspect materials on a sphere, plane, and cube. Check tiling and lighting in real time.
Re-packages maps per engine: Unreal (BaseColor + ORM), Unity (Mask/MetallicSmoothness), Blender (separate channels).
PNG ↔ JPG ↔ SVG: fast convert, SVG rasterize, embed/trace options, quality & background controls.