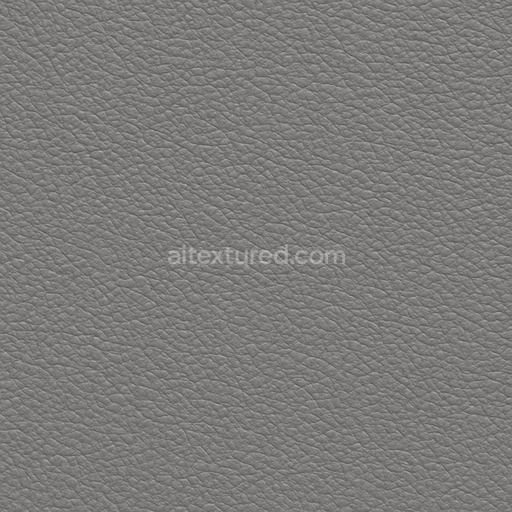
Pvc Seamless Texture
Seamless texture (tileable) · PNG, WEBP, PBR ZIP. License: AITextured Free Commercial License (FCL) v1.1. Free personal and commercial use. Raw resale, standalone redistribution, mirroring/scraping, competing asset packs, and AI/ML training are not allowed without written permission. Attribution is not required, but appreciated..

| ID | polished-pvc-texture-seamless |
|---|---|
| Category | Plastic |
| Formats | PNG, WEBP, PBR ZIP |
| Size | 1k (1024x1024px), 2k (2048x2048px), 4k (4096x4096px), 8k (8192x8192px) |
| Color | sRGB |
| Tileable | Yes |
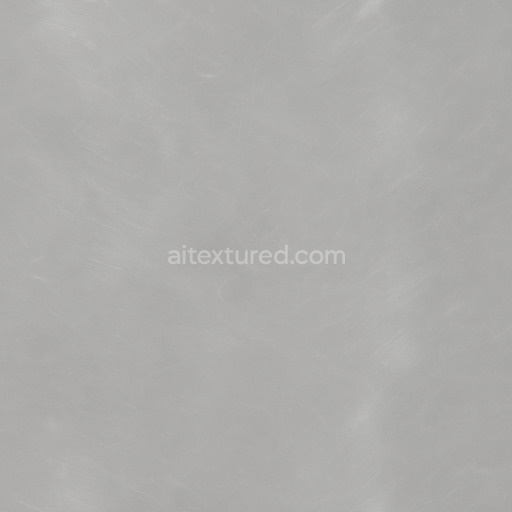
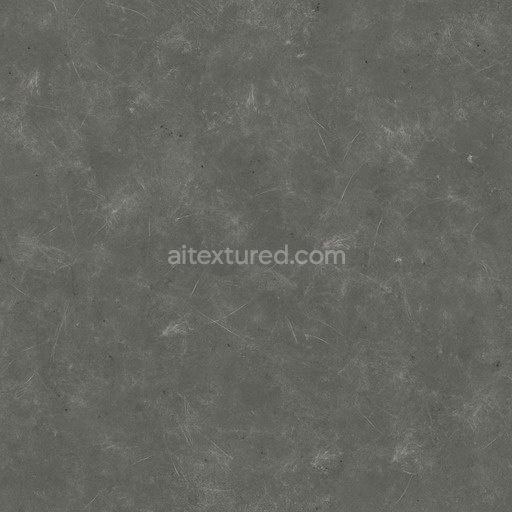
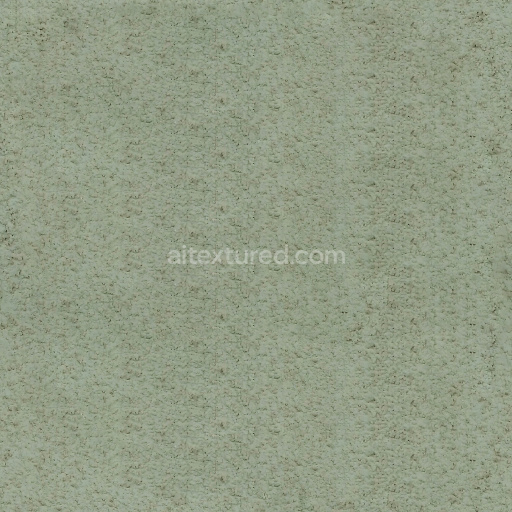
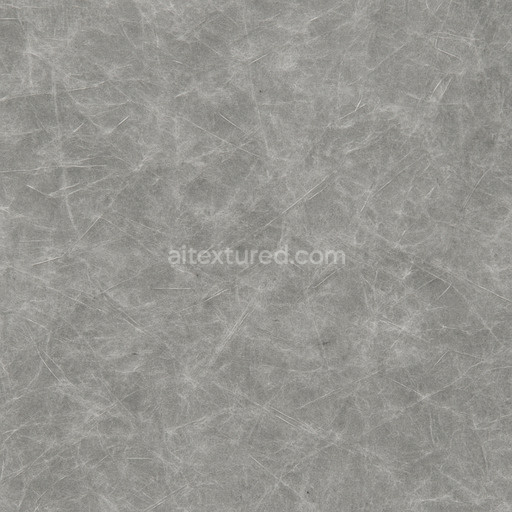
The polished PVC texture seamless high resolution up to 8K is a meticulously crafted digital material designed to authentically replicate the smooth sleek surface of polished polyvinyl chloride plastic. This texture accurately captures the core composition of PVC which consists primarily of vinyl chloride monomers polymerized with stabilizers and plasticizers. These additives enhance the plastic’s durability and flexibility while maintaining its characteristic low porosity and minimal surface roughness. The polished finish is expressed through subtle reflectivity and a near non-porous surface punctuated by fine micro-textural imperfections that add natural realism to the material. Coloration is achieved by evenly dispersed pigments embedded within the polymer matrix resulting in a consistent neutral tone with delicate tonal variations that avoid flatness and contribute to the texture’s lifelike appearance.
In terms of physically based rendering (PBR) channels this seamless polished PVC texture high resolution up to 8K excels in delivering detailed and balanced outputs. The BaseColor (Albedo) map presents the uniform polished plastic coloration with faint shading variations that mirror real-world PVC surfaces. The Normal map encodes subtle grain orientation and microscopic surface irregularities enhancing the perception of depth and tactile detail without overpowering the smoothness. Roughness is precisely calibrated to provide a softly reflective surface that avoids excessive gloss emulating the elegant sheen typical of well-polished plastic. Metallic values remain at zero consistent with the non-metallic nature of PVC. Ambient Occlusion maps contribute to the realistic shading around minor surface details adding depth and dimension. Height or Displacement maps offer controlled surface relief allowing for refined edge definition and subtle surface undulations that improve 3D realism under dynamic lighting.
This tileable polished PVC texture seamless high resolution up to 8K is rendered at an ultra-high resolution suitable for large-scale applications ensuring flawless UV scaling without visible seams or repetitive artifacts. It is fully optimized for seamless integration with industry-standard 3D software such as Blender Unity and Unreal Engine enabling artists and developers to achieve photorealistic plastic textures with minimal setup. The generated detail strikes an ideal balance between crispness and controlled noise creating a natural yet refined appearance that elevates any digital scene requiring realistic plastic materials with a seamless tileable design and a responsive 3D preview experience. For practical use adjusting the roughness slightly lower can simulate freshly polished PVC surfaces while applying a subtle ambient occlusion layer and a gentle normal map pass helps break surface uniformity without harsh distortions. Additionally moderate use of the height map can introduce convincing depth to edges and minor imperfections enhancing visual interest and performance within real-time rendering environments.
The PBR texture features a polished PVC texture seamless high resolution up to 8K delivering a refined and consistent PBR appearance ideal for realistic material composition.
Import the texture maps into Blender with sRGB color space for albedo/base color and Non-Color for normal, roughness, metallic, AO, height, and ORM maps. Connect normal maps through a Normal Map node, then adjust UV scale with a Mapping node so the material repeats naturally on your model.
For the full step-by-step setup, see How to Use Seamless Textures in Blender. Browse related material examples in wood, concrete, and metal.
Yes. This texture is designed as a seamless tileable PBR material, so it can repeat across large surfaces without visible borders.
You can download PNG/WEBP versions and use 1K, 2K, 4K and 8K download options when available on the page.
Yes. The download options and engine-mapped ZIP workflow are designed for Blender, Unreal Engine, Unity Standard, URP and HDRP material pipelines.
Yes. The texture is available under the AITextured free commercial license. Review the license page for redistribution and AI-training restrictions.


Generate, preview, and export seamless PBR materials for Blender, Unity, and Unreal Engine—directly in your browser.
AI text-to-texture: type a prompt and get a seamless, tileable base image ready for PBR workflows (great starting point for materials).
Create a full PBR set (Normal, Roughness, AO, Metallic, etc.) from a single image. Seamless and tiling-friendly.
Instant WebGL viewer: inspect materials on a sphere, plane, and cube. Check tiling and lighting in real time.
Re-packages maps per engine: Unreal (BaseColor + ORM), Unity (Mask/MetallicSmoothness), Blender (separate channels).
PNG ↔ JPG ↔ SVG: fast convert, SVG rasterize, embed/trace options, quality & background controls.