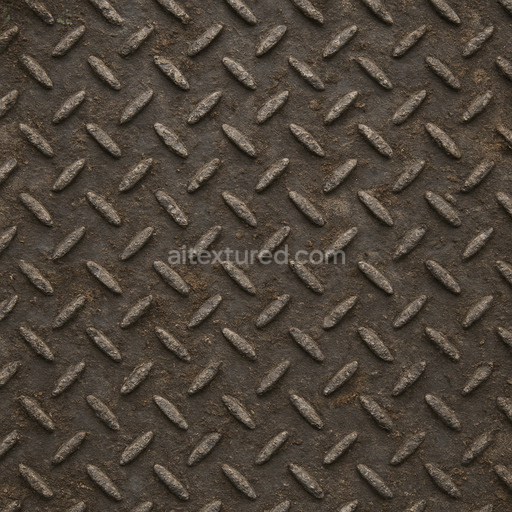
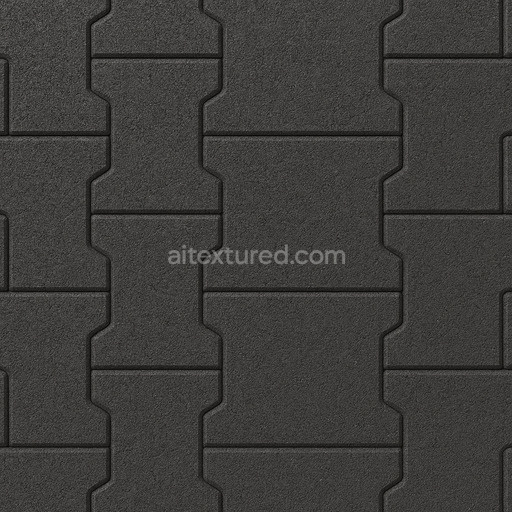
Dirty Textured Rubber Seamless Texture
Seamless texture (tileable) · PNG, WEBP, PBR ZIP. License: AITextured Free Commercial License (FCL) v1.1. Free personal and commercial use. Raw resale, standalone redistribution, mirroring/scraping, competing asset packs, and AI/ML training are not allowed without written permission. Attribution is not required, but appreciated..

| ID | butyl-rubber-slightly-tacky |
|---|---|
| Category | Rubber |
| Formats | PNG, WEBP, PBR ZIP |
| Size | 1k (1024x1024px), 2k (2048x2048px), 4k (4096x4096px), 8k (8192x8192px) |
| Color | sRGB |
| Tileable | Yes |
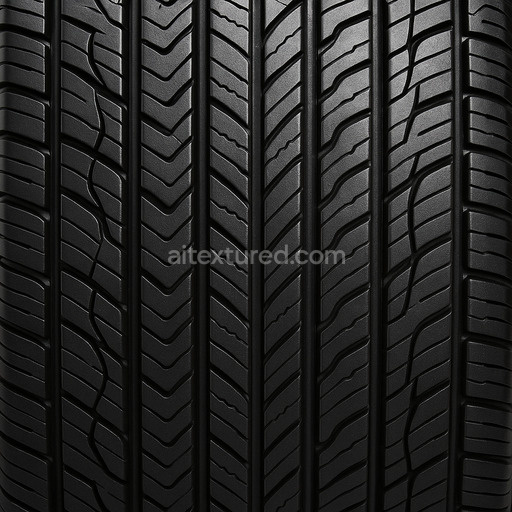
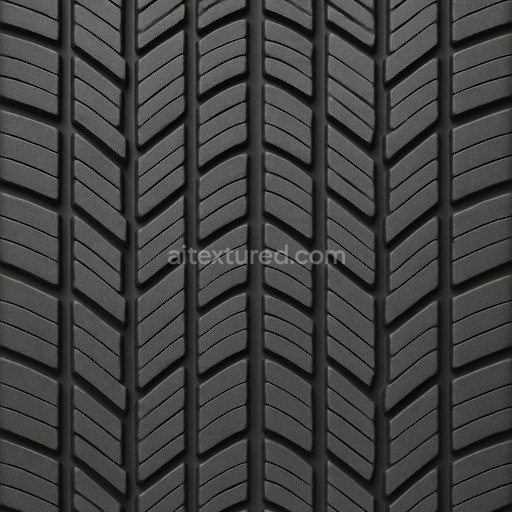
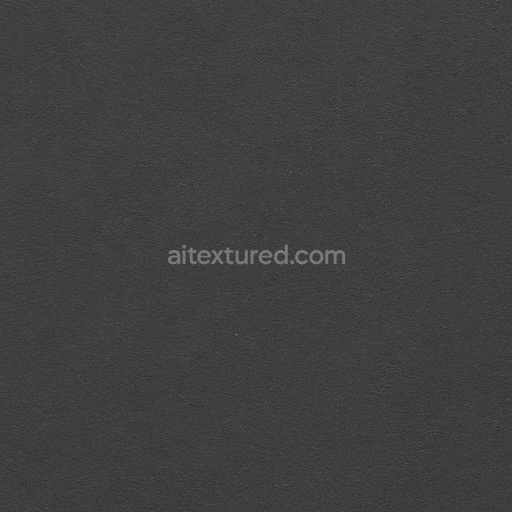
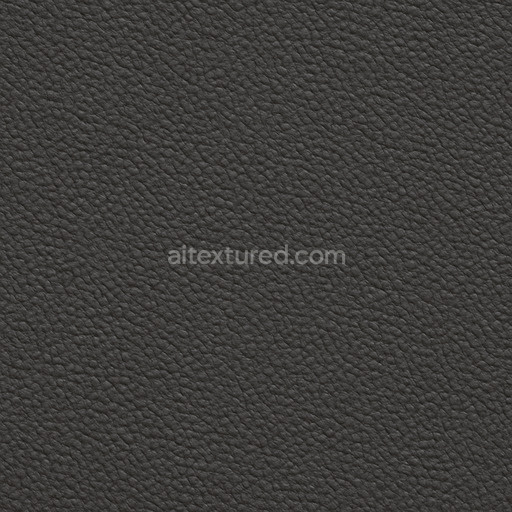
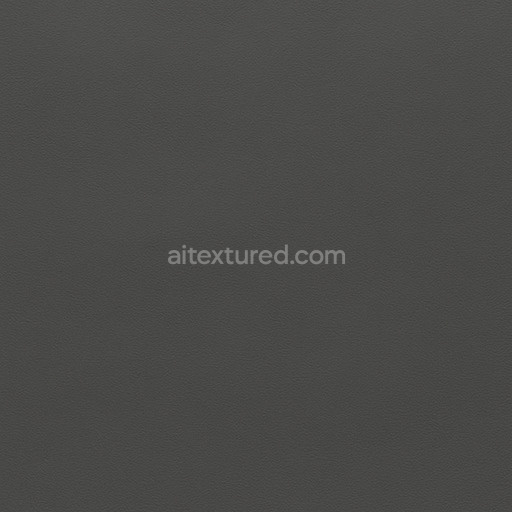
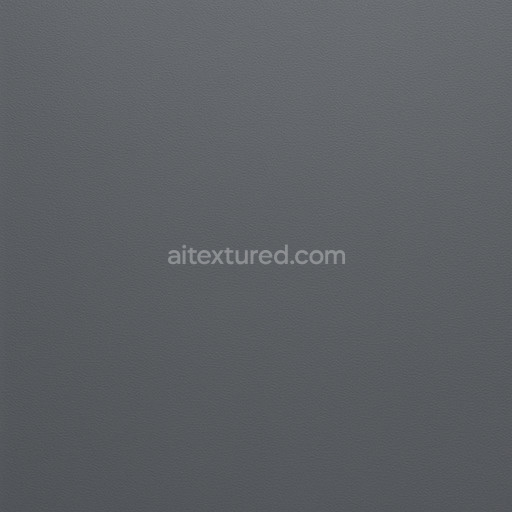
The butyl rubber slightly tacky texture is a meticulously crafted seamless material designed to replicate the distinctive surface qualities of butyl rubber a synthetic polymer primarily composed of polyisobutylene chains. This texture captures the polymer’s inherent low permeability and exceptional durability offering a soft yet resilient base substrate free from metallic elements which ensures a predominantly matte finish. The surface features a subtle tackiness achieved through finely tuned micro-porosity and a carefully balanced surface roughness preventing the rubber from feeling overly slick or dry. Its color profile consists of a muted deep black-gray tone with hints of subdued sheen reflecting the natural pigment and slight oxidation layers that develop on butyl rubber surfaces over time due to light exposure and environmental aging.
In the PBR workflow this PBR material butyl rubber slightly tacky material translates its physical properties effectively across multiple channels. The BaseColor map reveals subtle pigment variations and the natural shading of the rubber while the Normal map reproduces delicate surface grains and micro-textures that enhance tactile realism. The Roughness map governs the semi-matte slightly adhesive finish diffusing light softly and avoiding sharp reflections characteristic of glossier surfaces. The Metallic channel remains near zero consistent with the polymer’s non-metallic nature and Ambient Occlusion adds depth by shading fine crevices and indentations realistically. The Height or Displacement map further accentuates the texture’s slightly raised surface improving depth perception and the overall tactile impression.
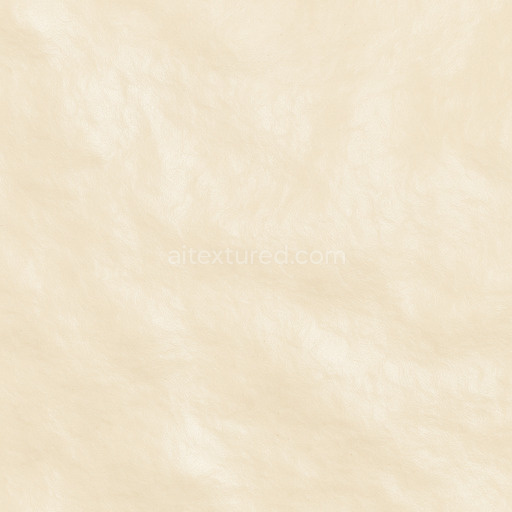
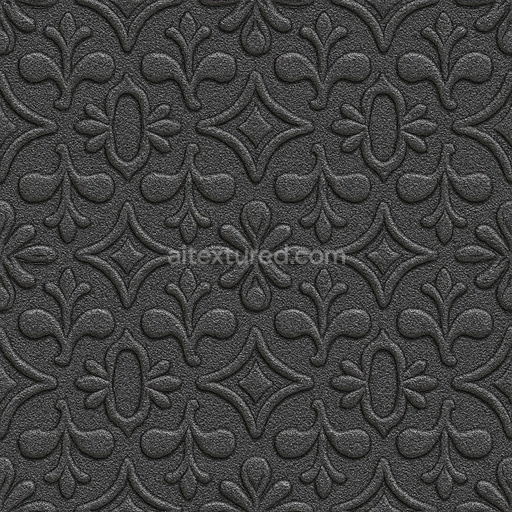
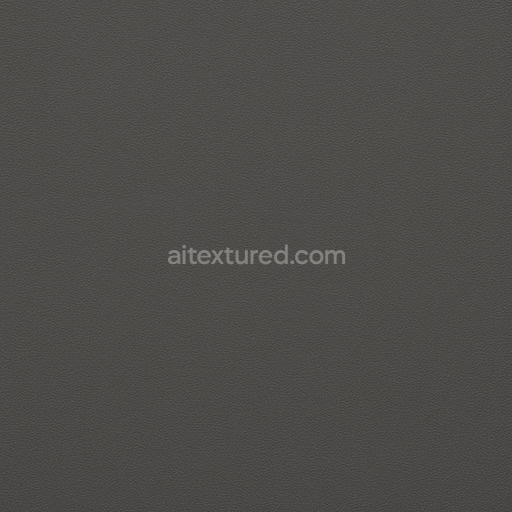
Rendered at an ultra-high resolution of up to 8K this tileable butyl rubber slightly tacky texture delivers exceptional detail and clarity making it ideal for close-up renders product visualization and expansive environment art. Its seamless tiling capability ensures that it can be applied across large surfaces without visible seams or repetitive patterns maintaining visual consistency in 3D projects. Fully compatible with major 3D engines such as Blender Unreal Engine and Unity this texture integrates smoothly into diverse workflows supporting realistic shading and lighting responses through its comprehensive PBR map set. For best results adjusting the UV scale is recommended to tailor the texture’s detail density to specific project requirements while fine-tuning roughness values can simulate varying degrees of surface tackiness to match different lighting conditions and desired realism levels.
The seamless butyl rubber slightly tacky surface exhibits realistic rubber textures enhanced by a detailed 3D preview for accurate PBR material evaluation.
Import the texture maps into Blender with sRGB color space for albedo/base color and Non-Color for normal, roughness, metallic, AO, height, and ORM maps. Connect normal maps through a Normal Map node, then adjust UV scale with a Mapping node so the material repeats naturally on your model.
For the full step-by-step setup, see How to Use Seamless Textures in Blender. Browse related material examples in wood, concrete, and metal.
Yes. This texture is designed as a seamless tileable PBR material, so it can repeat across large surfaces without visible borders.
You can download PNG/WEBP versions and use 1K, 2K, 4K and 8K download options when available on the page.
Yes. The download options and engine-mapped ZIP workflow are designed for Blender, Unreal Engine, Unity Standard, URP and HDRP material pipelines.
Yes. The texture is available under the AITextured free commercial license. Review the license page for redistribution and AI-training restrictions.
Build, preview, and export seamless PBR materials. Generate full map sets from a single image, inspect them in a real-time WebGL viewer, and re-package maps for Unreal, Unity, and Blender—directly in your browser.
AI text-to-texture: type a prompt and get a seamless, tileable base image ready for PBR workflows (great starting point for materials).
Create a full PBR set (Normal, Roughness, AO, Metallic, etc.) from a single image. Seamless and tiling-friendly.
Instant WebGL viewer: inspect materials on a sphere, plane, and cube. Check tiling and lighting in real time.
Re-packages maps per engine: Unreal (BaseColor + ORM), Unity (Mask/MetallicSmoothness), Blender (separate channels).
PNG ↔ JPG ↔ SVG: fast convert, SVG rasterize, embed/trace options, quality & background controls.