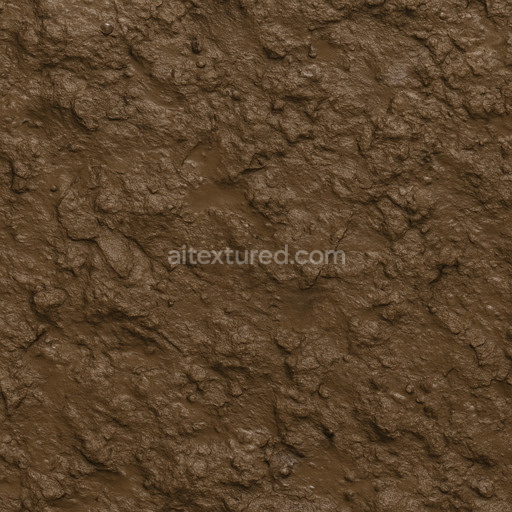
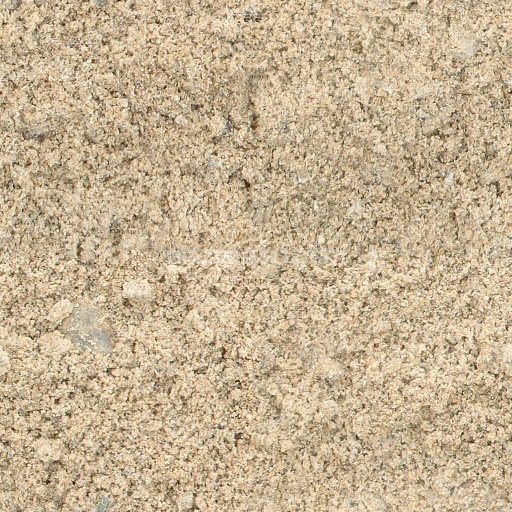
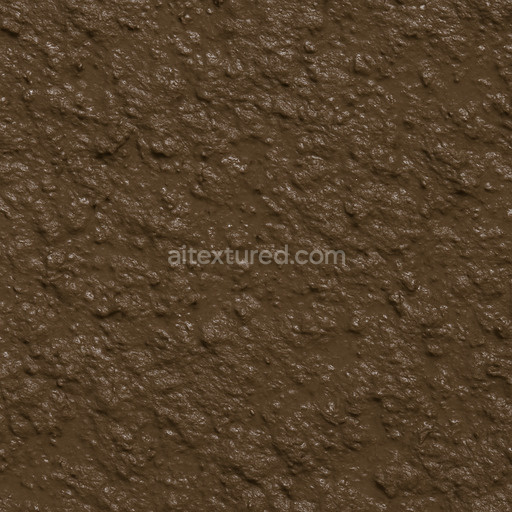
Weathered Wet Soil Seamless Texture
Seamless texture (tileable) · PNG, WEBP, PBR ZIP. License: AITextured Free Commercial License (FCL) v1.1. Free personal and commercial use. Raw resale, standalone redistribution, mirroring/scraping, competing asset packs, and AI/ML training are not allowed without written permission. Attribution is not required, but appreciated..

| ID | dirty-clay-soil-texture-seamless |
|---|---|
| Category | Sand-soil |
| Formats | PNG, WEBP, PBR ZIP |
| Size | 1k (1024x1024px), 2k (2048x2048px), 4k (4096x4096px), 8k (8192x8192px) |
| Color | sRGB |
| Tileable | Yes |
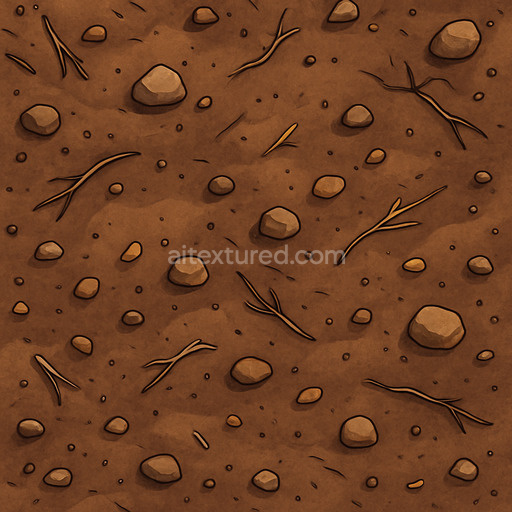
The dirty clay soil texture seamless high resolution up to 8K is a meticulously crafted AI-generated material designed to replicate the natural complexity of clay-rich soil substrates. This texture captures the intricate blend of fine mineral particles organic matter and subtle aggregates that compose typical clay soil lending it a slightly sticky yet crumbly appearance. The surface finish mimics a weathered earthy terrain with mild porosity and varied grain orientation reflecting natural soil compaction and erosion processes. Colorants in this texture are derived from natural pigments and iron oxide layers producing a warm muted palette of browns and reds with occasional darker flecks that enhance realism. These compositional details are expertly translated across the PBR channels: the BaseColor/Albedo defines the nuanced dirt tones while the Normal map introduces micro surface irregularities and grain depth emphasizing the soil’s tactile roughness. The Roughness map balances matte and semi-gloss areas simulating moist patches and drier cracked soil. Minimal Metallic values ensure an organic non-reflective appearance and Ambient Occlusion highlights the subtle crevices and depressions. Height and displacement maps add depth reinforcing the texture’s three-dimensional feel on large surfaces.
Rendered at a stunning 8k resolution this tileable dirty clay soil texture seamless high resolution up to 8K delivers unmatched clarity and detail making it ideal for high-fidelity real-time scenes cinematic renders and extensive level dressing in tools like Blender Unity and Unreal Engine. Its seamless tiling capability ensures that the pattern repeats naturally without visible seams or distracting artifacts which is essential for large terrain models or close-up shots requiring consistent material quality. The AI-enhanced generation process fine-tunes the texture for stability and visual coherence avoiding repetitive patterns that typically challenge auto-generated assets. This makes it highly reliable for accelerated sand-soil workflows providing predictable repeatable results across diverse project environments.
When integrating this texture into your 3D projects it is advisable to adjust the roughness and normal map intensities to suit your scene’s specific lighting conditions ensuring the soil surface appears grounded and natural under varying illumination. Additionally modifying the UV scale can help maintain realistic grain and aggregate proportions relative to the overall environment especially when working with expansive terrains. The combination of high-resolution texture data and well-balanced PBR channels makes this dirty clay soil texture seamless high resolution up to 8K an indispensable asset for artists and developers seeking authentic high-quality sand-soil textures with dynamic 3D preview capabilities.
This AI-generated dirty clay soil texture seamless high resolution up to 8K offers a highly detailed and realistic PBR appearance accurately capturing the rough and granular composition characteristic of dirty clay soil texture seamless high resolution up to 8K.
Import the texture maps into Blender with sRGB color space for albedo/base color and Non-Color for normal, roughness, metallic, AO, height, and ORM maps. Connect normal maps through a Normal Map node, then adjust UV scale with a Mapping node so the material repeats naturally on your model.
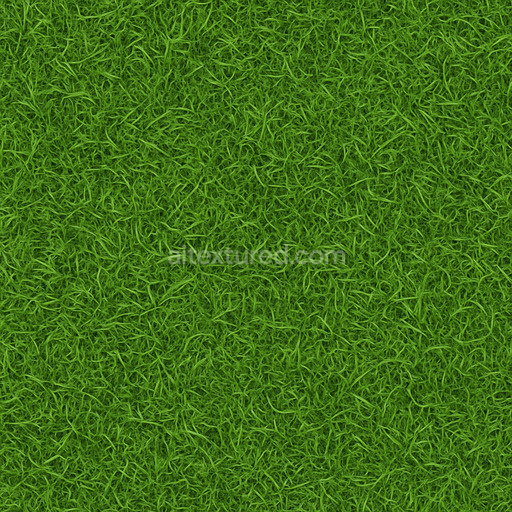
For the full step-by-step setup, see How to Use Seamless Textures in Blender. Browse related material examples in wood, concrete, and metal.
Yes. This texture is designed as a seamless tileable PBR material, so it can repeat across large surfaces without visible borders.
You can download PNG/WEBP versions and use 1K, 2K, 4K and 8K download options when available on the page.
Yes. The download options and engine-mapped ZIP workflow are designed for Blender, Unreal Engine, Unity Standard, URP and HDRP material pipelines.
Yes. The texture is available under the AITextured free commercial license. Review the license page for redistribution and AI-training restrictions.


Build, preview, and export seamless PBR materials. Generate full map sets from a single image, inspect them in a real-time WebGL viewer, and re-package maps for Unreal, Unity, and Blender—directly in your browser.
AI text-to-texture: type a prompt and get a seamless, tileable base image ready for PBR workflows (great starting point for materials).
Create a full PBR set (Normal, Roughness, AO, Metallic, etc.) from a single image. Seamless and tiling-friendly.
Instant WebGL viewer: inspect materials on a sphere, plane, and cube. Check tiling and lighting in real time.
Re-packages maps per engine: Unreal (BaseColor + ORM), Unity (Mask/MetallicSmoothness), Blender (separate channels).
PNG ↔ JPG ↔ SVG: fast convert, SVG rasterize, embed/trace options, quality & background controls.