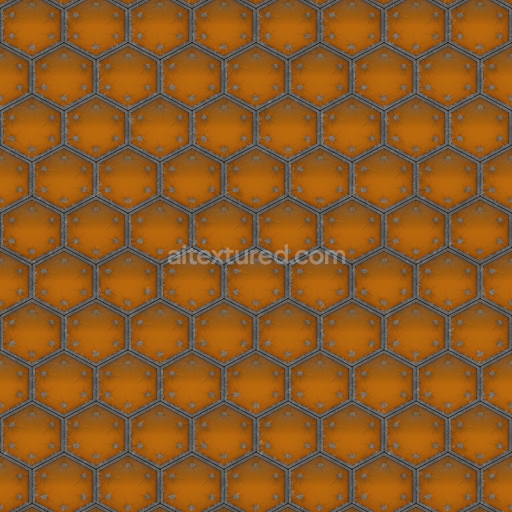
Archviz Metal Metallic Sci Scifi Spaceship Substance - Seamless PBR Texture
Seamless texture (tileable) · PNG, WEBP, PBR ZIP. License: AITextured Free Commercial License (FCL) v1.1. Free personal and commercial use. Raw resale, standalone redistribution, mirroring/scraping, competing asset packs, and AI/ML training are not allowed without written permission. Attribution is not required, but appreciated..

| ID | rough-techno-grid-texture-seamless |
|---|---|
| Category | Sci-fi |
| Formats | PNG, WEBP, PBR ZIP |
| Size | 1k (1024x1024px), 2k (2048x2048px), 4k (4096x4096px), 8k (8192x8192px) |
| Color | sRGB |
| Tileable | Yes |
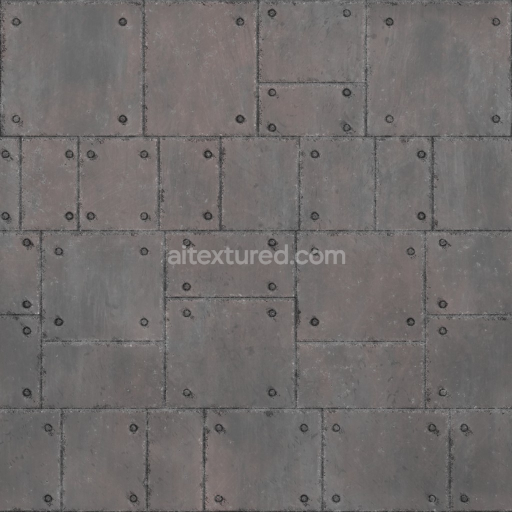
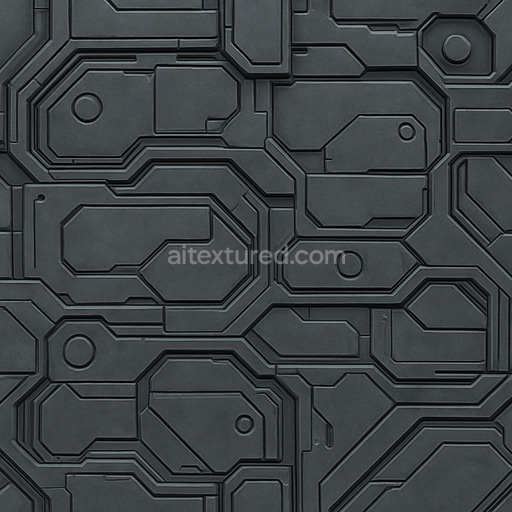
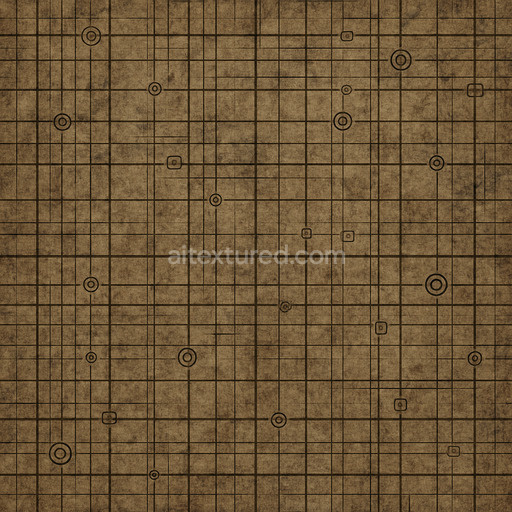
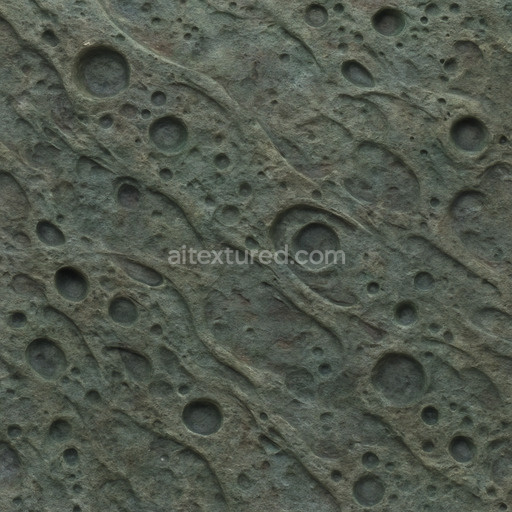
The Rough Techno Grid Texture Seamless high resolution up to 8K showcases a meticulously crafted material that evokes a futuristic industrial substrate combining elements reminiscent of brushed metal and polymer composites. The base surface appears as a high-tech mineral-infused polymer with embedded grid-like aggregates offering a tactile interplay between smooth oxidized metallic lines and rough matte polymeric panels. Fine micro-etched fibers and grain orientations run orthogonally enhancing structural complexity and contributing to subtle surface porosity. This interplay of mineral-based binders and synthetic polymer matrices creates a visually compelling texture with nuanced weathering effects suggesting light wear and environmental exposure without compromising the sharpness of the grid pattern. Pigment layers and oxide coatings impart a muted cool-toned color palette that emphasizes the industrial and sci-fi aesthetic while preserving a natural variation across the surface.
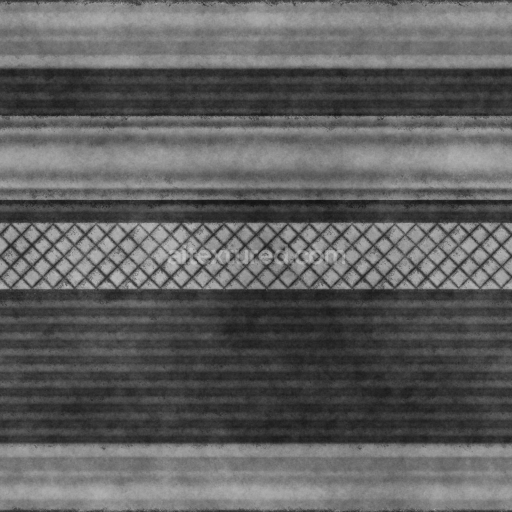
In terms of physically based rendering (PBR) channels the BaseColor/Albedo reflects a controlled blend of cool metallic grays and desaturated blues highlighting the worn but durable finish of the techno grid surface. The Normal map captures the intricate micro-detail of etched lines and intersecting grid fibers providing strong depth cues that enhance the perception of material complexity. Roughness values vary across the texture with polished metallic edges contrasting against the more diffuse rough polymeric base creating realistic light scattering and reflections. The Metallic channel accentuates the oxidized metal components while the Ambient Occlusion map adds subtle shadowing around grid intersections and surface irregularities reinforcing the three-dimensionality. Height/Displacement maps emphasize the raised grid framework and the recessed polymer panels allowing for enhanced parallax effects and realistic surface deformation in 3D environments.
This tileable rough techno grid texture seamless high resolution up to 8K is optimized for seamless integration in Blender Unreal Engine and Unity ensuring minimal setup for rapid look development and environment art. Its high resolution supports close-up renders and large-scale coverage without loss of detail ideal for sci-fi scenes architectural visualization and concept prototyping where precision and realism are paramount. For best results it is recommended to maintain consistent UV scale across assets and adjust the roughness channel to fine-tune the balance between metallic sheen and matte surfaces enhancing material believability under varied lighting conditions.
The seamless rough techno grid texture offers a high resolution up to 8K featuring an AI-generated rough techno grid texture with a sci-fi aesthetic that enhances PBR materials in 3D preview environments.
Import the texture maps into Blender with sRGB color space for albedo/base color and Non-Color for normal, roughness, metallic, AO, height, and ORM maps. Connect normal maps through a Normal Map node, then adjust UV scale with a Mapping node so the material repeats naturally on your model.
For the full step-by-step setup, see How to Use Seamless Textures in Blender. Browse related material examples in wood, concrete, and metal.
Yes. This texture is designed as a seamless tileable PBR material, so it can repeat across large surfaces without visible borders.
You can download PNG/WEBP versions and use 1K, 2K, 4K and 8K download options when available on the page.
Yes. The download options and engine-mapped ZIP workflow are designed for Blender, Unreal Engine, Unity Standard, URP and HDRP material pipelines.
Yes. The texture is available under the AITextured free commercial license. Review the license page for redistribution and AI-training restrictions.


Build, preview, and export seamless PBR materials. Generate full map sets from a single image, inspect them in a real-time WebGL viewer, and re-package maps for Unreal, Unity, and Blender—directly in your browser.
AI text-to-texture: type a prompt and get a seamless, tileable base image ready for PBR workflows (great starting point for materials).
Create a full PBR set (Normal, Roughness, AO, Metallic, etc.) from a single image. Seamless and tiling-friendly.
Instant WebGL viewer: inspect materials on a sphere, plane, and cube. Check tiling and lighting in real time.
Re-packages maps per engine: Unreal (BaseColor + ORM), Unity (Mask/MetallicSmoothness), Blender (separate channels).
PNG ↔ JPG ↔ SVG: fast convert, SVG rasterize, embed/trace options, quality & background controls.