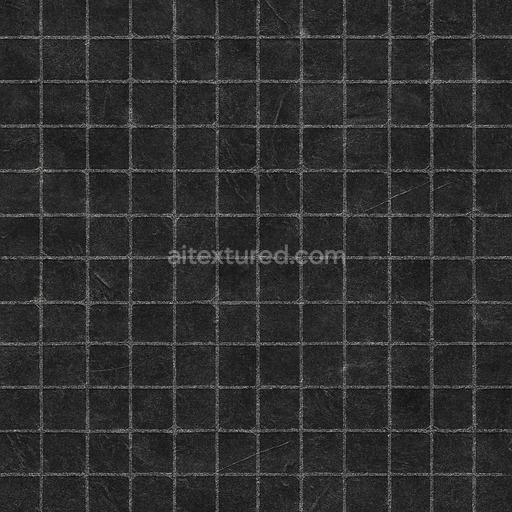
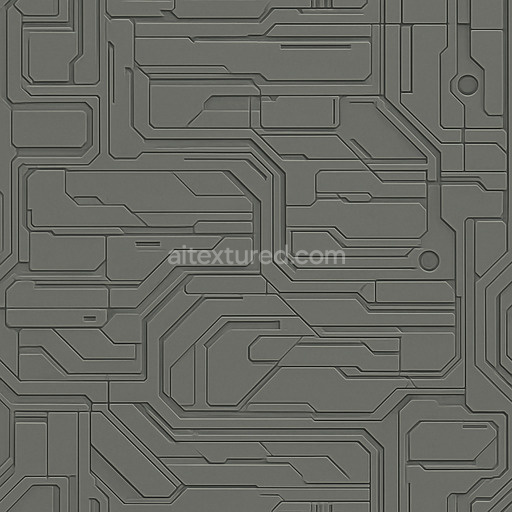
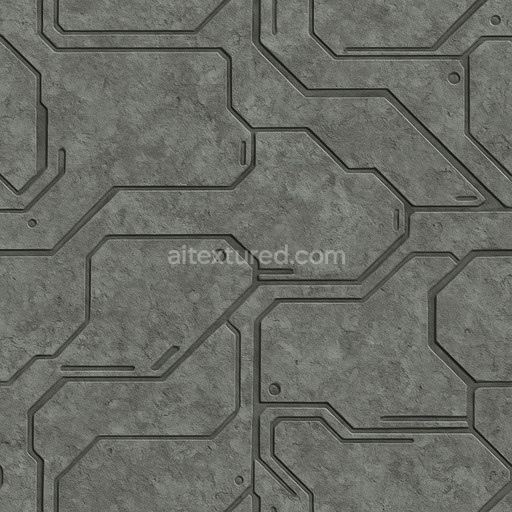
Archviz Metal Metallic Pipes Sci Scifi Ship - Seamless PBR Texture
Seamless texture (tileable) · PNG, WEBP, PBR ZIP. License: AITextured Free Commercial License (FCL) v1.1. Free personal and commercial use. Raw resale, standalone redistribution, mirroring/scraping, competing asset packs, and AI/ML training are not allowed without written permission. Attribution is not required, but appreciated..

| ID | ornate-futuristic-panel-texture-seamless |
|---|---|
| Category | Sci-fi |
| Formats | PNG, WEBP, PBR ZIP |
| Size | 1k (1024x1024px), 2k (2048x2048px), 4k (4096x4096px), 8k (8192x8192px) |
| Color | sRGB |
| Tileable | Yes |
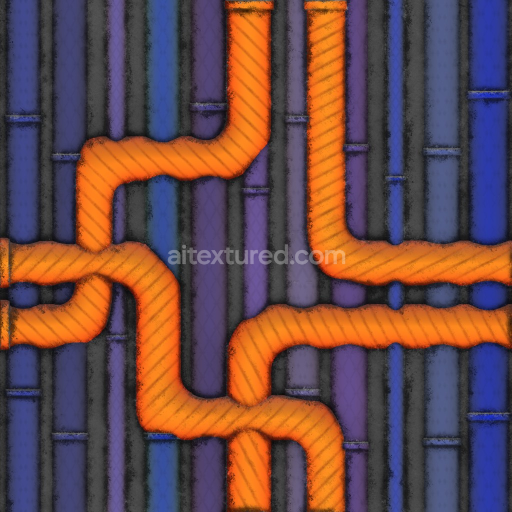
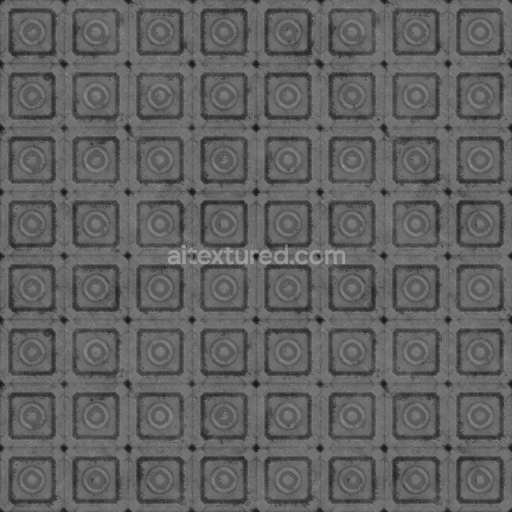
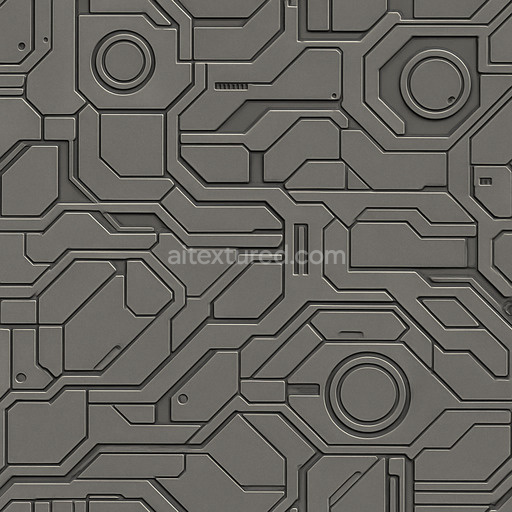
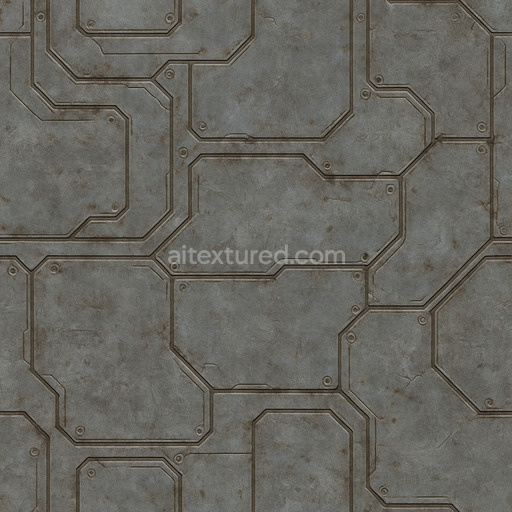
The Ornate Futuristic Panel Texture Seamless high resolution up to 8K is a meticulously engineered generated material designed to elevate sci-fi environments and advanced 3D workflows with exceptional detail and realism. At its core this seamless ornate futuristic panel texture high resolution up to 8K is composed of a sophisticated metal-polymer composite substrate that artfully blends polished alloys with high-tech polymer elements. The base surface exhibits a refined interplay of brushed metallic finishes combined with subtle oxide coatings and fine pigment layers which introduce nuanced color variations and depth visible within the BaseColor/Albedo channel. Carefully crafted microstructures and embossed panel lines replicate intricate architectural features creating a uniquely futuristic and ornate aesthetic that enhances any 3D preview or production model without losing its seamless tileability across expansive UV surfaces.
This tileable ornate futuristic panel texture seamless high resolution up to 8K excels in physically based rendering pipelines offering a full suite of PBR channels to maximize material fidelity and realism. The Normal and Height maps capture precise surface depth and micro-detail emphasizing the raised panel design and subtle embossing while the Roughness channel balances smooth polished areas with matte slightly weathered patches simulating gentle oxidation and wear. The Metallic channel distinctly defines the metal components within the composite ensuring accurate light reflection behavior across different engines like Blender Unreal Engine and Unity. Ambient Occlusion is thoughtfully integrated to enhance micro shadows in recessed crevices and panel junctions reinforcing the depth and three-dimensionality of the texture. With its ultra-high resolution up to 8K this texture maintains crispness and clarity even in close-up 3D previews and detailed architectural visualizations.
Crafted for seamless application on large surfaces this PBR material ornate futuristic panel texture seamless high resolution up to 8K benefits from moderate UV scaling to preserve the intricate detailing of the embossed panels and avoid distortion. Subtle tuning of the roughness parameter is recommended to tailor the reflectivity and surface finish according to specific lighting conditions enhancing the futuristic character without overwhelming highlights or unnatural gloss. For enhanced realism combining this texture with a light normal pass and ambient occlusion map will improve surface breakup and depth perception making it an ideal asset for sci-fi textures libraries concept prototyping and detailed environment art where high resolution seamless design and material authenticity are paramount.
Import the texture maps into Blender with sRGB color space for albedo/base color and Non-Color for normal, roughness, metallic, AO, height, and ORM maps. Connect normal maps through a Normal Map node, then adjust UV scale with a Mapping node so the material repeats naturally on your model.
For the full step-by-step setup, see How to Use Seamless Textures in Blender. Browse related material examples in wood, concrete, and metal.
Yes. This texture is designed as a seamless tileable PBR material, so it can repeat across large surfaces without visible borders.
You can download PNG/WEBP versions and use 1K, 2K, 4K and 8K download options when available on the page.
Yes. The download options and engine-mapped ZIP workflow are designed for Blender, Unreal Engine, Unity Standard, URP and HDRP material pipelines.
Yes. The texture is available under the AITextured free commercial license. Review the license page for redistribution and AI-training restrictions.


Generate, preview, and export seamless PBR materials for Blender, Unity, and Unreal Engine—directly in your browser.
AI text-to-texture: type a prompt and get a seamless, tileable base image ready for PBR workflows (great starting point for materials).
Create a full PBR set (Normal, Roughness, AO, Metallic, etc.) from a single image. Seamless and tiling-friendly.
Instant WebGL viewer: inspect materials on a sphere, plane, and cube. Check tiling and lighting in real time.
Re-packages maps per engine: Unreal (BaseColor + ORM), Unity (Mask/MetallicSmoothness), Blender (separate channels).
PNG ↔ JPG ↔ SVG: fast convert, SVG rasterize, embed/trace options, quality & background controls.