
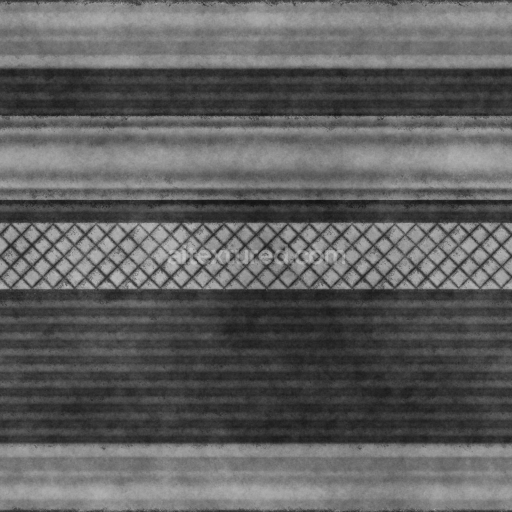
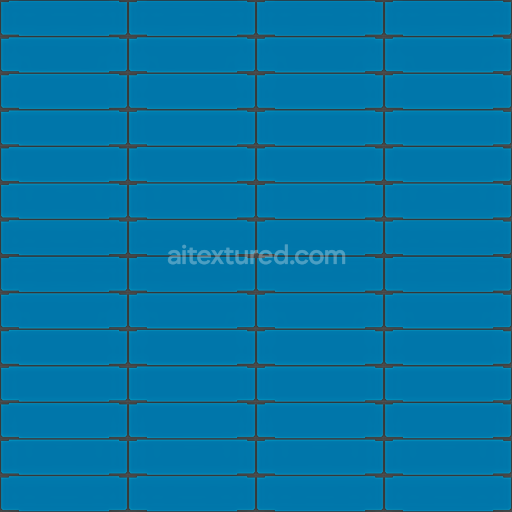
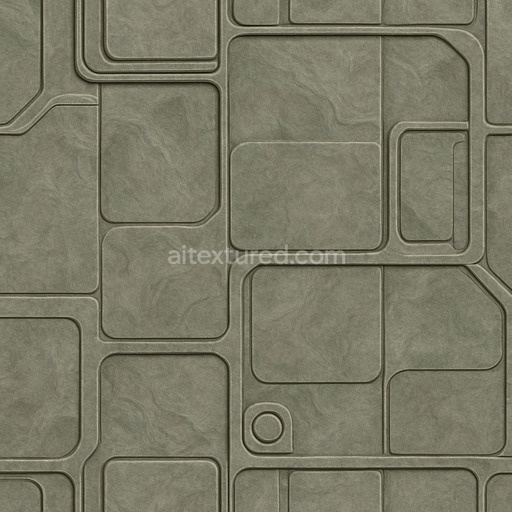
Default Floor Ground Plate Sci Scifi Ship - Seamless PBR Texture
Seamless texture (tileable) · PNG, WEBP, PBR ZIP. License: AITextured Free Commercial License (FCL) v1.1. Free personal and commercial use. Raw resale, standalone redistribution, mirroring/scraping, competing asset packs, and AI/ML training are not allowed without written permission. Attribution is not required, but appreciated..

| ID | patterned-futuristic-panel-texture-seamless |
|---|---|
| Category | Sci-fi |
| Formats | PNG, WEBP, PBR ZIP |
| Size | 1k (1024x1024px), 2k (2048x2048px), 4k (4096x4096px), 8k (8192x8192px) |
| Color | sRGB |
| Tileable | Yes |
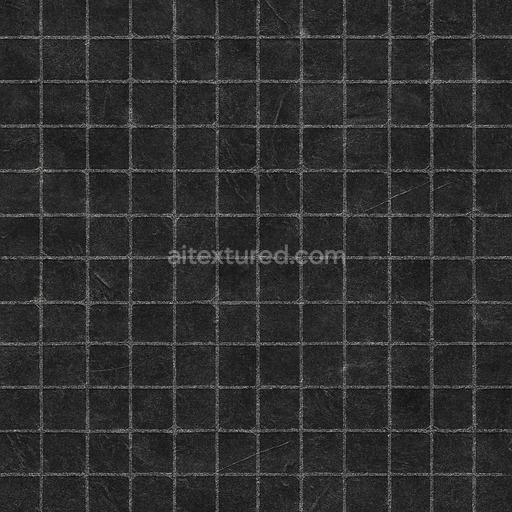
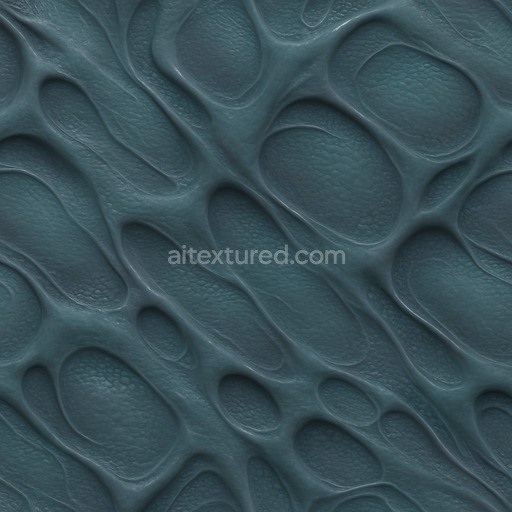
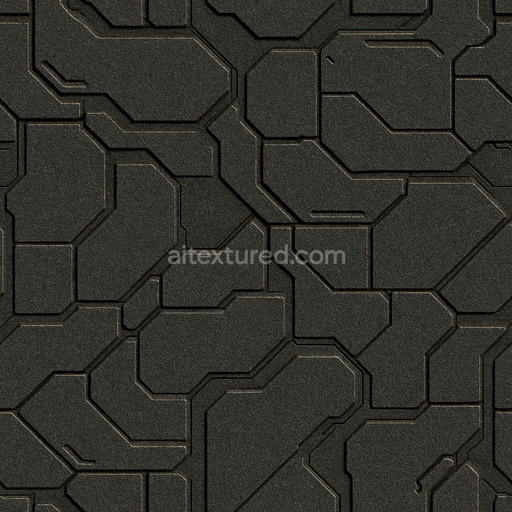
The patterned futuristic panel texture seamless high resolution up to 8K is a meticulously engineered material designed to simulate the advanced composite panels often featured in sci-fi environments and cutting-edge futuristic architecture. Its core substrate mimics a high-tech polymer-metal alloy hybrid optimized for both exceptional durability and lightweight performance. The surface finish presents a refined blend of subtle brushed and anodized metal effects enhanced by integrated synthetic binders that ensure strong cohesion and long-lasting resilience. Embedded within the panel’s structure are fine aggregates and fiber-like reinforcements arranged with deliberate grain orientation which not only elevate the mechanical strength but also contribute to a sleek modern aesthetic. The carefully calibrated color palette arises from a combination of oxide layers and precision-applied pigments creating a harmonious interplay of muted metallic hues with soft futuristic tones. This advanced layering results in minimal porosity and realistic wear resistance with delicate weathering marks subtly enhancing authenticity without detracting from surface clarity.
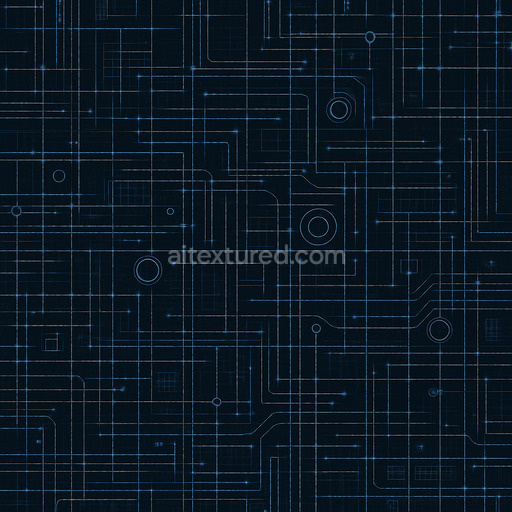
In practical PBR workflows this tileable patterned futuristic panel texture seamless high resolution up to 8K excels by delivering consistent highly detailed results across all texture channels. The BaseColor/Albedo map captures the nuanced variations of metallic and polymer pigments with high fidelity while the Normal map highlights the intricate ridges and embedded fiber patterns adding convincing depth and tactile complexity. The Roughness channel is carefully balanced to produce a semi-gloss finish that harmonizes diffuse and specular reflections avoiding extremes of shininess or dullness. The Metallic channel precisely defines the metal components within the texture enabling realistic light interaction and reflective behavior. Ambient Occlusion enhances natural shadowing in recessed panel joints and surface crevices strengthening spatial depth perception. Additionally the Height/Displacement map is optimized for parallax and displacement effects providing convincing three-dimensionality on large UV islands without visible seams or distortion crucial for immersive sci-fi visualizations.
Fully compatible with modern 3D software such as Blender Unreal Engine and Unity this seamless patterned futuristic panel texture seamless high resolution up to 8K ensures crystal-clear sharpness even when applied to expansive surfaces or close-up renders. Its ultra-high resolution supports detailed sci-fi textures that maintain integrity under various lighting conditions and camera distances. For optimal use it is recommended to maintain uniform UV mapping and consistent texel density across your assets to prevent distortion or pattern stretching. Additionally adjusting roughness parameters in your shader settings allows fine-tuning of surface reflectivity to suit different lighting environments enhancing realism in game design architectural visualization and product mockups. This high-quality PBR texture includes a 3D preview showcasing the material’s seamless properties and photorealistic appearance making it an ideal resource for any futuristic digital project.
Import the texture maps into Blender with sRGB color space for albedo/base color and Non-Color for normal, roughness, metallic, AO, height, and ORM maps. Connect normal maps through a Normal Map node, then adjust UV scale with a Mapping node so the material repeats naturally on your model.
For the full step-by-step setup, see How to Use Seamless Textures in Blender. Browse related material examples in wood, concrete, and metal.
Yes. This texture is designed as a seamless tileable PBR material, so it can repeat across large surfaces without visible borders.
You can download PNG/WEBP versions and use 1K, 2K, 4K and 8K download options when available on the page.
Yes. The download options and engine-mapped ZIP workflow are designed for Blender, Unreal Engine, Unity Standard, URP and HDRP material pipelines.
Yes. The texture is available under the AITextured free commercial license. Review the license page for redistribution and AI-training restrictions.


Build, preview, and export seamless PBR materials. Generate full map sets from a single image, inspect them in a real-time WebGL viewer, and re-package maps for Unreal, Unity, and Blender—directly in your browser.
AI text-to-texture: type a prompt and get a seamless, tileable base image ready for PBR workflows (great starting point for materials).
Create a full PBR set (Normal, Roughness, AO, Metallic, etc.) from a single image. Seamless and tiling-friendly.
Instant WebGL viewer: inspect materials on a sphere, plane, and cube. Check tiling and lighting in real time.
Re-packages maps per engine: Unreal (BaseColor + ORM), Unity (Mask/MetallicSmoothness), Blender (separate channels).
PNG ↔ JPG ↔ SVG: fast convert, SVG rasterize, embed/trace options, quality & background controls.