Seamless 8K PBR 3D texture of window condensation drops on textured glass with subtle win…
Seamless texture (tileable) · PNG, WEBP, PBR ZIP. License: AITextured Free Commercial License (FCL) v1.1. Free personal and commercial use. Raw resale, standalone redistribution, mirroring/scraping, competing asset packs, and AI/ML training are not allowed without written permission. Attribution is not required, but appreciated..

| ID | seamless-8k-pbr-3d-texture-of-casement-window-with-scratched-glass-and-window-dirt-streaks |
|---|---|
| Category | Window |
| Formats | PNG, WEBP, PBR ZIP |
| Size | 1k (1024x1024px), 2k (2048x2048px), 4k (4096x4096px), 8k (8192x8192px) |
| Color | sRGB |
| Tileable | Yes |
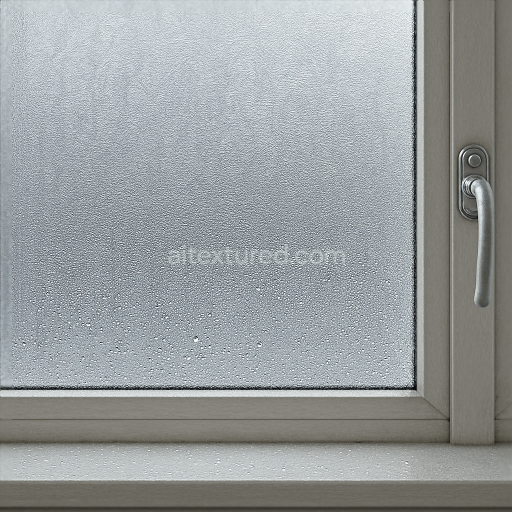
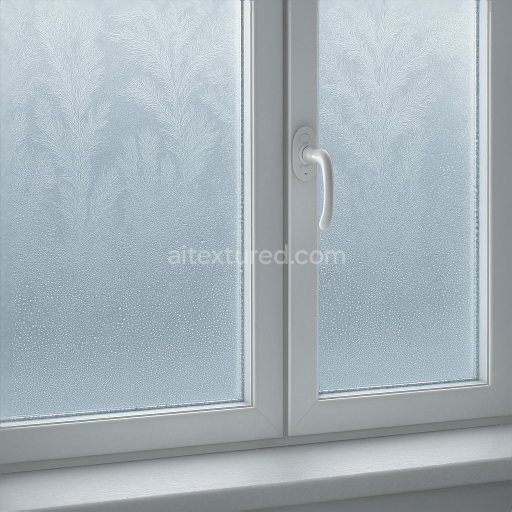
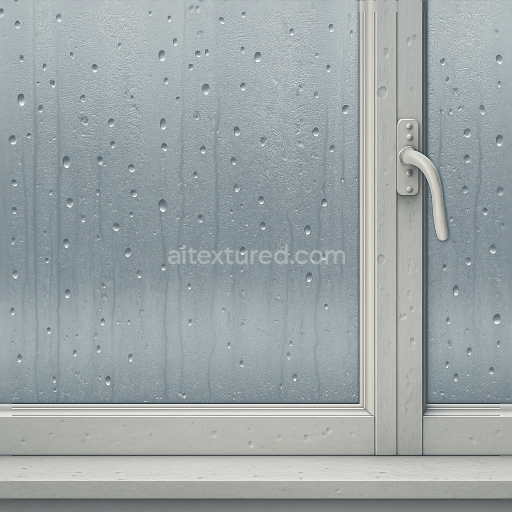
This seamless 8K PBR texture captures the intricate details of a classic casement window constructed primarily from painted wood and single-pane glass. The wooden frame and window sill exhibit a subtle grain structure typical of aged timber with fine cracks and slight warping that suggest prolonged exposure to environmental factors. The substrate of the wood consists of natural cellulose fibers bound by lignin enhanced by layers of weathered paint acting as a protective binder. Small chips and worn edges reveal the underlying wood tone while a thin dust layer settles into crevices emphasizing the organic surface porosity and surface roughness. The wooden window latch and handle are crafted from metal likely iron or steel exhibiting a matte slightly oxidized finish with faint rust discolorations and microscratches from frequent use. These metallic components feature low reflectivity and a non-metallic base color in the PBR workflow highlighting their aged patina.
The glass panes present a complex surface geometry characterized by numerous fine scratches and smudges coupled with subtle window dirt streaks formed by accumulated grime and water runoff. The glass material is modeled with a smooth polished substrate that incorporates transparency and subsurface light scattering typical of blown or cast glass. Minor imperfections in the glass surface are captured through height and normal maps providing a realistic depth to the scratches and smudges without compromising overall translucency. The dirt streaks and dust layers are integrated primarily within the roughness and ambient occlusion channels enhancing the diffuse scattering of light and creating a believable weathered effect. The base color of the glass remains mostly neutral and slightly tinted while the roughness varies subtly to reflect the uneven wear and contamination.
From a PBR channel perspective the BaseColor map defines the wood’s warm muted browns and faded paint hues the metal’s dark gray oxidation and the glass’s near-transparent but subtly tinted surface. The Normal map captures wood grain paint chips metal wear and glass scratches contributing fine detail to surface geometry. Roughness is carefully calibrated to reflect the contrast between the polished glass the matte metal components and the textured wood while the Metallic map isolates the iron elements with high fidelity. Ambient Occlusion enhances shadow depth in recessed areas such as around the window latch and handle as well as within crevices of the wood grain and dirt streaks. Height or displacement maps provide the subtle relief needed for layered dust buildup and the tactile feel of scratches particularly on glass and wood edges.
This texture is optimized for seamless tiling and high-resolution detail making it ideal for architectural visualization game environments and virtual production in Blender Unreal Engine and Unity. To maximize realism it is recommended to carefully adjust the UV scale to match the model’s proportions ensuring the wood grain and glass imperfections are neither too large nor too repetitive. Additionally blending height or parallax maps with normal maps can enhance the perception of surface depth on the scratched glass while fine-tuning roughness values can control the balance between glossiness and dirt accumulation for different lighting conditions.
Import the texture maps into Blender with sRGB color space for albedo/base color and Non-Color for normal, roughness, metallic, AO, height, and ORM maps. Connect normal maps through a Normal Map node, then adjust UV scale with a Mapping node so the material repeats naturally on your model.
For the full step-by-step setup, see How to Use Seamless Textures in Blender. Browse related material examples in wood, concrete, and metal.
Yes. This texture is designed as a seamless tileable PBR material, so it can repeat across large surfaces without visible borders.
You can download PNG/WEBP versions and use 1K, 2K, 4K and 8K download options when available on the page.
Yes. The download options and engine-mapped ZIP workflow are designed for Blender, Unreal Engine, Unity Standard, URP and HDRP material pipelines.
Yes. The texture is available under the AITextured free commercial license. Review the license page for redistribution and AI-training restrictions.
Generate, preview, and export seamless PBR materials for Blender, Unity, and Unreal Engine—directly in your browser.
AI text-to-texture: type a prompt and get a seamless, tileable base image ready for PBR workflows (great starting point for materials).
Create a full PBR set (Normal, Roughness, AO, Metallic, etc.) from a single image. Seamless and tiling-friendly.
Instant WebGL viewer: inspect materials on a sphere, plane, and cube. Check tiling and lighting in real time.
Re-packages maps per engine: Unreal (BaseColor + ORM), Unity (Mask/MetallicSmoothness), Blender (separate channels).
PNG ↔ JPG ↔ SVG: fast convert, SVG rasterize, embed/trace options, quality & background controls.