
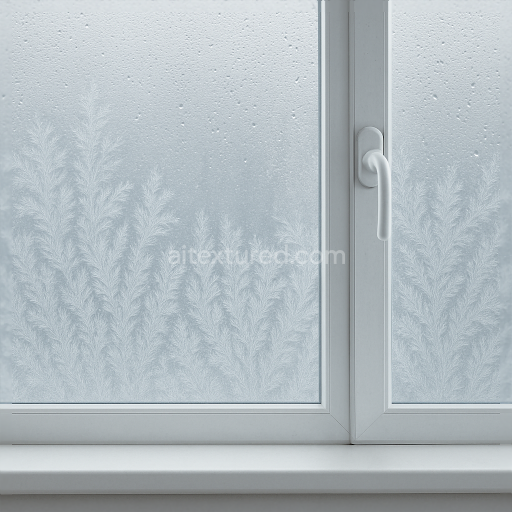
Seamless 8K PBR 3D texture of arched window with textured glass and peeling paint on old…
Seamless texture (tileable) · PNG, WEBP, PBR ZIP. License: AITextured Free Commercial License (FCL) v1.1. Free personal and commercial use. Raw resale, standalone redistribution, mirroring/scraping, competing asset packs, and AI/ML training are not allowed without written permission. Attribution is not required, but appreciated..

| ID | seamless-8k-pbr-3d-texture-of-sliding-window-with-clear-glass-and-smooth-glass-surface |
|---|---|
| Category | Window |
| Formats | PNG, WEBP, PBR ZIP |
| Size | 1k (1024x1024px), 2k (2048x2048px), 4k (4096x4096px), 8k (8192x8192px) |
| Color | sRGB |
| Tileable | Yes |
This seamless 8k PBR 3D texture depicts a meticulously crafted sliding window featuring clear smooth glass panes set within a sturdy frame. The primary materials consist of tempered glass for the sliding panels characterized by a polished and highly transparent surface with minimal roughness to simulate realistic light transmission and subtle reflections. The glass exhibits a low roughness value in the PBR roughness map producing a sleek and smooth finish while the normal map captures delicate surface imperfections and slight curvature to enhance realism without compromising clarity.
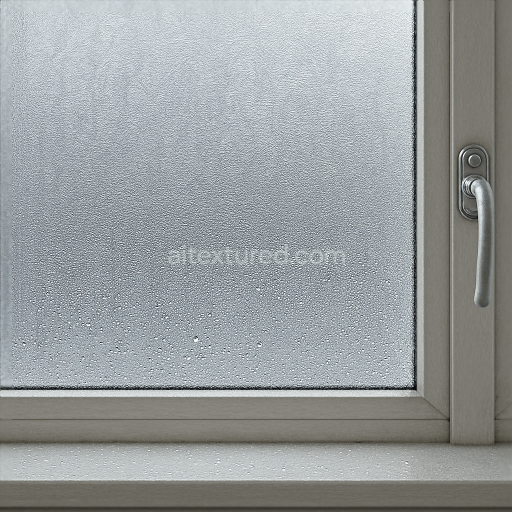
The window frame and sill are modeled with a refined aluminum or powder-coated metal base providing structural support to the sliding mechanism. This metal surface is treated with a subtle brushed finish visible in the normal and roughness maps conveying a slight anisotropic texture typical of modern window frames. The metallic areas are encoded with high values in the metallic channel while the base color features neutral grays with slight color variation to mimic real-life anodized aluminum. Ambient occlusion maps enrich crevices around hinges latches and locks emphasizing depth and mechanical complexity.
Additional functional elements such as the window latch handle lock and hinges are integrated seamlessly into the texture each modeled with precise geometric detail and corresponding PBR attributes. These components share the same metal substrate but exhibit varied surface finishes ranging from polished chrome to matte black coatings differentiated through the base color and roughness channels. The displacement map subtly enhances the raised details of these elements while the normal map ensures crisp edge definition essential for close-up renders.
The overall geometric form follows a modular rectangular sliding window pattern with clean lines and smooth transitions between glass and frame. The texture’s low porosity and minimal weathering effects imply a well-maintained exterior suitable for contemporary architectural visualizations. The height map gently defines the window sill’s edge and the depth of the sliding tracks adding dimensionality without harsh contrasts. This texture is fully optimized for use in Blender Unreal Engine and Unity offering 8k resolution for ultra-high detail rendering and seamless tiling for scalable environments.
For practical application it is recommended to carefully adjust the UV scale to maintain the perceived size of window components within your scene avoiding distortion of fine details such as the latch and handle. Additionally fine-tuning the roughness channel can help balance the reflectivity of the glass and frame under varying lighting conditions while blending normal and height maps enhances the tactile realism of metal fixtures without excessive geometry.
Import the texture maps into Blender with sRGB color space for albedo/base color and Non-Color for normal, roughness, metallic, AO, height, and ORM maps. Connect normal maps through a Normal Map node, then adjust UV scale with a Mapping node so the material repeats naturally on your model.
For the full step-by-step setup, see How to Use Seamless Textures in Blender. Browse related material examples in wood, concrete, and metal.
Yes. This texture is designed as a seamless tileable PBR material, so it can repeat across large surfaces without visible borders.
You can download PNG/WEBP versions and use 1K, 2K, 4K and 8K download options when available on the page.
Yes. The download options and engine-mapped ZIP workflow are designed for Blender, Unreal Engine, Unity Standard, URP and HDRP material pipelines.
Yes. The texture is available under the AITextured free commercial license. Review the license page for redistribution and AI-training restrictions.


Generate, preview, and export seamless PBR materials for Blender, Unity, and Unreal Engine—directly in your browser.
AI text-to-texture: type a prompt and get a seamless, tileable base image ready for PBR workflows (great starting point for materials).
Create a full PBR set (Normal, Roughness, AO, Metallic, etc.) from a single image. Seamless and tiling-friendly.
Instant WebGL viewer: inspect materials on a sphere, plane, and cube. Check tiling and lighting in real time.
Re-packages maps per engine: Unreal (BaseColor + ORM), Unity (Mask/MetallicSmoothness), Blender (separate channels).
PNG ↔ JPG ↔ SVG: fast convert, SVG rasterize, embed/trace options, quality & background controls.