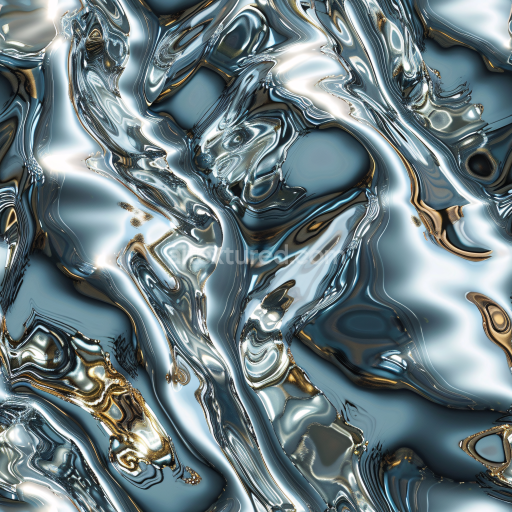
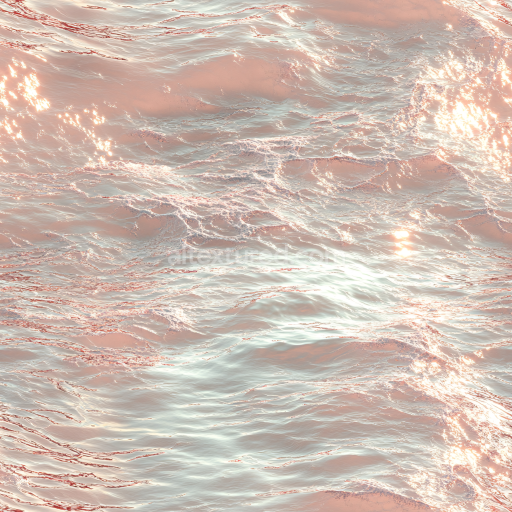
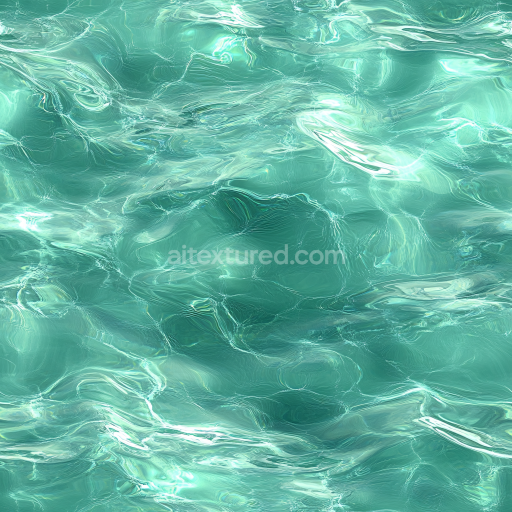
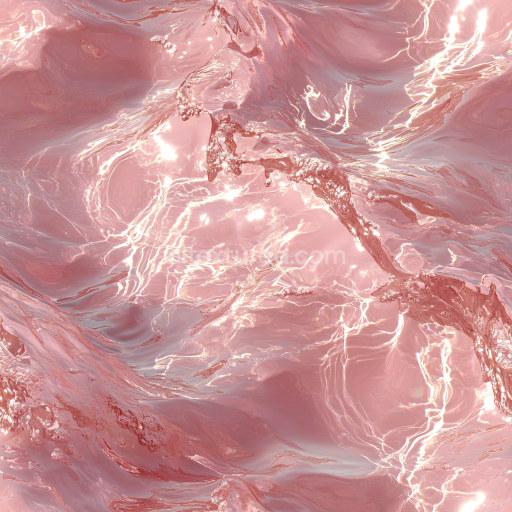
Futuristic Reflective Liquid Metal Water Seamless Texture
Seamless texture (tileable) · PNG, WEBP, PBR ZIP. License: AITextured Free Commercial License (FCL) v1.1. Free personal and commercial use. Raw resale, standalone redistribution, mirroring/scraping, competing asset packs, and AI/ML training are not allowed without written permission. Attribution is not required, but appreciated..

| ID | detailed-lake-seamless-texture |
|---|---|
| Category | Water |
| Formats | PNG, WEBP, PBR ZIP |
| Size | 1k (1024x1024px), 2k (2048x2048px), 4k (4096x4096px), 8k (8192x8192px) |
| Color | sRGB |
| Tileable | Yes |
The Detailed Lake Seamless Texture is an AI-generated water texture meticulously crafted to elevate your 3D material workflows with outstanding realism and versatility. This tileable detailed lake seamless texture captures the intricate interplay of natural water surfaces combining subtle organic variations and finely resolved micro-details that mimic the complexity of freshwater bodies. Its composition reflects layered interactions between a transparent aqueous base suspended organic particles and faint surface ripples represented through carefully synthesized colorants and translucency effects. The base substrate appears as a fluid polymer-like medium with a softly shifting blue-green palette created by pigment dispersion and oxide layers that simulate depth and clarity. Adhesive qualities emerge in the smooth surface finish resembling gently undulating water while the normal and height channels emphasize delicate wave patterns and minute surface tension irregularities enhancing the tactile sense of calm lake water. In physically based rendering (PBR) terms this seamless detailed lake seamless texture excels through its precise channel outputs. The BaseColor or Albedo map delivers clean natural blues and subtle greens without harsh transitions ensuring seamless tiling across large surfaces. The Normal map encodes fine ripples and gentle undulations that respond dynamically to lighting while the Roughness channel controls the surface gloss balancing between smooth reflections and diffused highlights to simulate wetness and water clarity. Metallic values are minimal or absent consistent with non-metallic water surfaces whereas Ambient Occlusion subtly deepens shadowed crevices formed by wave troughs. The Height or Displacement map enhances the spatial depth of water waves perfect for parallax effects and realistic surface deformation in real-time engines. This detailed lake seamless texture supports up to 8K resolution offering crystal-clear detail suitable for cinematic renders real-time scenes and level dressing when working in Blender Unity or Unreal Engine. To maximize realism when applying this PBR material detailed lake seamless texture consider adjusting the UV scale to fit your scene’s physical dimensions precisely ensuring the pattern scales elegantly without visible repetition. Additionally fine-tuning the roughness channel intensity to match your lighting rig will help ground the material convincingly within your environment whether under bright daylight or moody overcast conditions. Its seamless nature and high resolution enable fast iteration loops keeping your water textures visually rich and production-ready across diverse workflows and projects.
Import the texture maps into Blender with sRGB color space for albedo/base color and Non-Color for normal, roughness, metallic, AO, height, and ORM maps. Connect normal maps through a Normal Map node, then adjust UV scale with a Mapping node so the material repeats naturally on your model.
For the full step-by-step setup, see How to Use Seamless Textures in Blender. Browse related material examples in wood, concrete, and metal.
Yes. This texture is designed as a seamless tileable PBR material, so it can repeat across large surfaces without visible borders.
You can download PNG/WEBP versions and use 1K, 2K, 4K and 8K download options when available on the page.
Yes. The download options and engine-mapped ZIP workflow are designed for Blender, Unreal Engine, Unity Standard, URP and HDRP material pipelines.
Yes. The texture is available under the AITextured free commercial license. Review the license page for redistribution and AI-training restrictions.


Build, preview, and export seamless PBR materials. Generate full map sets from a single image, inspect them in a real-time WebGL viewer, and re-package maps for Unreal, Unity, and Blender—directly in your browser.
AI text-to-texture: type a prompt and get a seamless, tileable base image ready for PBR workflows (great starting point for materials).
Create a full PBR set (Normal, Roughness, AO, Metallic, etc.) from a single image. Seamless and tiling-friendly.
Instant WebGL viewer: inspect materials on a sphere, plane, and cube. Check tiling and lighting in real time.
Re-packages maps per engine: Unreal (BaseColor + ORM), Unity (Mask/MetallicSmoothness), Blender (separate channels).
PNG ↔ JPG ↔ SVG: fast convert, SVG rasterize, embed/trace options, quality & background controls.