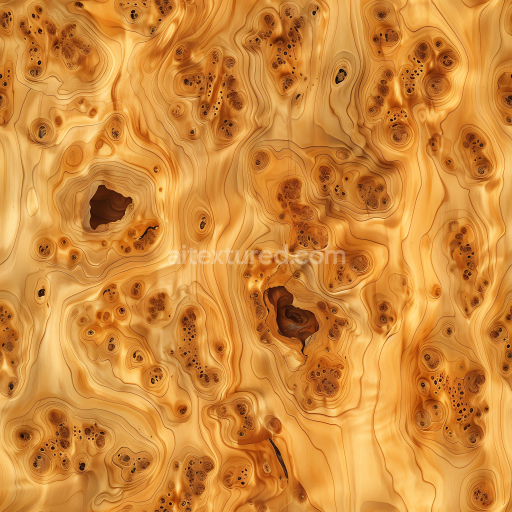
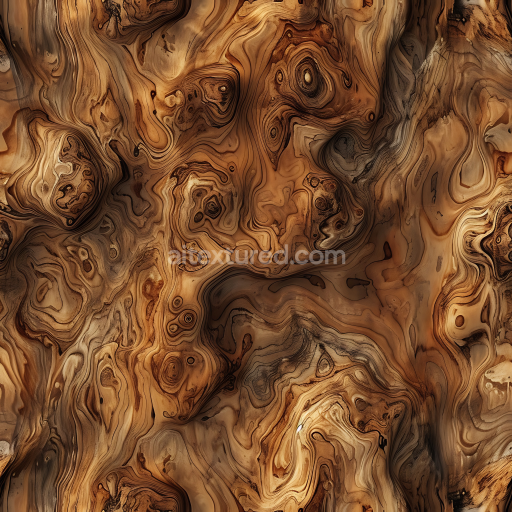
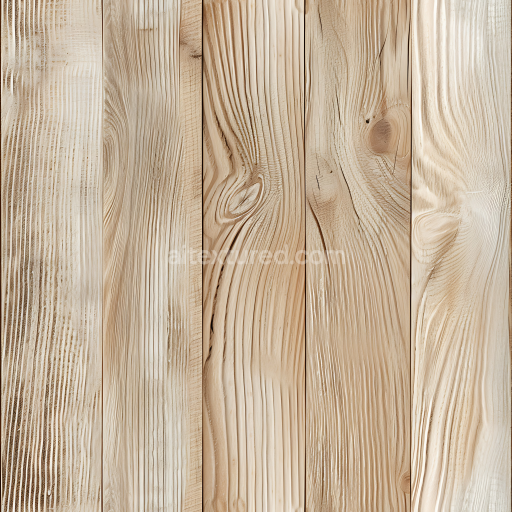
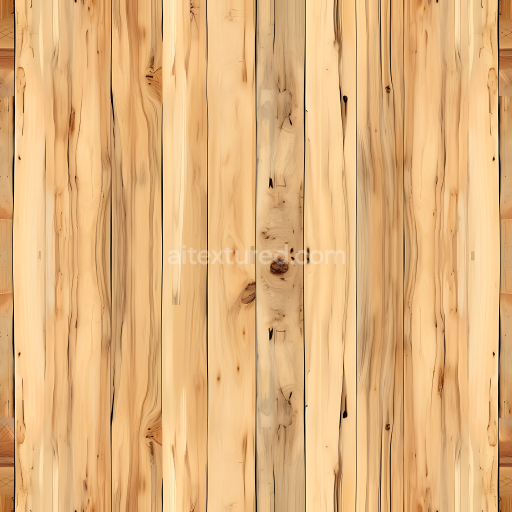
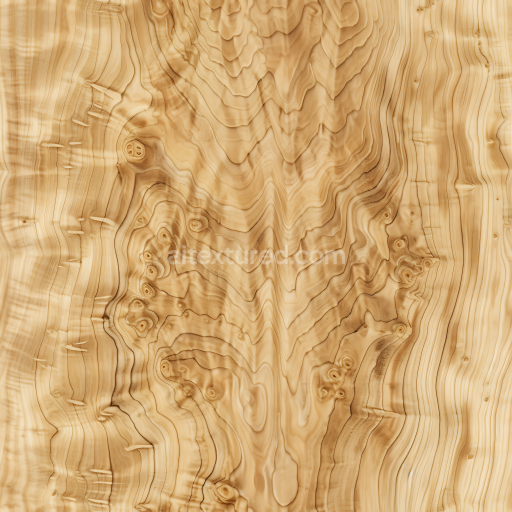
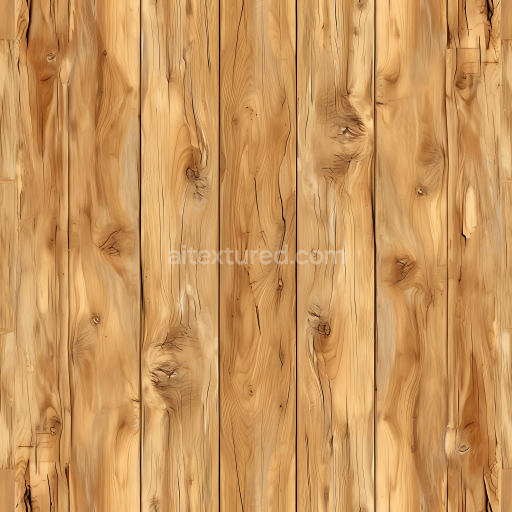
Knotty Pine Wood Burl PBR Texture with Intricate Knots and Grain Patterns
Seamless texture (tileable) · PNG, WEBP, PBR ZIP. License: AITextured Free Commercial License (FCL) v1.1. Free personal and commercial use. Raw resale, standalone redistribution, mirroring/scraping, competing asset packs, and AI/ML training are not allowed without written permission. Attribution is not required, but appreciated..

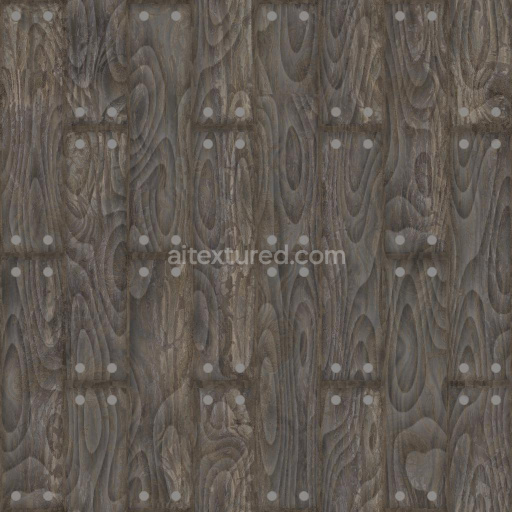
| ID | wood-planks-with-nails-free-pbr-1 |
|---|---|
| Category | Wood |
| Formats | PNG, WEBP, PBR ZIP |
| Size | 1k (1024x1024px), 2k (2048x2048px), 4k (4096x4096px), 8k (8192x8192px) |
| Color | sRGB |
| Tileable | Yes |
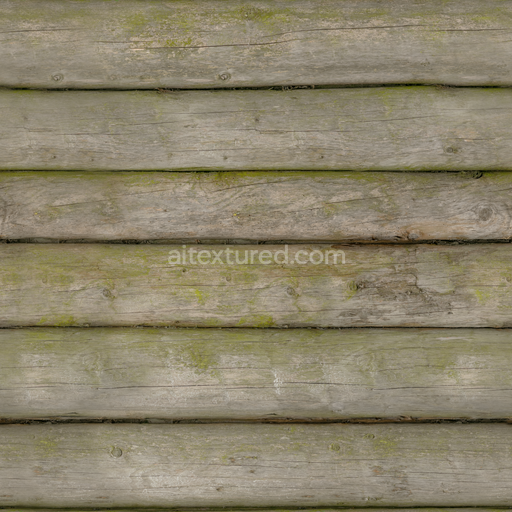
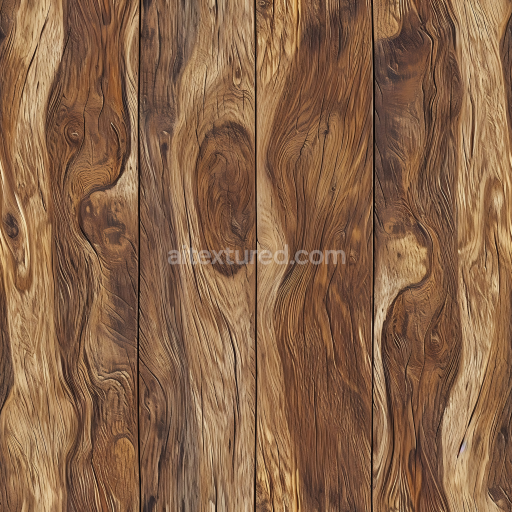
This seamless PBR texture showcases a detailed surface of wooden planks fastened with nails, crafted from natural wood as the base substrate. The wood grain orientation is clearly visible, exhibiting organic fibers and subtle porosity that reflect typical weathering and aging effects. The nails embedded within the planks add a metallic contrast, emphasizing the material’s mixed composition of organic wood and metal fasteners. The surface finish combines the slightly rough, matte texture of aged wood with the cool, oxidized sheen of worn nails, creating a realistic interplay of materials.
In terms of PBR channels, the BaseColor/Albedo map captures the warm, earthy tones of the wood alongside the muted gray of the metal nails, enhanced by subtle variations in pigment and natural discoloration. The Normal map defines the intricate wood grain relief and the slight indentations around the nail heads, contributing to a tactile surface feel. Roughness values vary across the texture, with the wood showing a moderately high roughness to simulate its fibrous texture, while the nails exhibit lower roughness for a more reflective metal finish. The Metallic channel isolates the nails, giving them full metallic properties, while the wood remains non-metallic. Ambient Occlusion intensifies shadowing in crevices between planks and around nail heads, adding depth and realism. Height/Displacement maps provide fine surface detail, enhancing the perception of grain depth and nail head protrusion.
Rendered at up to 8K resolution, this texture is optimized for high-fidelity workflows and is fully compatible with popular 3D software such as Blender, Unreal Engine, and Unity. Its high detail ensures close-up use without loss of quality, making it ideal for architectural visualization, game environments, and product design where realistic wood and metal surfaces are required. For best results, it is recommended to adjust the UV scale to match the real-world plank dimensions and fine-tune the roughness map to balance the worn wood’s matte texture with the subtle metal reflections. Additionally, using height or parallax mapping can greatly enhance the three-dimensional feel of the wood grain and nails, adding immersive depth to your renderings.
Import the texture maps into Blender with sRGB color space for albedo/base color and Non-Color for normal, roughness, metallic, AO, height, and ORM maps. Connect normal maps through a Normal Map node, then adjust UV scale with a Mapping node so the material repeats naturally on your model.
For the full step-by-step setup, see How to Use Seamless Textures in Blender. Browse related material examples in wood, concrete, and metal.
Yes. This texture is designed as a seamless tileable PBR material, so it can repeat across large surfaces without visible borders.
You can download PNG/WEBP versions and use 1K, 2K, 4K and 8K download options when available on the page.
Yes. The download options and engine-mapped ZIP workflow are designed for Blender, Unreal Engine, Unity Standard, URP and HDRP material pipelines.
Yes. The texture is available under the AITextured free commercial license. Review the license page for redistribution and AI-training restrictions.

Build, preview, and export seamless PBR materials. Generate full map sets from a single image, inspect them in a real-time WebGL viewer, and re-package maps for Unreal, Unity, and Blender—directly in your browser.
AI text-to-texture: type a prompt and get a seamless, tileable base image ready for PBR workflows (great starting point for materials).
Create a full PBR set (Normal, Roughness, AO, Metallic, etc.) from a single image. Seamless and tiling-friendly.
Instant WebGL viewer: inspect materials on a sphere, plane, and cube. Check tiling and lighting in real time.
Re-packages maps per engine: Unreal (BaseColor + ORM), Unity (Mask/MetallicSmoothness), Blender (separate channels).
PNG ↔ JPG ↔ SVG: fast convert, SVG rasterize, embed/trace options, quality & background controls.