
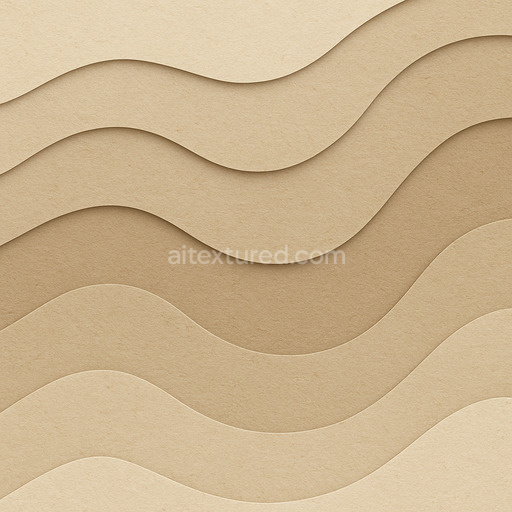
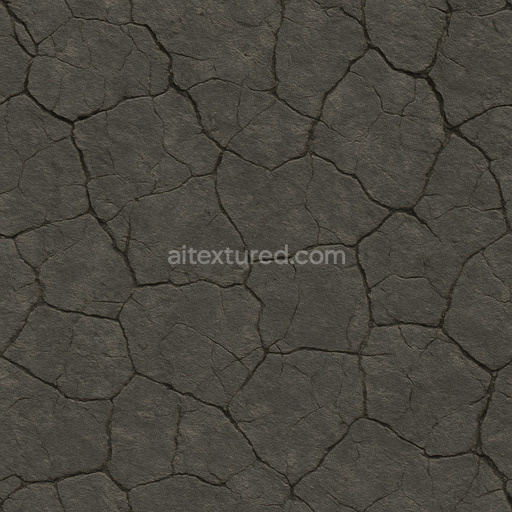
Decorative Asphalt Seamless Texture
Seamless texture (tileable) · PNG, WEBP, PBR ZIP. License: AITextured Free Commercial License (FCL) v1.1. Free personal and commercial use. Raw resale, standalone redistribution, mirroring/scraping, competing asset packs, and AI/ML training are not allowed without written permission. Attribution is not required, but appreciated..

| ID | realistic-foam-seamless-texture |
|---|---|
| Category | Basic-materials |
| Formats | PNG, WEBP, PBR ZIP |
| Size | 1k (1024x1024px), 2k (2048x2048px), 4k (4096x4096px), 8k (8192x8192px) |
| Color | sRGB |
| Tileable | Yes |
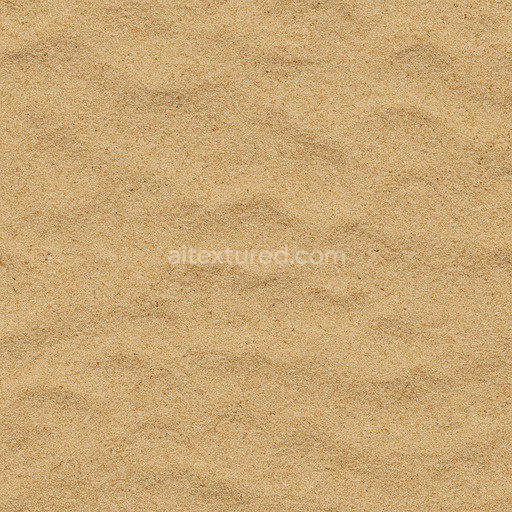
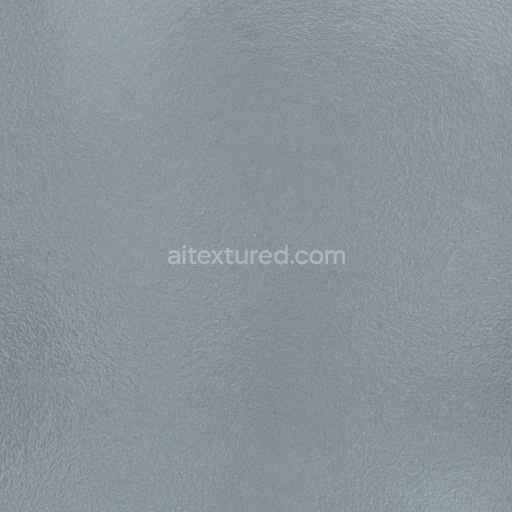
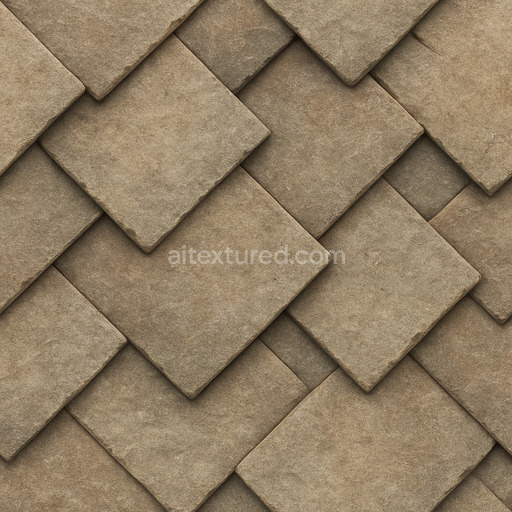
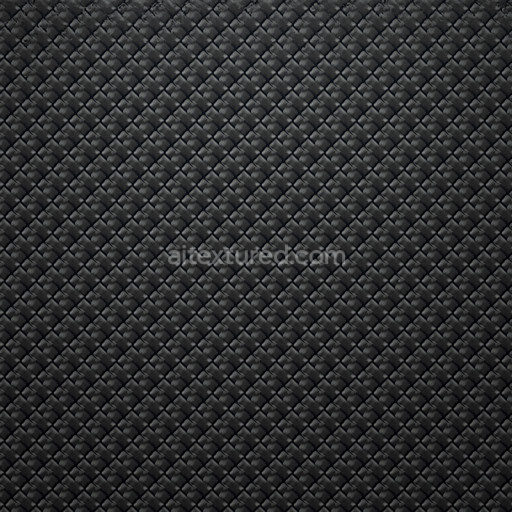
The Realistic Foam Seamless Texture is a generated tileable texture crafted to replicate the intricate structure of foam materials commonly found in polymer-based substrates. This seamless realistic foam seamless texture captures the porous lightweight nature of foam featuring a fine network of interconnected air pockets and subtle grain orientation that mimics natural cellular formation. The texture’s composition suggests a synthetic polymer matrix with microscopic binder layers holding the foam’s fibrous aggregates together resulting in a soft yet structurally consistent surface. Its surface finish is matte with slight irregularities resembling a gently weathered foam that has maintained its clean unoxidized appearance. Pigmentation is subtle and uniform reflecting light diffusely across the BaseColor/Albedo channel while micro-variations in tone add depth and realism without overpowering the material’s natural look.
In physically based rendering (PBR) workflows this seamless realistic foam seamless texture excels by providing detailed Normal maps that emphasize the depth and relief of the foam’s pores enhancing the perception of volume and surface complexity. The Roughness channel is carefully balanced to convey the soft non-reflective characteristics typical of foam avoiding any metallic shine as confirmed by a flat Metallic map since the material is non-metallic by nature. Ambient Occlusion maps highlight the subtle shadows within the foam’s cavities adding realism to crevices and enhancing the three-dimensional feel. Height and Displacement maps further contribute to the tactile impression of the texture allowing for convincing parallax effects and micro-detail that scale elegantly across large surfaces without visible seams or distortion.
Designed for high-resolution workflows this realistic foam seamless texture supports resolutions up to 8K ensuring crisp detail even on expansive models or close-up shots. It integrates seamlessly into popular 3D software such as Blender Unreal Engine and Unity making it an ideal choice for architectural visualization game environments product mockups and interior staging where authenticity and repeatability are crucial. For optimal results it is recommended to maintain consistent UV scaling across assets and adjust the Roughness parameter slightly to match the lighting conditions of your scene which helps preserve the material’s natural softness while preventing overly flat or shiny surfaces. This approach guarantees predictable repeatable results that accelerate your basic-materials workflows and elevate your projects with convincing production-ready textures.
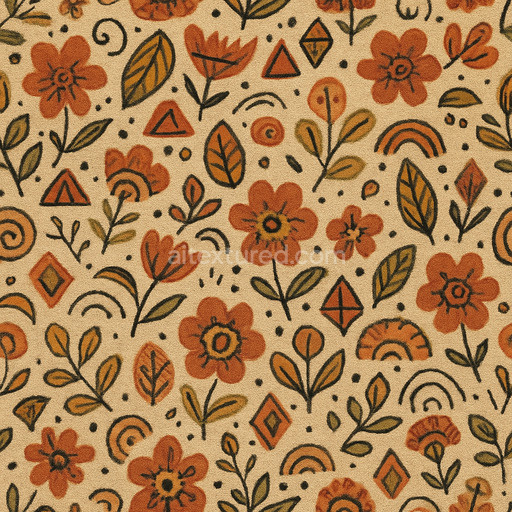
The tileable realistic foam seamless texture offers a highly detailed generated surface with basic-materials textures that enhance PBR appearance and provide an accurate 3D preview for material composition.
Import the texture maps into Blender with sRGB color space for albedo/base color and Non-Color for normal, roughness, metallic, AO, height, and ORM maps. Connect normal maps through a Normal Map node, then adjust UV scale with a Mapping node so the material repeats naturally on your model.
For the full step-by-step setup, see How to Use Seamless Textures in Blender. Browse related material examples in wood, concrete, and metal.
Yes. This texture is designed as a seamless tileable PBR material, so it can repeat across large surfaces without visible borders.
You can download PNG/WEBP versions and use 1K, 2K, 4K and 8K download options when available on the page.
Yes. The download options and engine-mapped ZIP workflow are designed for Blender, Unreal Engine, Unity Standard, URP and HDRP material pipelines.
Yes. The texture is available under the AITextured free commercial license. Review the license page for redistribution and AI-training restrictions.


Generate, preview, and export seamless PBR materials for Blender, Unity, and Unreal Engine—directly in your browser.
AI text-to-texture: type a prompt and get a seamless, tileable base image ready for PBR workflows (great starting point for materials).
Create a full PBR set (Normal, Roughness, AO, Metallic, etc.) from a single image. Seamless and tiling-friendly.
Instant WebGL viewer: inspect materials on a sphere, plane, and cube. Check tiling and lighting in real time.
Re-packages maps per engine: Unreal (BaseColor + ORM), Unity (Mask/MetallicSmoothness), Blender (separate channels).
PNG ↔ JPG ↔ SVG: fast convert, SVG rasterize, embed/trace options, quality & background controls.