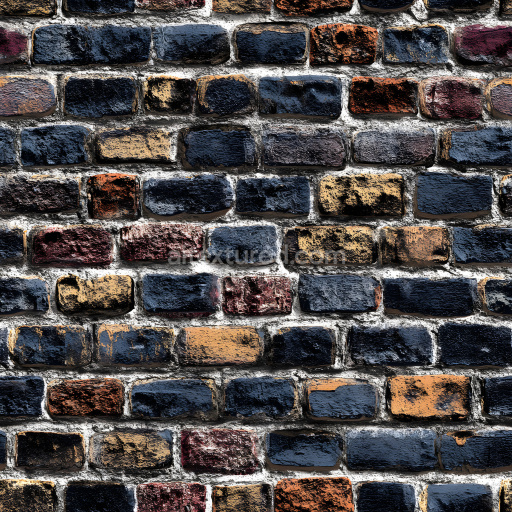
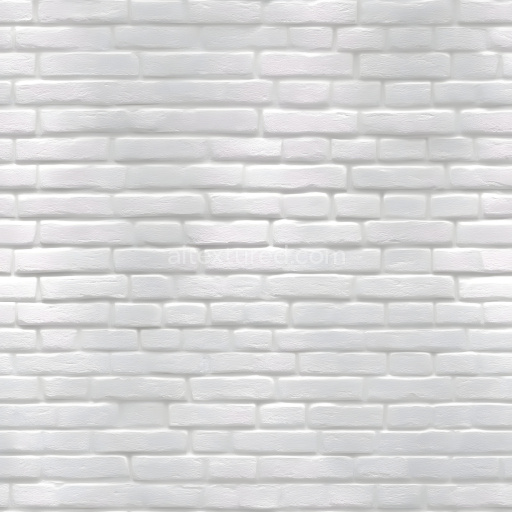
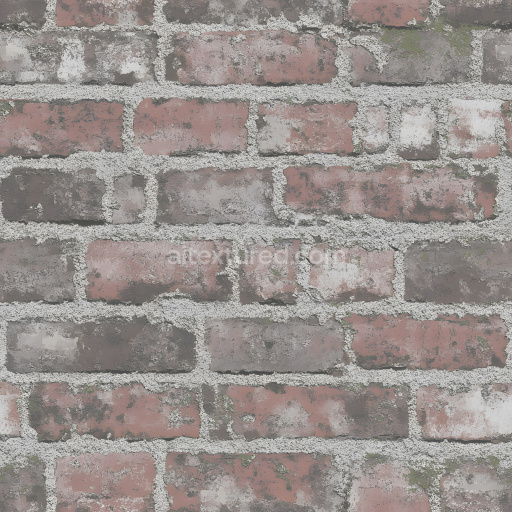
Cracked Painted Brick Wall PBR Texture with Multi-Colored Chipped Surfaces
Seamless texture (tileable) · PNG, WEBP, PBR ZIP. License: AITextured Free Commercial License (FCL) v1.1. Free personal and commercial use. Raw resale, standalone redistribution, mirroring/scraping, competing asset packs, and AI/ML training are not allowed without written permission. Attribution is not required, but appreciated..

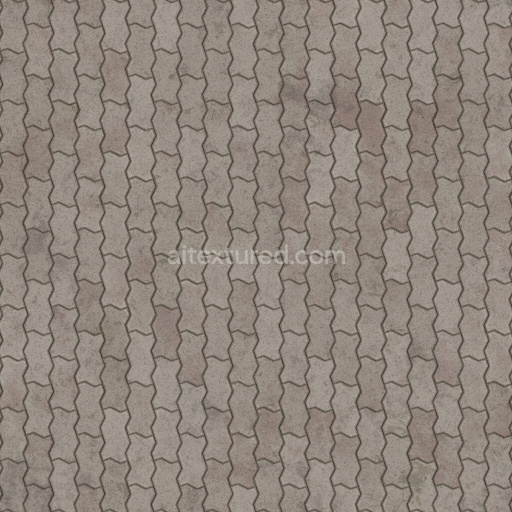
| ID | concentric-circle-paving-tiles-free-pbr |
|---|---|
| Category | Brick |
| Formats | PNG, WEBP, PBR ZIP |
| Size | 1k (1024x1024px), 2k (2048x2048px), 4k (4096x4096px), 8k (8192x8192px) |
| Color | sRGB |
| Tileable | Yes |
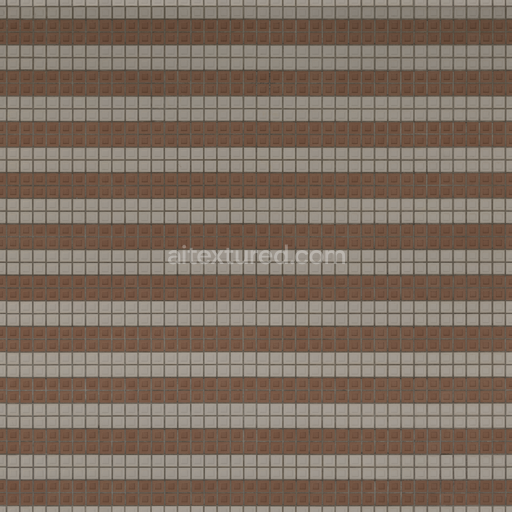
The Concentric Circle Paving Tile (Ground 0045) features a meticulously crafted surface composed of durable concrete, designed for outdoor applications such as patios and walkways. The base substrate is a mineral-rich concrete blend, incorporating fine aggregates that enhance structural integrity and weather resistance. These tiles showcase a pattern of concentric circles formed by circular slabs, while square slabs fill the intervening spaces, creating a harmonious geometric composition. The surface finish is subtly brushed, providing a balanced roughness that ensures slip resistance without compromising aesthetic appeal. Pigments and mineral oxide layers impart a natural gray tone with slight variations, simulating authentic concrete weathering and subtle discoloration over time.
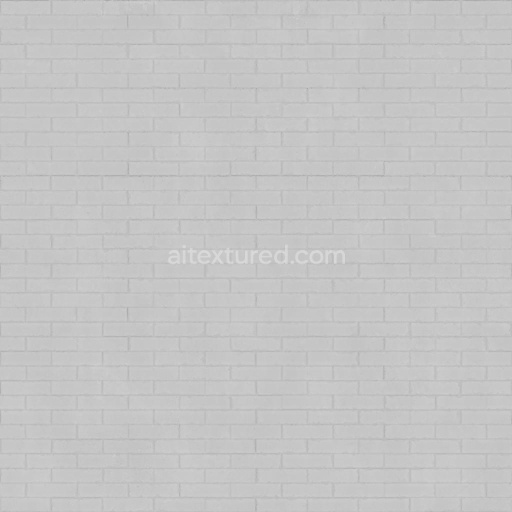
In terms of physically based rendering (PBR) channels, this texture excels with high-resolution 8K maps optimized for Blender, Unreal Engine, and Unity. The BaseColor (Albedo) channel captures the nuanced concrete hues and pigment variations, while the Normal map conveys the subtle surface undulations and the fine grain orientation of the aggregates. Roughness values reflect the brushed finish’s moderate texture, avoiding excessive glossiness and contributing to realistic light diffusion. The Metallic channel is effectively zeroed out, consistent with the non-metallic nature of concrete, whereas Ambient Occlusion enhances the depth around tile edges and the recessed joints. Height/Displacement maps reveal the shallow relief of the concentric circular pattern and the square slab boundaries, adding tangible depth when used with parallax or tessellation shaders.
For practical use, it is recommended to carefully adjust the UV scale to maintain the tile pattern’s proportionate appearance on large surfaces. Additionally, fine-tuning roughness can help tailor the surface’s reflectivity to different environmental conditions—lower roughness for wet or polished looks, higher for dry, textured finishes. This texture offers a versatile, realistic foundation for rendering outdoor paving with detailed geometric patterns, combining durability and visual interest in high-resolution fidelity suitable for professional architectural visualization and game environments alike.
Import the texture maps into Blender with sRGB color space for albedo/base color and Non-Color for normal, roughness, metallic, AO, height, and ORM maps. Connect normal maps through a Normal Map node, then adjust UV scale with a Mapping node so the material repeats naturally on your model.
For the full step-by-step setup, see How to Use Seamless Textures in Blender. Browse related material examples in wood, concrete, and metal.
Yes. This texture is designed as a seamless tileable PBR material, so it can repeat across large surfaces without visible borders.
You can download PNG/WEBP versions and use 1K, 2K, 4K and 8K download options when available on the page.
Yes. The download options and engine-mapped ZIP workflow are designed for Blender, Unreal Engine, Unity Standard, URP and HDRP material pipelines.
Yes. The texture is available under the AITextured free commercial license. Review the license page for redistribution and AI-training restrictions.


Build, preview, and export seamless PBR materials. Generate full map sets from a single image, inspect them in a real-time WebGL viewer, and re-package maps for Unreal, Unity, and Blender—directly in your browser.
AI text-to-texture: type a prompt and get a seamless, tileable base image ready for PBR workflows (great starting point for materials).
Create a full PBR set (Normal, Roughness, AO, Metallic, etc.) from a single image. Seamless and tiling-friendly.
Instant WebGL viewer: inspect materials on a sphere, plane, and cube. Check tiling and lighting in real time.
Re-packages maps per engine: Unreal (BaseColor + ORM), Unity (Mask/MetallicSmoothness), Blender (separate channels).
PNG ↔ JPG ↔ SVG: fast convert, SVG rasterize, embed/trace options, quality & background controls.