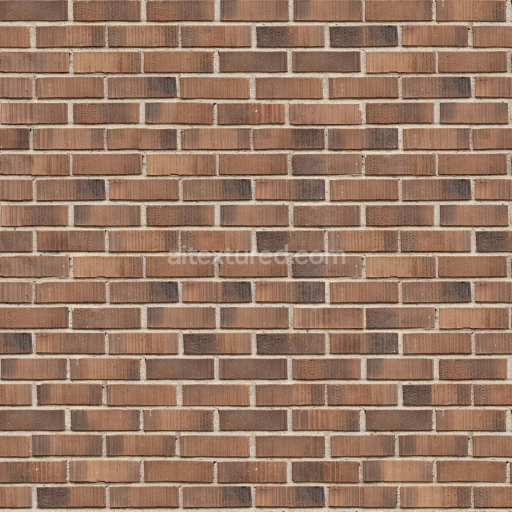
Cracked Brown Brick Wall PBR Texture with Realistic Depth and Weathering
Seamless texture (tileable) · PNG, WEBP, PBR ZIP. License: AITextured Free Commercial License (FCL) v1.1. Free personal and commercial use. Raw resale, standalone redistribution, mirroring/scraping, competing asset packs, and AI/ML training are not allowed without written permission. Attribution is not required, but appreciated..
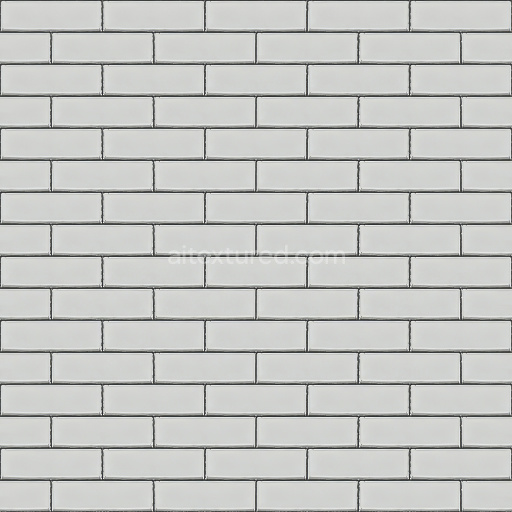
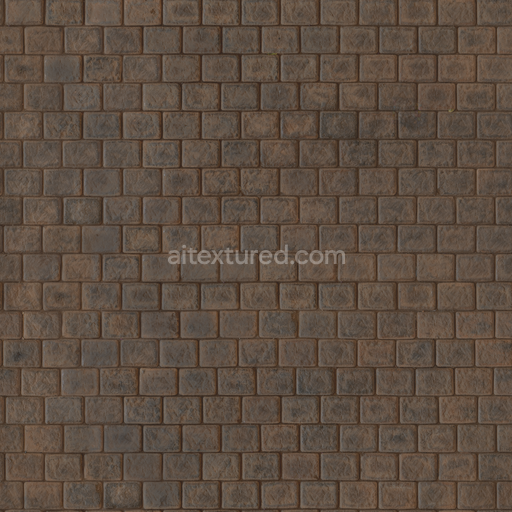
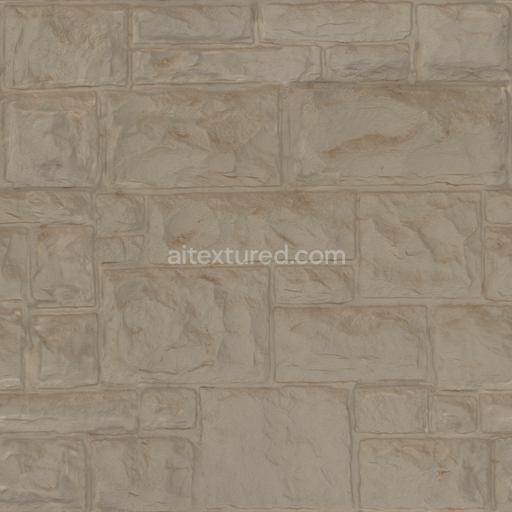
 Checker Colour Concrete Blocks Brick seamless PBR texture preview")
| ID | fan-shaped-y-shape-checker-colour-concrete-blocks-free-pbr |
|---|---|
| Category | Brick |
| Formats | PNG, WEBP, PBR ZIP |
| Size | 1k (1024x1024px), 2k (2048x2048px), 4k (4096x4096px), 8k (8192x8192px) |
| Color | sRGB |
| Tileable | Yes |
The Fan Shaped (Y-Shape) Checker Colour Concrete Blocks are expertly crafted cement units designed with three distinct fan-shaped segments that interlock seamlessly to form a durable and visually appealing surface. These blocks are composed primarily of mineral-based cement, combined with carefully selected aggregates that provide both strength and texture. The binder, a high-quality Portland cement, ensures long-lasting adhesion among the components, while the aggregates contribute to a subtly rough surface finish that enhances slip resistance. The blocks feature alternating hues of muted grey and warm yellow pigments, achieved through the integration of oxide colorants directly into the cement mix, resulting in a natural yet vibrant checkerboard pattern. The surface exhibits a slightly brushed finish, highlighting the texture of the concrete without compromising weather resistance or durability.
From a materials perspective, the concrete blocks display moderate porosity, allowing for adequate breathability while maintaining resistance to water ingress and freeze-thaw cycles. This balance prevents premature deterioration in outdoor environments such as footpaths and walkways. The composition includes fine mineral fillers that refine the surface, reducing excessive roughness while preserving tactile grip. The inclusion of synthetic polymer additives aids in enhancing flexibility and impact resistance, reducing the likelihood of cracks under stress. The texture’s PBR channels are meticulously calibrated to reflect these material qualities: the BaseColor/Albedo channel captures the dual-tone grey and yellow checker colors with realistic shading variations, while the Normal map conveys the subtle depth and fan-shaped relief. Roughness maps represent the semi-matte, brushed concrete finish, avoiding unwanted glossiness, and the Metallic channel remains near zero, consistent with non-metallic cement. Ambient Occlusion enhances crevice shading between fan segments, and the Height/Displacement map accurately models the slight elevation differences between the blocks, adding dimensional realism.
Rendered at an ultra-high 8K resolution, this texture is optimized for seamless integration within modern 3D workflows, including Blender, Unreal Engine, and Unity. Its detailed channels enable artists and developers to achieve photorealistic results on large-scale surfaces without visible tiling or pixelation. When applying this texture, it is recommended to carefully adjust the UV scale to maintain the integrity of the checker pattern and fan shapes, ensuring that the alternating colours remain crisp and proportionate. Additionally, fine-tuning the roughness parameter can simulate varying weathering conditions, from freshly laid concrete to lightly aged surfaces, offering versatility for diverse environmental settings.
Import the texture maps into Blender with sRGB color space for albedo/base color and Non-Color for normal, roughness, metallic, AO, height, and ORM maps. Connect normal maps through a Normal Map node, then adjust UV scale with a Mapping node so the material repeats naturally on your model.
For the full step-by-step setup, see How to Use Seamless Textures in Blender. Browse related material examples in wood, concrete, and metal.
Yes. This texture is designed as a seamless tileable PBR material, so it can repeat across large surfaces without visible borders.
You can download PNG/WEBP versions and use 1K, 2K, 4K and 8K download options when available on the page.
Yes. The download options and engine-mapped ZIP workflow are designed for Blender, Unreal Engine, Unity Standard, URP and HDRP material pipelines.
Yes. The texture is available under the AITextured free commercial license. Review the license page for redistribution and AI-training restrictions.


Build, preview, and export seamless PBR materials. Generate full map sets from a single image, inspect them in a real-time WebGL viewer, and re-package maps for Unreal, Unity, and Blender—directly in your browser.
AI text-to-texture: type a prompt and get a seamless, tileable base image ready for PBR workflows (great starting point for materials).
Create a full PBR set (Normal, Roughness, AO, Metallic, etc.) from a single image. Seamless and tiling-friendly.
Instant WebGL viewer: inspect materials on a sphere, plane, and cube. Check tiling and lighting in real time.
Re-packages maps per engine: Unreal (BaseColor + ORM), Unity (Mask/MetallicSmoothness), Blender (separate channels).
PNG ↔ JPG ↔ SVG: fast convert, SVG rasterize, embed/trace options, quality & background controls.