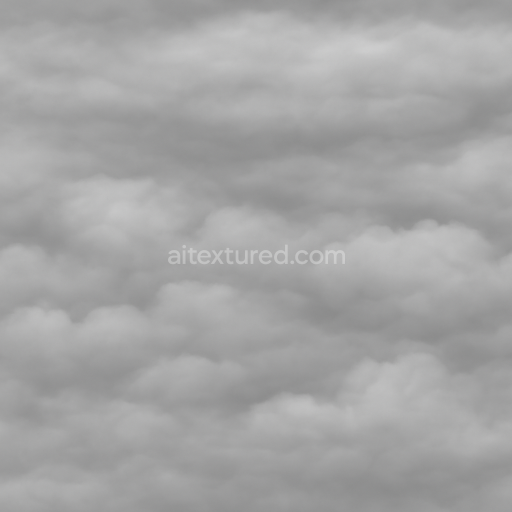
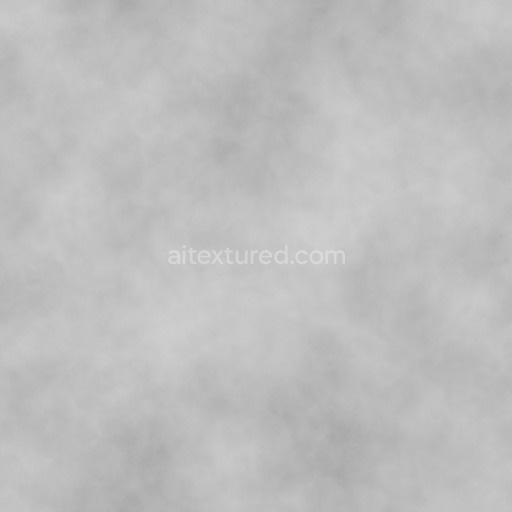
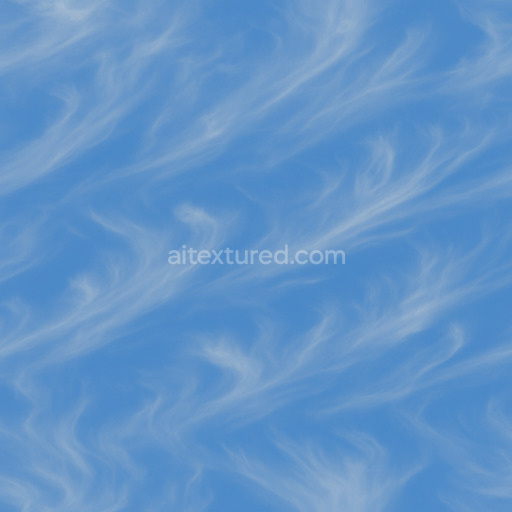
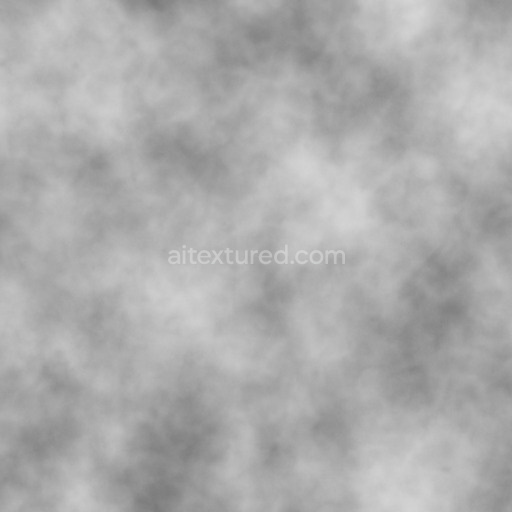
Drifting Stratus Soft Edged Cloud Layers
Seamless texture (tileable) · PNG, WEBP, PBR ZIP. License: AITextured Free Commercial License (FCL) v1.1. Free personal and commercial use. Raw resale, standalone redistribution, mirroring/scraping, competing asset packs, and AI/ML training are not allowed without written permission. Attribution is not required, but appreciated..

| ID | fantasy-storm-cloud-seamless-texture |
|---|---|
| Category | Clouds |
| Formats | PNG, WEBP, PBR ZIP |
| Size | 1k (1024x1024px), 2k (2048x2048px), 4k (4096x4096px), 8k (8192x8192px) |
| Color | sRGB |
| Tileable | Yes |
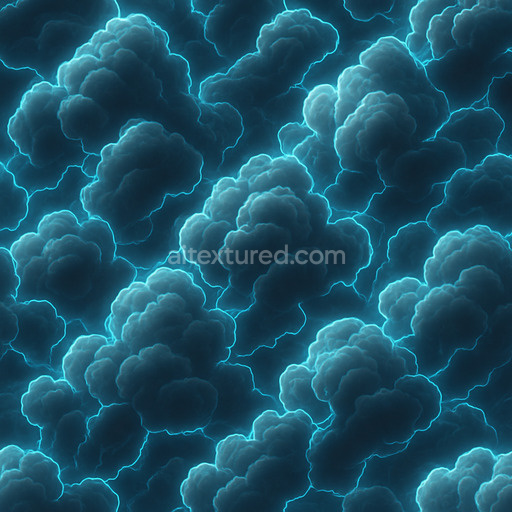
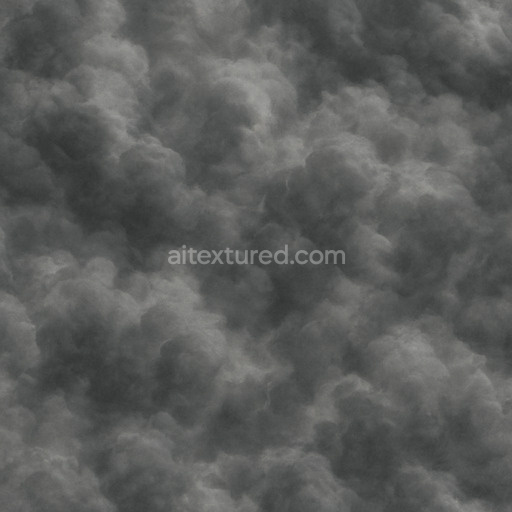
The Fantasy Storm Cloud Seamless Texture is a meticulously crafted tileable PBR texture designed to evoke the ethereal complexity of storm clouds in a fantasy setting. Composed to simulate the intricate layering and organic flow of vaporous formations this texture harnesses a base substrate reminiscent of soft diffused mineral particulates suspended in the atmosphere blended with subtle polymer-like binders that provide cohesion and smooth transitions within the visual pattern. The texture’s composition features fine-grained aggregates with a natural orientation that mimics turbulent air currents resulting in a dynamic yet stable cloudscape effect. Its surface finish appears matte with a slightly brushed softness lending a realistic atmospheric depth without metallic or glossy reflections while the colorants utilize a palette of muted grays and soft blues enhanced by gentle oxide layers to simulate the interplay of light and shadow typical of stormy skies.
In terms of physically based rendering (PBR) channels the BaseColor (Albedo) captures the nuanced gradient of storm clouds showing subtle variations in tone and hue that suggest density and volume. The Normal map introduces delicate relief and swirling airflows adding depth and realism to the otherwise flat texture while the Roughness channel is finely tuned to reflect the diffuse non-reflective nature of cloud matter avoiding unwanted shine. The Metallic channel remains neutral reinforcing the organic and non-metallic character of clouds. Ambient Occlusion enhances shadowed crevices and denser cloud pockets amplifying the three-dimensional feel and the Height/Displacement map supports gentle parallax effects allowing for more immersive layering when used in engines like Blender Unity or Unreal Engine. This results in a seamless fantasy storm cloud seamless texture that scales elegantly across large surfaces without visible seams or repetitive artifacts.
Boasting a high resolution of up to 8K this seamless fantasy storm cloud seamless texture integrates effortlessly into diverse workflows from architectural visualization and immersive game environments to product mockups and interior staging supporting various file formats such as PNG and WEBP for broad compatibility. Its design ensures minimal setup time making it ideal for artists and developers aiming to achieve a realistic cloudy atmosphere quickly. For optimal results it is recommended to adjust the roughness intensity to match your scene’s lighting rig and to experiment with UV scale to balance detail visibility and tiling repetition. Additionally subtle tuning of height or parallax parameters can enhance depth perception grounding the material naturally within any 3D preview or real-time engine.
This tileable fantasy storm cloud seamless texture features a detailed PBR texture that captures realistic clouds textures with a PBR appearance ideal for enhancing immersive environments.
Import the texture maps into Blender with sRGB color space for albedo/base color and Non-Color for normal, roughness, metallic, AO, height, and ORM maps. Connect normal maps through a Normal Map node, then adjust UV scale with a Mapping node so the material repeats naturally on your model.
For the full step-by-step setup, see How to Use Seamless Textures in Blender. Browse related material examples in wood, concrete, and metal.
Yes. This texture is designed as a seamless tileable PBR material, so it can repeat across large surfaces without visible borders.
You can download PNG/WEBP versions and use 1K, 2K, 4K and 8K download options when available on the page.
Yes. The download options and engine-mapped ZIP workflow are designed for Blender, Unreal Engine, Unity Standard, URP and HDRP material pipelines.
Yes. The texture is available under the AITextured free commercial license. Review the license page for redistribution and AI-training restrictions.
Build, preview, and export seamless PBR materials. Generate full map sets from a single image, inspect them in a real-time WebGL viewer, and re-package maps for Unreal, Unity, and Blender—directly in your browser.
AI text-to-texture: type a prompt and get a seamless, tileable base image ready for PBR workflows (great starting point for materials).
Create a full PBR set (Normal, Roughness, AO, Metallic, etc.) from a single image. Seamless and tiling-friendly.
Instant WebGL viewer: inspect materials on a sphere, plane, and cube. Check tiling and lighting in real time.
Re-packages maps per engine: Unreal (BaseColor + ORM), Unity (Mask/MetallicSmoothness), Blender (separate channels).
PNG ↔ JPG ↔ SVG: fast convert, SVG rasterize, embed/trace options, quality & background controls.