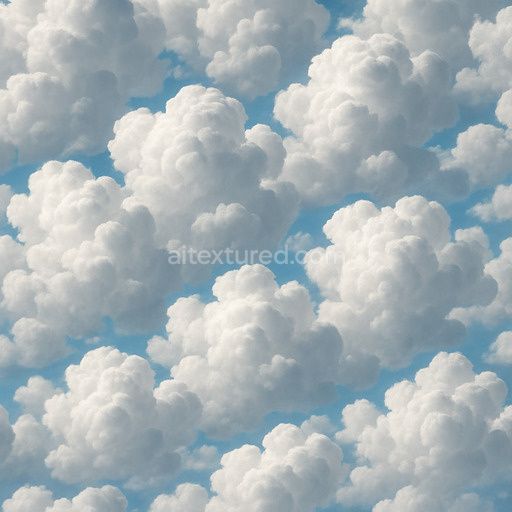
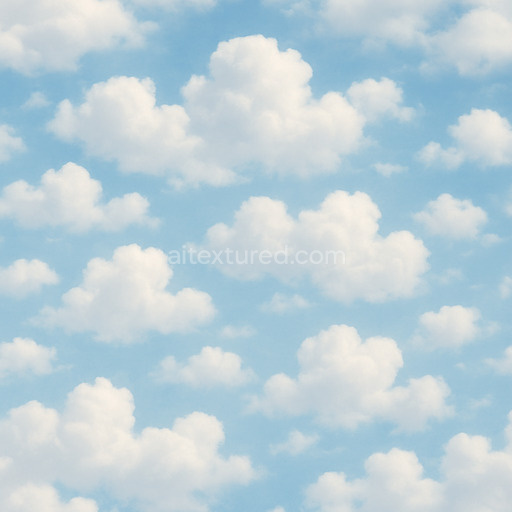
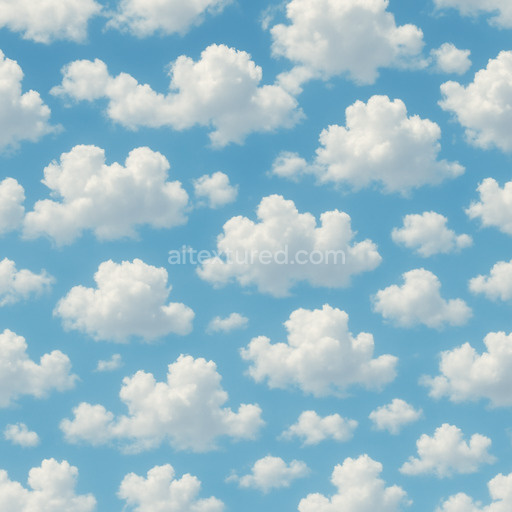
Detailed Cumulus Seamless Texture
Seamless texture (tileable) · PNG, WEBP, PBR ZIP. License: AITextured Free Commercial License (FCL) v1.1. Free personal and commercial use. Raw resale, standalone redistribution, mirroring/scraping, competing asset packs, and AI/ML training are not allowed without written permission. Attribution is not required, but appreciated..

| ID | seamless-3d-texture-pbr-8k-of-silhouetted-storm-gray-cumulonimbus-clouds |
|---|---|
| Category | Clouds |
| Formats | PNG, WEBP, PBR ZIP |
| Size | 1k (1024x1024px), 2k (2048x2048px), 4k (4096x4096px), 8k (8192x8192px) |
| Color | sRGB |
| Tileable | Yes |
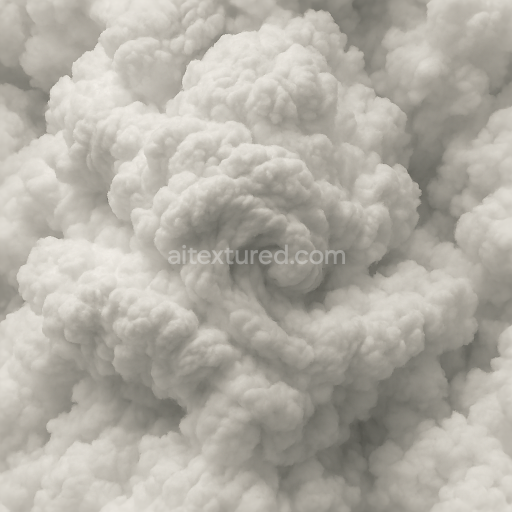
This seamless 3D texture showcases photorealistic high-resolution PBR 8K imagery of storm gray cumulonimbus clouds rendered as dense silhouetted masses. The composition evokes the natural complexity of these towering storm clouds with pronounced depth and volume achieved through subtle variations in density and opacity that simulate the intricate layering and turbulent atmosphere typical of severe weather conditions. The base substrate visually resembles organic vapor and moisture particles suspended in the air with diffuse binders creating a soft yet structured cloud mass. Micro-variations in grain orientation and porosity enhance the realism while the neutral flat lighting retains essential albedo detail and highlights the cloud structure without introducing harsh shadows. The surface finish appears matte and slightly diffuse mimicking the light-scattering properties of thick cloud formations with no metallic or reflective attributes present.
In terms of PBR channels the BaseColor/Albedo layer captures subtle gradients of storm gray hues from deep charcoal to lighter muted grays emphasizing the silhouette effect. The Normal map adds fine volumetric texture and cloud eddies giving a sense of three-dimensional depth and turbulence. Roughness is tuned to a high level reflecting the matte diffuse nature of storm clouds while the Metallic map remains minimal to nonexistent as expected for organic non-metallic materials. Ambient Occlusion enhances the perceived density and shadowing within cloud clusters deepening the stormy atmosphere. Height and Displacement maps provide realistic volumetric bumps and folds contributing to the pronounced depth and dramatic visual impact when applied in 3D environments. This texture tiles seamlessly with natural micro-variations ensuring smooth continuous coverage free from visible repetition or seams.
Optimized for use in Blender Unreal Engine and Unity this 8K resolution texture is ideal for creating dynamic sky backgrounds stormy weather visualizations and atmospheric effects in games films and VR experiences. To maximize realism it is recommended to carefully adjust the UV scale based on scene requirements scaling the texture to match the perceived cloud size and distance. Additionally fine-tuning roughness can help blend the clouds more naturally with environmental lighting while subtle height or parallax mapping adds convincing volumetric depth without excessive performance costs.
Import the texture maps into Blender with sRGB color space for albedo/base color and Non-Color for normal, roughness, metallic, AO, height, and ORM maps. Connect normal maps through a Normal Map node, then adjust UV scale with a Mapping node so the material repeats naturally on your model.
For the full step-by-step setup, see How to Use Seamless Textures in Blender. Browse related material examples in wood, concrete, and metal.
Yes. This texture is designed as a seamless tileable PBR material, so it can repeat across large surfaces without visible borders.
You can download PNG/WEBP versions and use 1K, 2K, 4K and 8K download options when available on the page.
Yes. The download options and engine-mapped ZIP workflow are designed for Blender, Unreal Engine, Unity Standard, URP and HDRP material pipelines.
Yes. The texture is available under the AITextured free commercial license. Review the license page for redistribution and AI-training restrictions.
Build, preview, and export seamless PBR materials. Generate full map sets from a single image, inspect them in a real-time WebGL viewer, and re-package maps for Unreal, Unity, and Blender—directly in your browser.
AI text-to-texture: type a prompt and get a seamless, tileable base image ready for PBR workflows (great starting point for materials).
Create a full PBR set (Normal, Roughness, AO, Metallic, etc.) from a single image. Seamless and tiling-friendly.
Instant WebGL viewer: inspect materials on a sphere, plane, and cube. Check tiling and lighting in real time.
Re-packages maps per engine: Unreal (BaseColor + ORM), Unity (Mask/MetallicSmoothness), Blender (separate channels).
PNG ↔ JPG ↔ SVG: fast convert, SVG rasterize, embed/trace options, quality & background controls.