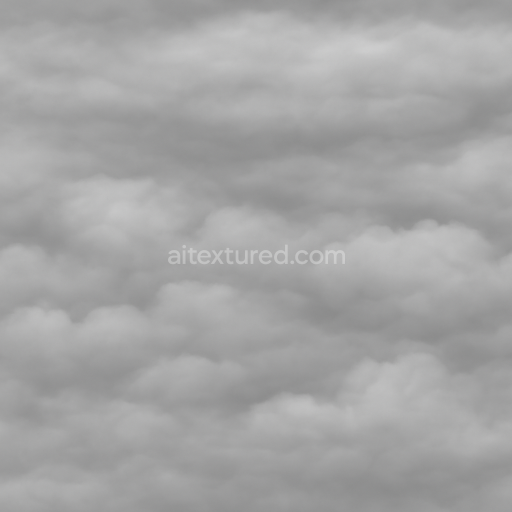
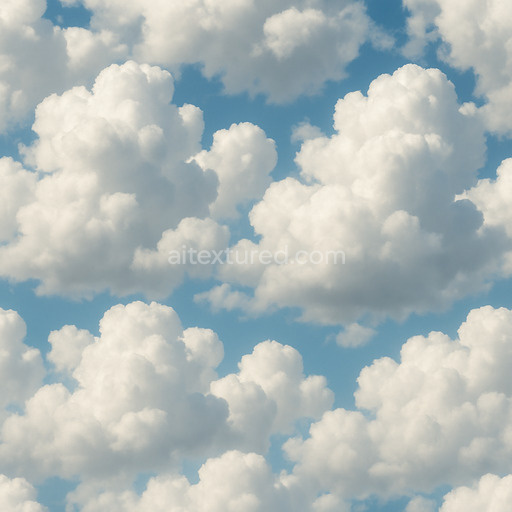
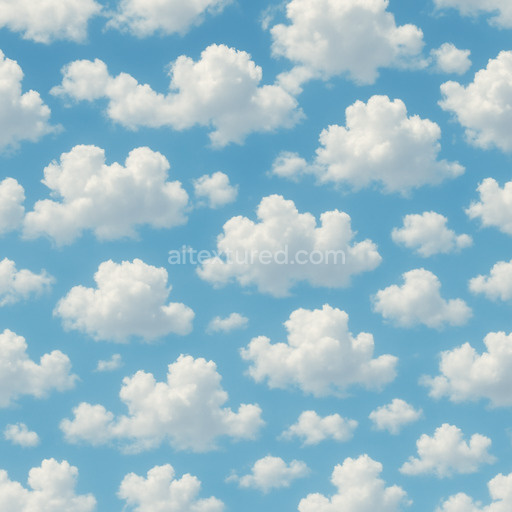
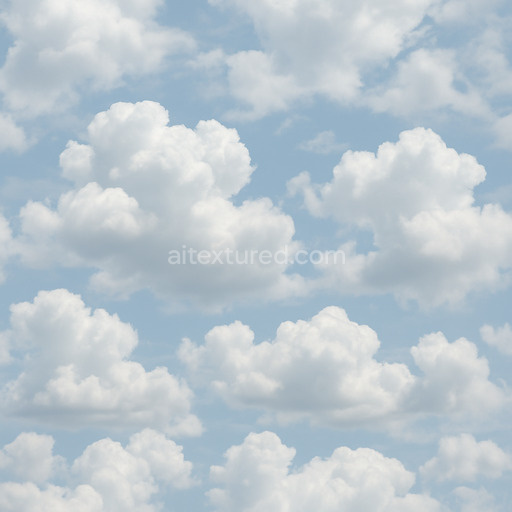
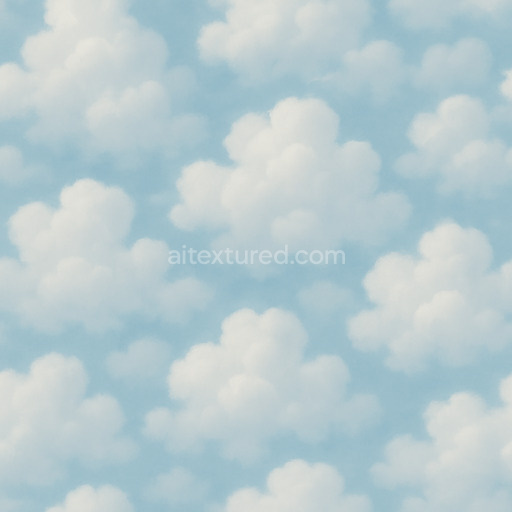
Drifting Stratus Soft Edged Cloud Layers
Seamless texture (tileable) · PNG, WEBP, PBR ZIP. License: AITextured Free Commercial License (FCL) v1.1. Free personal and commercial use. Raw resale, standalone redistribution, mirroring/scraping, competing asset packs, and AI/ML training are not allowed without written permission. Attribution is not required, but appreciated..

| ID | natural-cloud-seamless-texture |
|---|---|
| Category | Clouds |
| Formats | PNG, WEBP, PBR ZIP |
| Size | 1k (1024x1024px), 2k (2048x2048px), 4k (4096x4096px), 8k (8192x8192px) |
| Color | sRGB |
| Tileable | Yes |
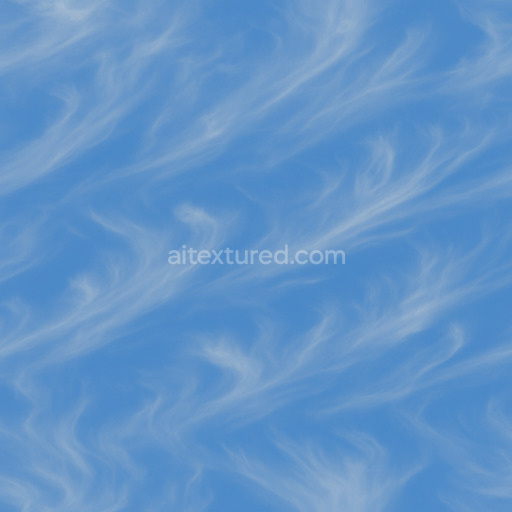
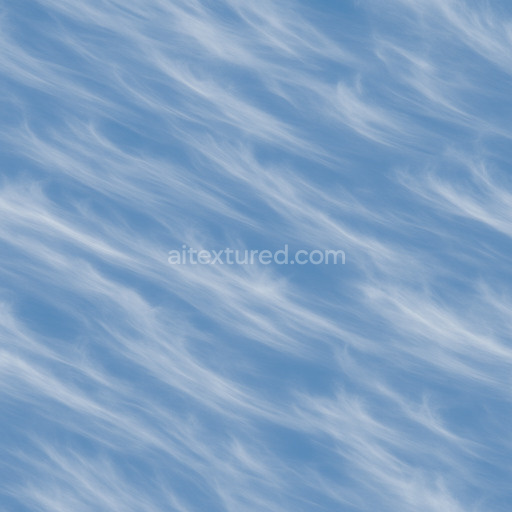
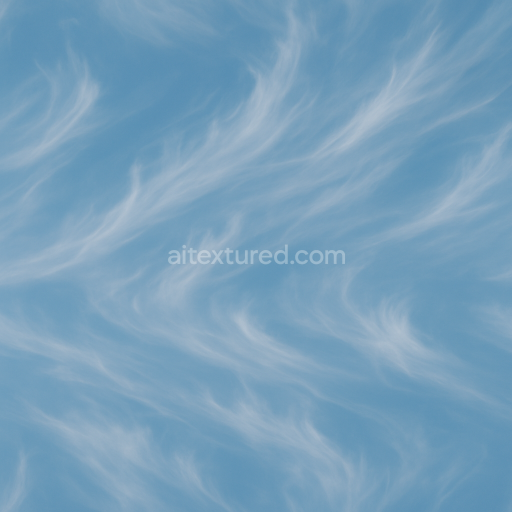
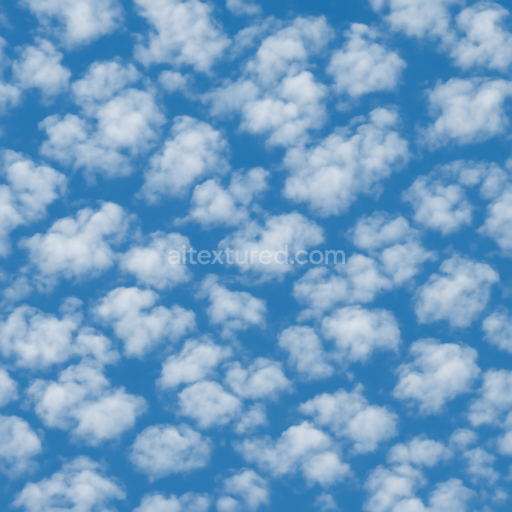
The Natural Cloud Seamless Texture is a meticulously crafted tileable AI-generated texture designed to replicate the organic and ethereal qualities of natural cloud formations. Within the clouds category this seamless natural cloud seamless texture offers exceptional clarity and cohesion across large UV islands making it ideal for diverse applications such as environment art architectural visualization quick look-dev and concept prototyping. Its base composition evokes the soft diffuse nature of clouds simulating the subtle interplay of light scattering through moisture-laden air. The texture’s surface finish is smooth yet dynamic capturing the delicate gradations and wispy structures characteristic of real clouds without harsh edges or repetitive patterns often seen in auto-generated assets. This ensures stable artifact-free results when applied across expansive surfaces in 3D scenes.
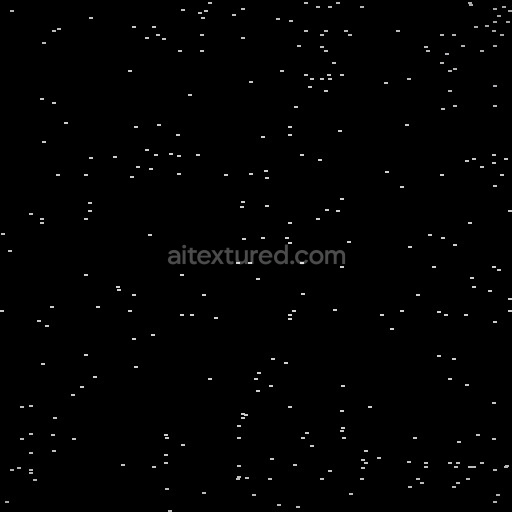
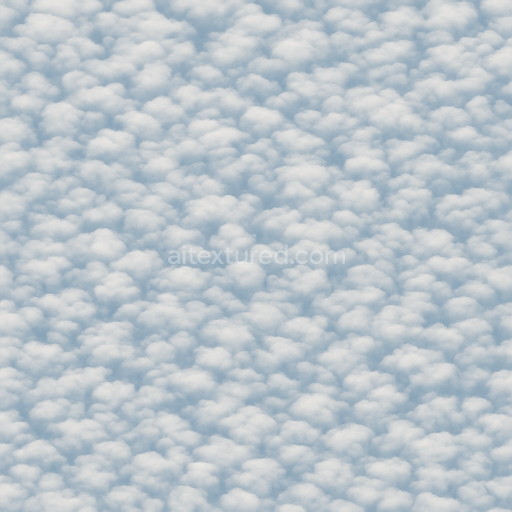
From a materials perspective the texture mimics an organic substrate with finely blended pigments that emulate the varying density and porosity of cloud masses. The BaseColor (Albedo) channel presents a natural palette of muted whites and soft grays conveying the translucency and layered depth of atmospheric vapor. The Normal map subtly enhances surface breakup introducing gentle undulations without oversharpening while the Roughness channel is tuned to balance diffuse reflection avoiding unwanted glossiness typical of metallic or polished surfaces. Metallic values remain minimal consistent with the non-metallic airy nature of clouds. Ambient Occlusion supports spatial depth by emphasizing shadowed crevices and the Height/Displacement channel provides a low-relief effect that enriches the perception of volume and softness perfect for parallax displacement in modern PBR workflows.
Built for modern pipelines this natural cloud seamless texture comes in high-resolution formats up to 8K available as PNG and WEBP files ensuring crisp detail and scalability for high-end rendering. It integrates seamlessly with Blender Unity and Unreal Engine requiring minimal setup to achieve photorealistic cloud surfaces in real-time 3D previews. For optimal results combine this texture with a subtle ambient occlusion layer and a light normal pass to enhance surface breakup without introducing excessive noise. When adjusting UV scale maintain a balance that preserves the texture’s natural flow avoiding overly tight repetition or stretched detail. Additionally fine-tuning roughness values can help simulate varying atmospheric conditions from soft overcast to bright diffused sunlight enhancing realism in your projects.
The AI-generated tileable natural cloud seamless texture offers a highly detailed and realistic PBR appearance accurately capturing the subtle variations and depth found in natural cloud seamless texture while enhancing the quality of clouds textures for advanced material compositions.
Import the texture maps into Blender with sRGB color space for albedo/base color and Non-Color for normal, roughness, metallic, AO, height, and ORM maps. Connect normal maps through a Normal Map node, then adjust UV scale with a Mapping node so the material repeats naturally on your model.
For the full step-by-step setup, see How to Use Seamless Textures in Blender. Browse related material examples in wood, concrete, and metal.
Yes. This texture is designed as a seamless tileable PBR material, so it can repeat across large surfaces without visible borders.
You can download PNG/WEBP versions and use 1K, 2K, 4K and 8K download options when available on the page.
Yes. The download options and engine-mapped ZIP workflow are designed for Blender, Unreal Engine, Unity Standard, URP and HDRP material pipelines.
Yes. The texture is available under the AITextured free commercial license. Review the license page for redistribution and AI-training restrictions.
Build, preview, and export seamless PBR materials. Generate full map sets from a single image, inspect them in a real-time WebGL viewer, and re-package maps for Unreal, Unity, and Blender—directly in your browser.
AI text-to-texture: type a prompt and get a seamless, tileable base image ready for PBR workflows (great starting point for materials).
Create a full PBR set (Normal, Roughness, AO, Metallic, etc.) from a single image. Seamless and tiling-friendly.
Instant WebGL viewer: inspect materials on a sphere, plane, and cube. Check tiling and lighting in real time.
Re-packages maps per engine: Unreal (BaseColor + ORM), Unity (Mask/MetallicSmoothness), Blender (separate channels).
PNG ↔ JPG ↔ SVG: fast convert, SVG rasterize, embed/trace options, quality & background controls.