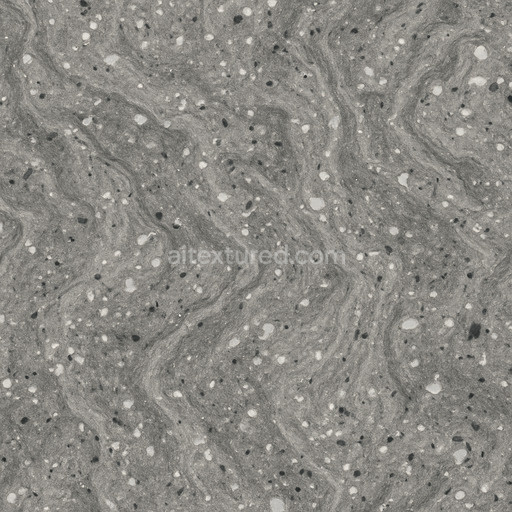
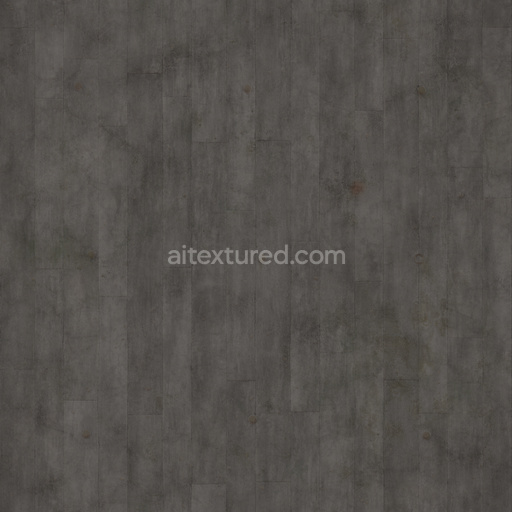
Patterned Polished Concrete Seamless Texture
Seamless texture (tileable) · PNG, WEBP, PBR ZIP. License: AITextured Free Commercial License (FCL) v1.1. Free personal and commercial use. Raw resale, standalone redistribution, mirroring/scraping, competing asset packs, and AI/ML training are not allowed without written permission. Attribution is not required, but appreciated..

| ID | concrete-037-by-textures-pbr-seamless-8k |
|---|---|
| Category | Concrete |
| Formats | PNG, WEBP, PBR ZIP |
| Size | 1k (1024x1024px), 2k (2048x2048px), 4k (4096x4096px), 8k (8192x8192px) |
| Color | sRGB |
| Tileable | Yes |
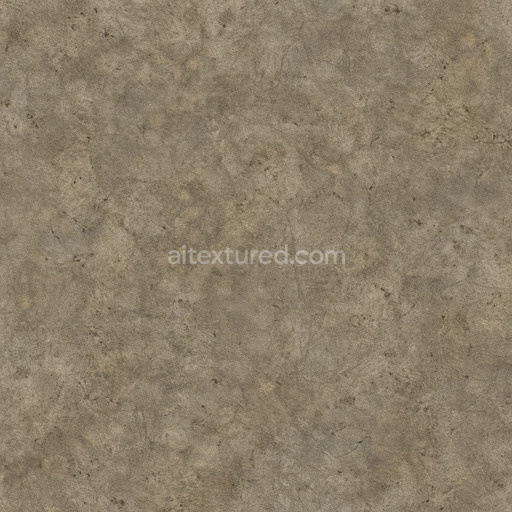
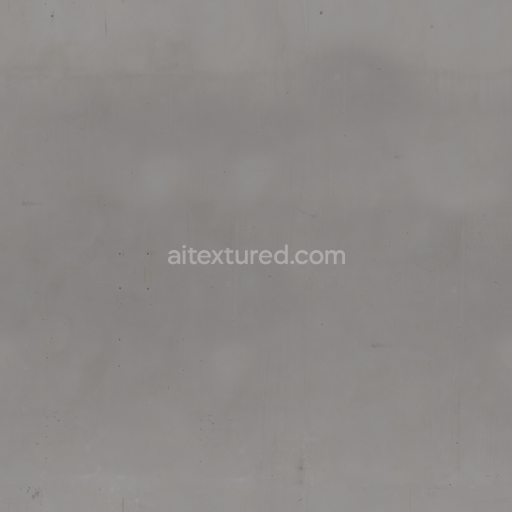
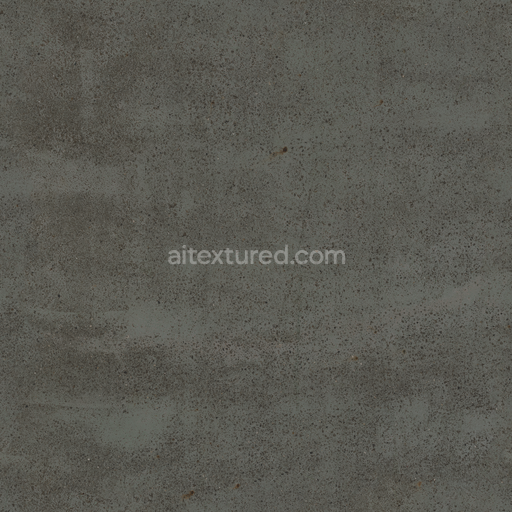
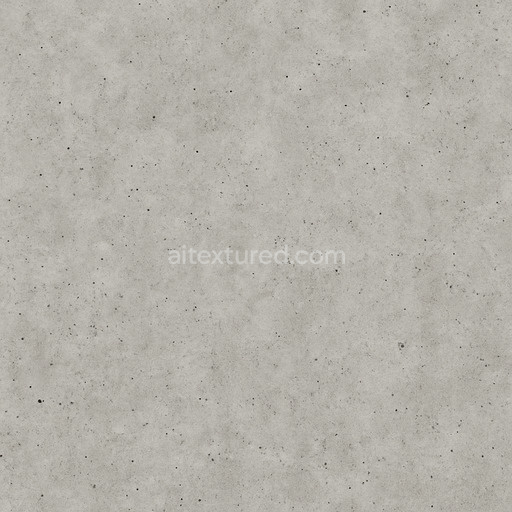
Seamless Concrete 037 by Textures is a meticulously crafted high-quality PBR 3D texture designed to faithfully replicate the authentic appearance and physical characteristics of concrete a composite material primarily composed of mineral aggregates such as sand and gravel all bound together by a cementitious binder. This texture captures the complex surface qualities of concrete including subtle variations in porosity micro-cracks and grain orientation which naturally influence light interaction and shading. The finish is matte and slightly rough reflecting the typical brushed industrial aesthetic commonly found in modern architectural and design applications. The base color channel presents a neutral gray tone enriched with natural pigment variations providing a realistic depth to the material’s color. Meanwhile the roughness map highlights the tactile feel of the surface by defining areas that range from smooth to coarse affecting how specular reflections behave under different lighting conditions.
The normal map intricately portrays the micro-geometry of the concrete surface emphasizing its granular structure and minor imperfections while the ambient occlusion channel enhances depth perception by simulating soft shadows in crevices and recessed areas. Height and displacement maps contribute to a convincing three-dimensional effect by simulating subtle elevation changes across the surface without increasing polygon count. This careful mapping of physical attributes ensures that the texture behaves realistically across various rendering engines. Optimized for seamless tiling this texture maintains consistent material behavior and shading across large surfaces making it especially suitable for high-detail close-ups and expansive architectural visualizations. It supports resolutions up to 8K ensuring exceptional clarity and detail for demanding projects.
Seamless Concrete 037 is fully compatible with major rendering workflows such as Blender’s Principled BSDF shader Unreal Engine’s physically based shading pipelines and Unity’s URP and HDRP Lit shaders where the base color roughness normal and ambient occlusion maps should be applied according to standard workflows. For best results it is recommended to maintain a consistent texel density when applying this concrete texture to ensure uniform detail across your models. Additionally utilizing triplanar mapping or layered tiling techniques can effectively minimize visible repetition enhancing overall realism in large-scale scenes. When combining maps blending the normal map with height or parallax data can enrich surface detail without adding extra geometry providing a richer more tactile material appearance. Import the base color as sRGB to preserve accurate color perception while all data-driven maps such as roughness normal ambient occlusion and height should be imported as non-color data to maintain correct shading behavior.
This seamless concrete texture is a versatile and reliable material asset suitable for a wide range of personal and commercial 3D projects delivering physically accurate results under physically based rendering environments. Its detailed representation of concrete’s composite nature including mineral aggregates binder porosity and weathering effects ensures a realistic finish that enhances the authenticity of architectural and design visualizations. Ready for use in high-end workflows and optimized for performance Seamless Concrete 037 provides a dependable solution for artists and designers seeking to replicate natural concrete surfaces with ease and precision.
Import the texture maps into Blender with sRGB color space for albedo/base color and Non-Color for normal, roughness, metallic, AO, height, and ORM maps. Connect normal maps through a Normal Map node, then adjust UV scale with a Mapping node so the material repeats naturally on your model.
For the full step-by-step setup, see How to Use Seamless Textures in Blender. Browse related material examples in wood, concrete, and metal.
Yes. This texture is designed as a seamless tileable PBR material, so it can repeat across large surfaces without visible borders.
You can download PNG/WEBP versions and use 1K, 2K, 4K and 8K download options when available on the page.
Yes. The download options and engine-mapped ZIP workflow are designed for Blender, Unreal Engine, Unity Standard, URP and HDRP material pipelines.
Yes. The texture is available under the AITextured free commercial license. Review the license page for redistribution and AI-training restrictions.


Build, preview, and export seamless PBR materials. Generate full map sets from a single image, inspect them in a real-time WebGL viewer, and re-package maps for Unreal, Unity, and Blender—directly in your browser.
AI text-to-texture: type a prompt and get a seamless, tileable base image ready for PBR workflows (great starting point for materials).
Create a full PBR set (Normal, Roughness, AO, Metallic, etc.) from a single image. Seamless and tiling-friendly.
Instant WebGL viewer: inspect materials on a sphere, plane, and cube. Check tiling and lighting in real time.
Re-packages maps per engine: Unreal (BaseColor + ORM), Unity (Mask/MetallicSmoothness), Blender (separate channels).
PNG ↔ JPG ↔ SVG: fast convert, SVG rasterize, embed/trace options, quality & background controls.