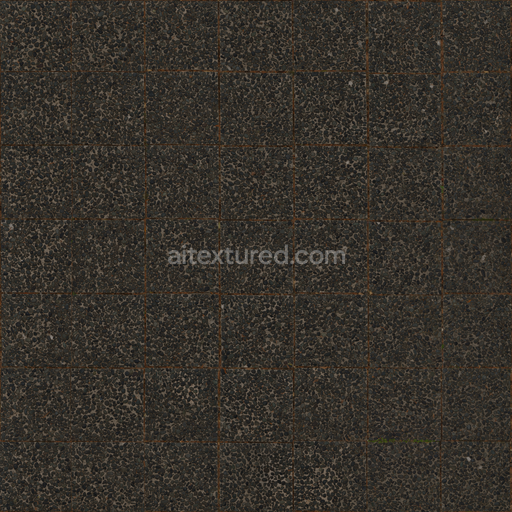
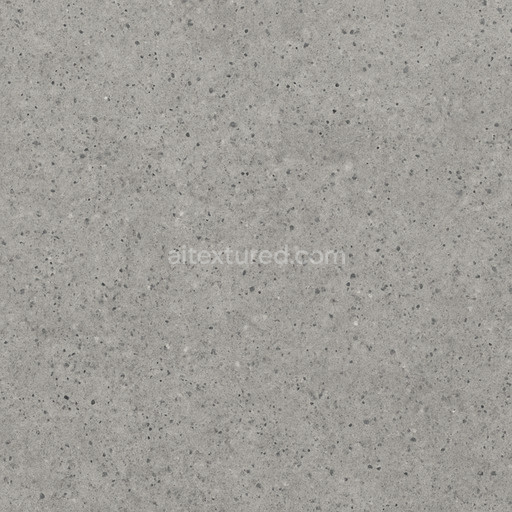
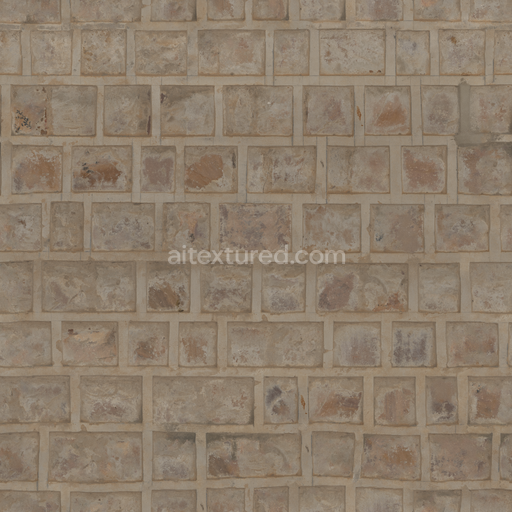
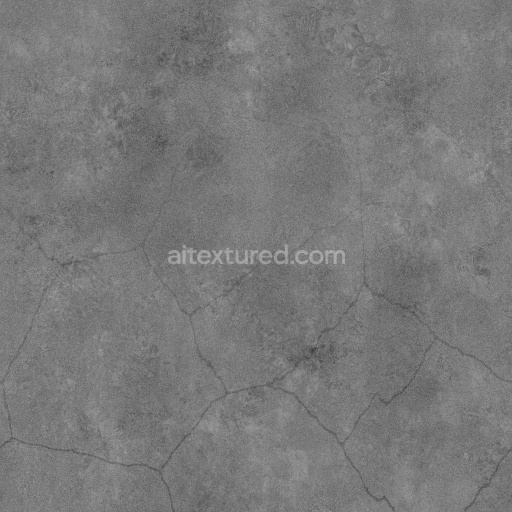
Pebble Embedded Concrete
Seamless texture (tileable) · PNG, WEBP, PBR ZIP. License: AITextured Free Commercial License (FCL) v1.1. Free personal and commercial use. Raw resale, standalone redistribution, mirroring/scraping, competing asset packs, and AI/ML training are not allowed without written permission. Attribution is not required, but appreciated..

| ID | blocks-concrete |
|---|---|
| Category | Concrete |
| Formats | PNG, WEBP, PBR ZIP |
| Size | 1k (1024x1024px), 2k (2048x2048px), 4k (4096x4096px), 8k (8192x8192px) |
| Color | sRGB |
| Tileable | Yes |
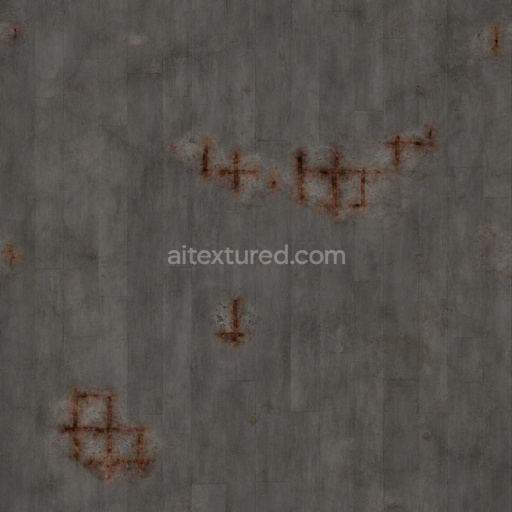
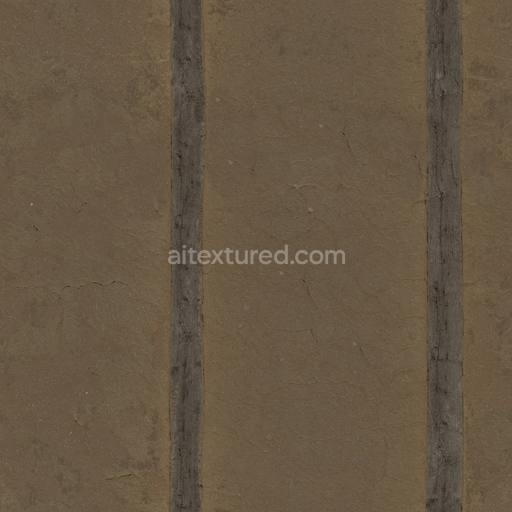
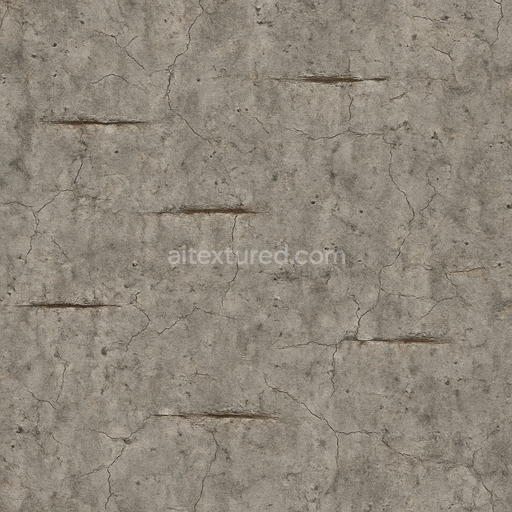
This Blocks Concrete seamless PBR texture is meticulously crafted to authentically replicate the complex materials and visual nuances of traditional concrete block surfaces. The base substrate simulates a dense mineral composition typical of conventional concrete primarily composed of cementitious binders combined with fine aggregates and sand particles. This natural combination produces a rough porous surface that exhibits subtle variations in grain orientation enhancing the tactile realism of the texture. The surface finish is matte and slightly textured reflecting the raw utilitarian appearance of concrete blocks without any gloss or metallic shine. Weathering effects are carefully integrated showing natural aging through slight discoloration minor cracking and gentle surface erosion which add depth and authenticity to any visualization project requiring realistic concrete block materials.
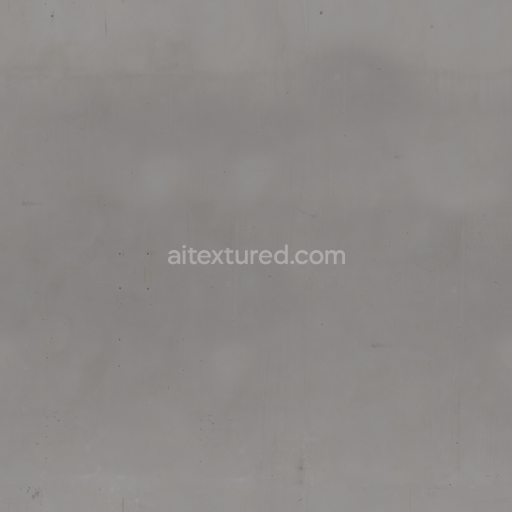
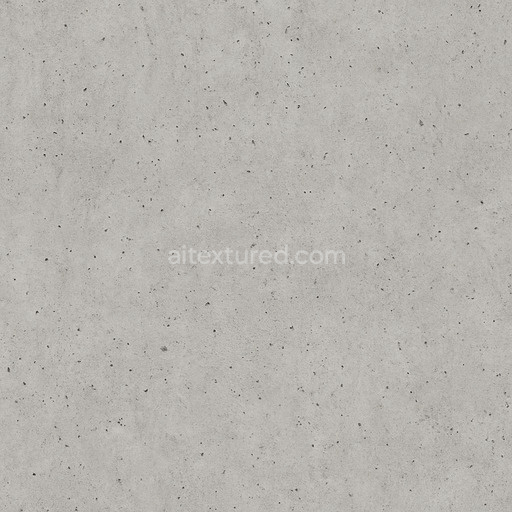
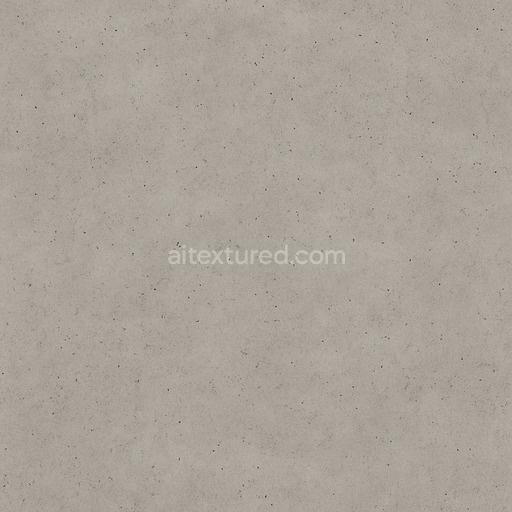
All material characteristics are accurately conveyed through a fully optimized set of physically based rendering channels. The BaseColor (Albedo) map features soft gray hues with subtle tonal shifts and pigment variations that mimic natural oxide layers ensuring consistent color response across expansive surfaces without obvious repetition. The Normal map captures fine details such as microscopic surface irregularities and block edges while the Roughness map controls the diffuse non-reflective quality typical of concrete enabling natural light scattering. Since concrete is inherently non-metallic the Metallic channel is uniformly black. Ambient Occlusion maps deepen crevices and shadowed areas for enhanced realism and Height/Displacement maps provide accurate parallax and surface geometry displacement to add tangible depth and texture to 3D models. All maps are delivered up to 8K resolution guaranteeing exceptional clarity and adaptability for high-fidelity rendering in software like Blender (Cycles and Eevee) Unreal Engine and Unity.
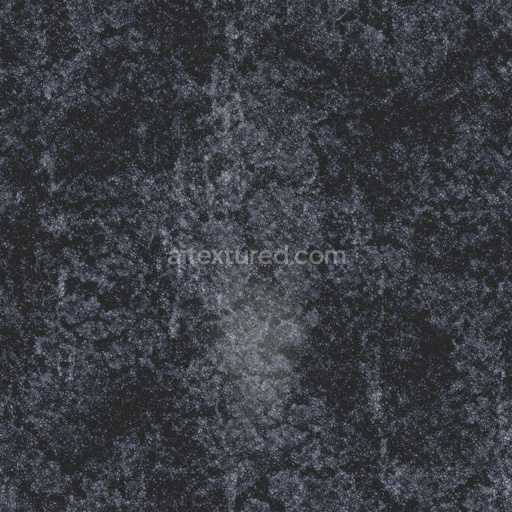
For optimal results it is recommended to carefully adjust the UV scale to avoid overly repetitive patterns while maintaining intricate surface details. Additionally fine-tuning the Roughness map can simulate different weathering stages—from freshly cast to slightly worn concrete blocks—enhancing material authenticity across diverse rendering workflows. This Blocks Concrete seamless PBR texture offers a versatile high-quality solution for projects requiring realistic concrete block surfaces fully compatible with physically based shading pipelines and designed to deliver consistent true-to-life results across all major visualization platforms.
Import the texture maps into Blender with sRGB color space for albedo/base color and Non-Color for normal, roughness, metallic, AO, height, and ORM maps. Connect normal maps through a Normal Map node, then adjust UV scale with a Mapping node so the material repeats naturally on your model.
For the full step-by-step setup, see How to Use Seamless Textures in Blender. Browse related material examples in wood, concrete, and metal.
Yes. This texture is designed as a seamless tileable PBR material, so it can repeat across large surfaces without visible borders.
You can download PNG/WEBP versions and use 1K, 2K, 4K and 8K download options when available on the page.
Yes. The download options and engine-mapped ZIP workflow are designed for Blender, Unreal Engine, Unity Standard, URP and HDRP material pipelines.
Yes. The texture is available under the AITextured free commercial license. Review the license page for redistribution and AI-training restrictions.

Build, preview, and export seamless PBR materials. Generate full map sets from a single image, inspect them in a real-time WebGL viewer, and re-package maps for Unreal, Unity, and Blender—directly in your browser.
AI text-to-texture: type a prompt and get a seamless, tileable base image ready for PBR workflows (great starting point for materials).
Create a full PBR set (Normal, Roughness, AO, Metallic, etc.) from a single image. Seamless and tiling-friendly.
Instant WebGL viewer: inspect materials on a sphere, plane, and cube. Check tiling and lighting in real time.
Re-packages maps per engine: Unreal (BaseColor + ORM), Unity (Mask/MetallicSmoothness), Blender (separate channels).
PNG ↔ JPG ↔ SVG: fast convert, SVG rasterize, embed/trace options, quality & background controls.