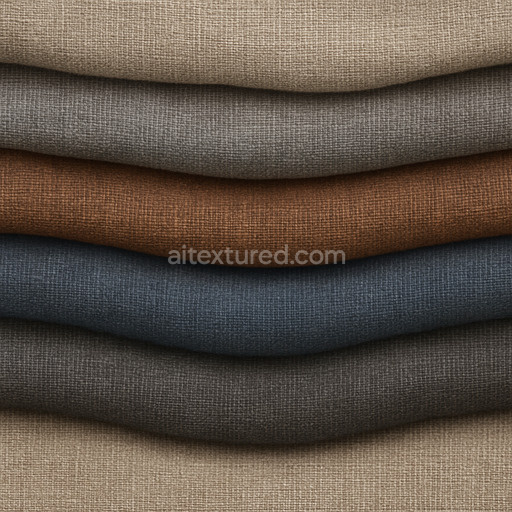
Cloth Clothes Fabric Feature Geometric Halloween Knitted - Seamless PBR Texture
Seamless texture (tileable) · PNG, WEBP, PBR ZIP. License: AITextured Free Commercial License (FCL) v1.1. Free personal and commercial use. Raw resale, standalone redistribution, mirroring/scraping, competing asset packs, and AI/ML training are not allowed without written permission. Attribution is not required, but appreciated..

| ID | knitted-fleece-brown-jersey-warm-knitted-fleece-textile |
|---|---|
| Category | Fabric |
| Formats | PNG, WEBP, PBR ZIP |
| Size | 1k (1024x1024px), 2k (2048x2048px), 4k (4096x4096px), 8k (8192x8192px) |
| Color | sRGB |
| Tileable | Yes |
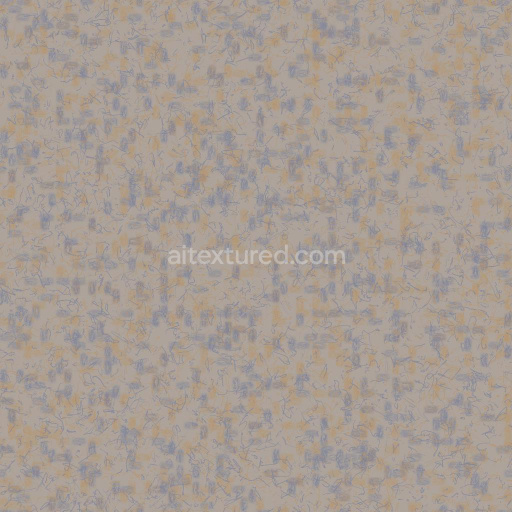
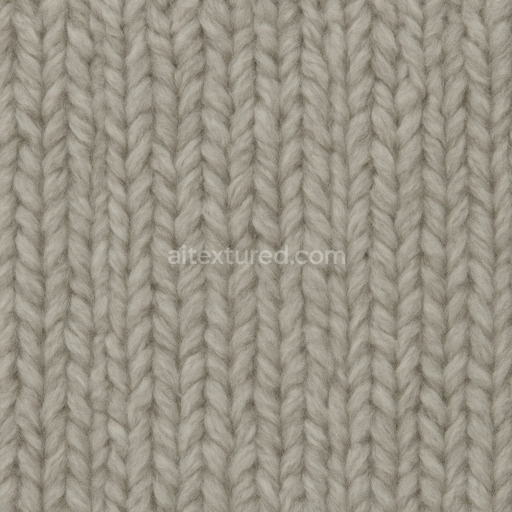
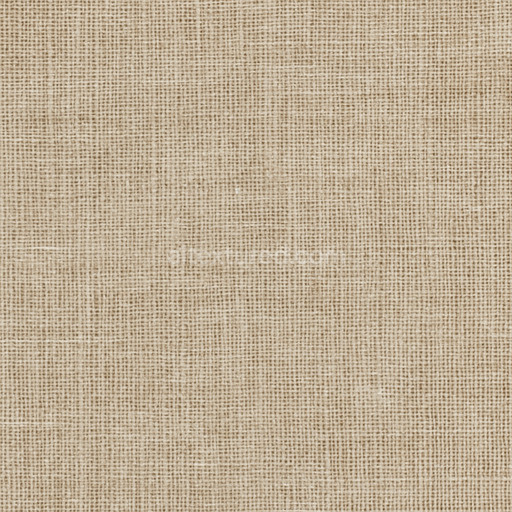
The knitted fleece texture embodies a warm soft fabric crafted from dense woven fibers typical of high-quality wool and textile blends. This material simulates the organic composition of knitted yarns and fleece where polymer and natural fibers intertwine to create an insulating cozy surface ideal for winter wear and apparel. The fabric’s brown hue emerges from carefully calibrated colorants incorporated at the fiber level resembling natural dyes or pigment-infused yarns that provide subtle tonal variation without overpowering. The surface finish captures the characteristic softness and tactile depth of fleece with slight fuzziness and gentle fiber displacement that convey a realistic tactile sensation. This complex weave structure combining knit loops and fleece pile is faithfully represented in the texture’s microgeometry and porosity allowing nuanced light interaction and shadowing typical for woven wool textiles.
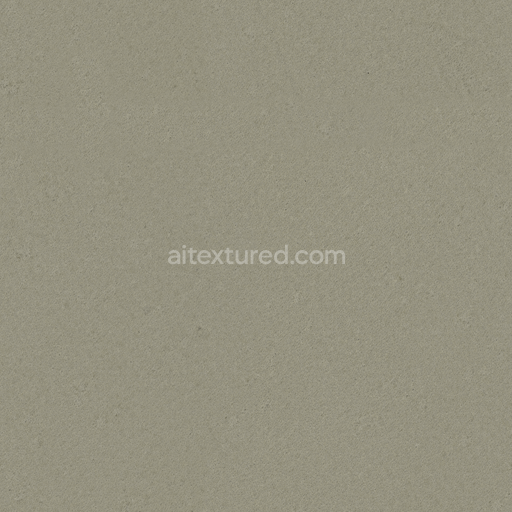
Within the physically based rendering (PBR) workflow this seamless 3D texture delivers comprehensive maps optimized for modern pipelines and a variety of digital content creation tools including Blender Unreal Engine and Unity. The Albedo map accurately portrays the fabric’s base color with natural brown tones while the Normal map reveals the intricate knit and fleece surface relief enhancing the perception of depth and fiber layering. Roughness maps define the soft matte finish balancing diffuse reflection and subtle specular highlights to replicate the tactile fleece quality. The Metallic channel remains minimal reflecting the organic non-metallic nature of wool and textile fibers. Ambient Occlusion adds realistic shading in crevices and dense weave areas enhancing visual richness. Height maps provide fine displacement details to support parallax and tessellation effects reinforcing the dense weave’s texture at close range.
Available in 4K resolution with an optional 8K upgrade this tileable knitted fleece texture ensures exceptional detail and performance across game engines and offline renderers without manual tweaking. It is supplied in multiple formats such as PNG and EXR to accommodate various workflows and rendering engines. For best results it is recommended to adjust UV scale to match the intended garment or fabric size and to fine-tune roughness values slightly higher for environments emphasizing softer diffused lighting. The height map can be utilized to enhance parallax effects in real-time engines adding convincing depth to knit loops and fleece layers without sacrificing performance.
Import the texture maps into Blender with sRGB color space for albedo/base color and Non-Color for normal, roughness, metallic, AO, height, and ORM maps. Connect normal maps through a Normal Map node, then adjust UV scale with a Mapping node so the material repeats naturally on your model.
For the full step-by-step setup, see How to Use Seamless Textures in Blender. Browse related material examples in wood, concrete, and metal.
Yes. This texture is designed as a seamless tileable PBR material, so it can repeat across large surfaces without visible borders.
You can download PNG/WEBP versions and use 1K, 2K, 4K and 8K download options when available on the page.
Yes. The download options and engine-mapped ZIP workflow are designed for Blender, Unreal Engine, Unity Standard, URP and HDRP material pipelines.
Yes. The texture is available under the AITextured free commercial license. Review the license page for redistribution and AI-training restrictions.


Build, preview, and export seamless PBR materials. Generate full map sets from a single image, inspect them in a real-time WebGL viewer, and re-package maps for Unreal, Unity, and Blender—directly in your browser.
AI text-to-texture: type a prompt and get a seamless, tileable base image ready for PBR workflows (great starting point for materials).
Create a full PBR set (Normal, Roughness, AO, Metallic, etc.) from a single image. Seamless and tiling-friendly.
Instant WebGL viewer: inspect materials on a sphere, plane, and cube. Check tiling and lighting in real time.
Re-packages maps per engine: Unreal (BaseColor + ORM), Unity (Mask/MetallicSmoothness), Blender (separate channels).
PNG ↔ JPG ↔ SVG: fast convert, SVG rasterize, embed/trace options, quality & background controls.