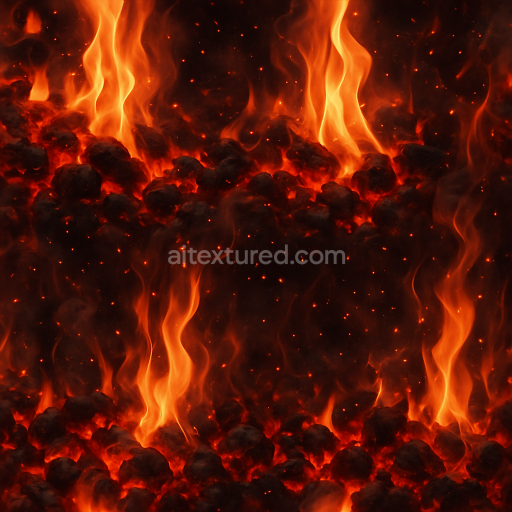
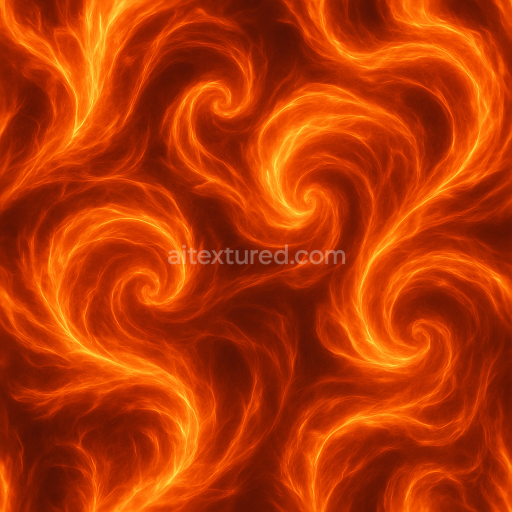
Fiery Flame Surface With Glowing Coals
Seamless texture (tileable) · PNG, WEBP, PBR ZIP. License: AITextured Free Commercial License (FCL) v1.1. Free personal and commercial use. Raw resale, standalone redistribution, mirroring/scraping, competing asset packs, and AI/ML training are not allowed without written permission. Attribution is not required, but appreciated..

| ID | seamless-3d-texture-pbr-8k-hot-embers-with-fire-embers-glow-and-smoke-puff |
|---|---|
| Category | Fire |
| Formats | PNG, WEBP, PBR ZIP |
| Size | 1k (1024x1024px), 2k (2048x2048px), 4k (4096x4096px), 8k (8192x8192px) |
| Color | sRGB |
| Tileable | Yes |
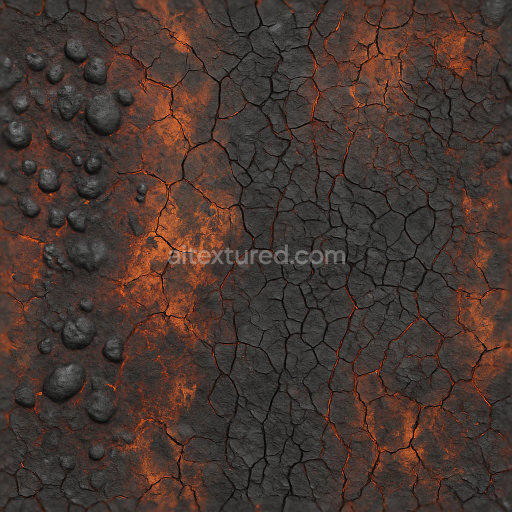
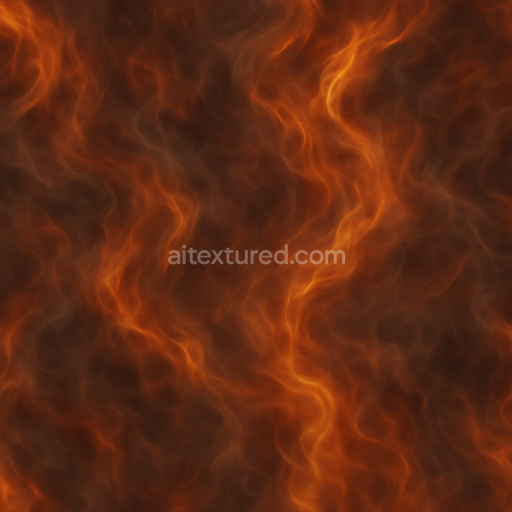
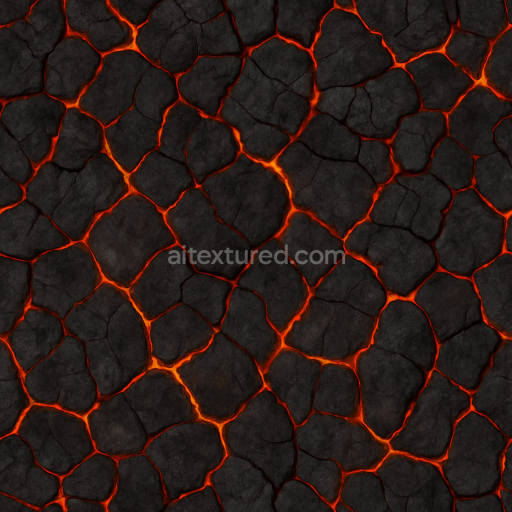
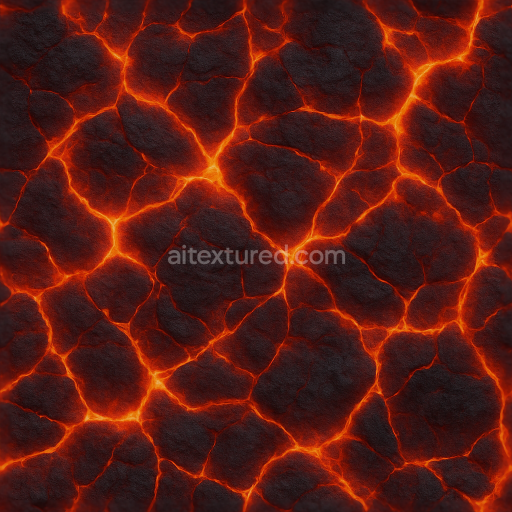
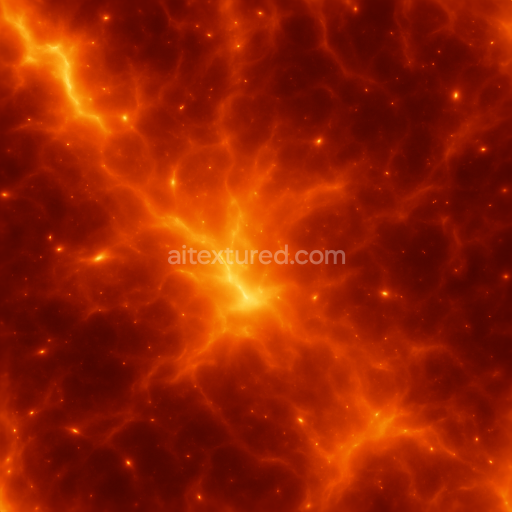
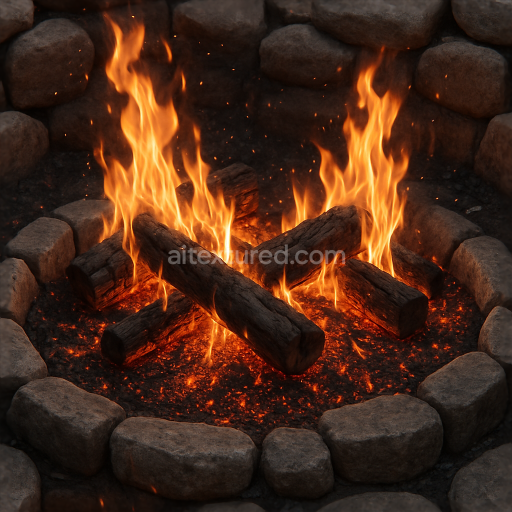
This seamless 3D texture in stunning 8K resolution captures the intricate surface of hot embers with a high level of photorealism perfect for enhancing fire and smoldering effects in 3D scenes. The base substrate resembles organic charred wood fragments and mineral-rich cinders combining a porous brittle structure with subtle ash residues that create natural micro-variations across the surface. The embers’ thermal glow is achieved through carefully balanced colorants and oxide layers that simulate the intense red-orange heat radiating from deep within the cinder matrix. The texture’s surface finish is matte with a faintly ashy roughness emphasizing the tactile feel of cooling embers while maintaining a dynamic fire embers glow that intensifies at hotspots. Delicate fire smoke puffs and a slight foggy haze rise subtly above the embers adding atmospheric depth and realism to the overall composition.
From a PBR materials standpoint the BaseColor/Albedo channel presents a rich palette ranging from glowing orange to muted blackened charcoal reflecting the natural colorants and thermal gradients of burning embers. The Normal map enhances the rough cracked surface morphology with fine grain orientation and porous cavities typical of organic and mineral composites. Roughness is finely tuned to represent the ashy irregular surface—neither fully polished nor overly matte—allowing highlights to respond realistically to lighting. The Metallic channel remains near zero as embers are non-metallic in nature while Ambient Occlusion accentuates the depth within cracks and crevices. Height or Displacement maps provide subtle depth cues for the raised embers and recessed ash layers supporting convincing parallax effects in real-time engines.
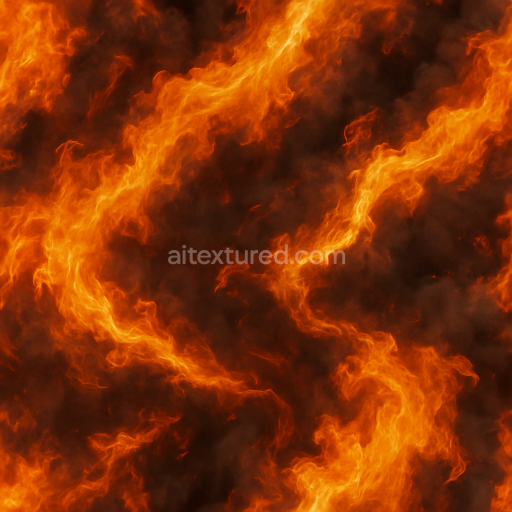
Designed for seamless tiling this texture integrates perfectly into workflows for Blender Unreal Engine and Unity offering flexibility for close-up renders or large-scale backgrounds needing detailed embers and smoke visuals. For optimal use adjusting the UV scale to emphasize the fine micro-variations in ember intensity can dramatically enhance realism. Additionally fine-tuning roughness values allows the fire embers glow to balance between a smoldering matte finish and vibrant heat shimmer depending on the scene’s lighting conditions. This PBR 8K hot embers texture is ideal for artists and developers seeking authentic and immersive fire effects with smoke puffs that naturally rise above glowing embers in their 3D compositions.
Import the texture maps into Blender with sRGB color space for albedo/base color and Non-Color for normal, roughness, metallic, AO, height, and ORM maps. Connect normal maps through a Normal Map node, then adjust UV scale with a Mapping node so the material repeats naturally on your model.
For the full step-by-step setup, see How to Use Seamless Textures in Blender. Browse related material examples in wood, concrete, and metal.
Yes. This texture is designed as a seamless tileable PBR material, so it can repeat across large surfaces without visible borders.
You can download PNG/WEBP versions and use 1K, 2K, 4K and 8K download options when available on the page.
Yes. The download options and engine-mapped ZIP workflow are designed for Blender, Unreal Engine, Unity Standard, URP and HDRP material pipelines.
Yes. The texture is available under the AITextured free commercial license. Review the license page for redistribution and AI-training restrictions.


Generate, preview, and export seamless PBR materials for Blender, Unity, and Unreal Engine—directly in your browser.
AI text-to-texture: type a prompt and get a seamless, tileable base image ready for PBR workflows (great starting point for materials).
Create a full PBR set (Normal, Roughness, AO, Metallic, etc.) from a single image. Seamless and tiling-friendly.
Instant WebGL viewer: inspect materials on a sphere, plane, and cube. Check tiling and lighting in real time.
Re-packages maps per engine: Unreal (BaseColor + ORM), Unity (Mask/MetallicSmoothness), Blender (separate channels).
PNG ↔ JPG ↔ SVG: fast convert, SVG rasterize, embed/trace options, quality & background controls.