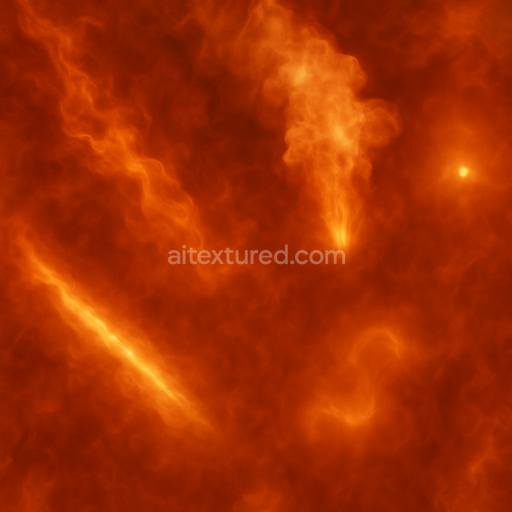
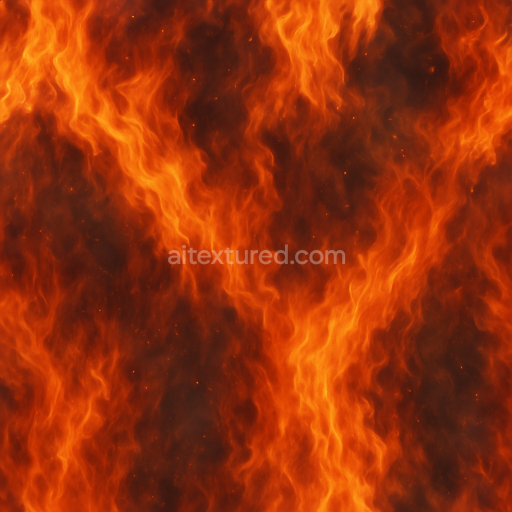
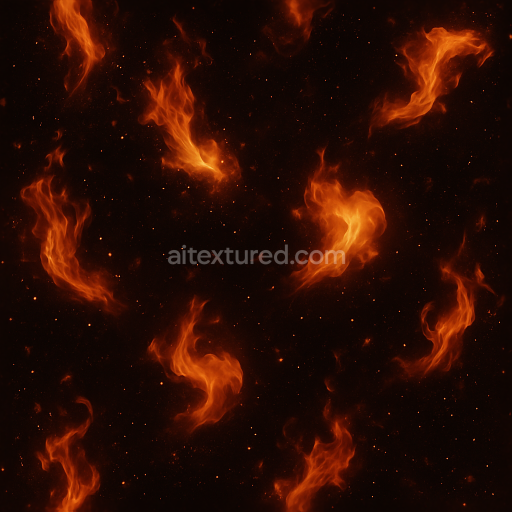
Fire Trail Wave With Fire Smoke Plume And Heat Shimmer
Seamless texture (tileable) · PNG, WEBP, PBR ZIP. License: AITextured Free Commercial License (FCL) v1.1. Free personal and commercial use. Raw resale, standalone redistribution, mirroring/scraping, competing asset packs, and AI/ML training are not allowed without written permission. Attribution is not required, but appreciated..

| ID | seamless-3d-texture-of-flaming-edges-and-fire-flicker-pbr-8k-surface |
|---|---|
| Category | Fire |
| Formats | PNG, WEBP, PBR ZIP |
| Size | 1k (1024x1024px), 2k (2048x2048px), 4k (4096x4096px), 8k (8192x8192px) |
| Color | sRGB |
| Tileable | Yes |
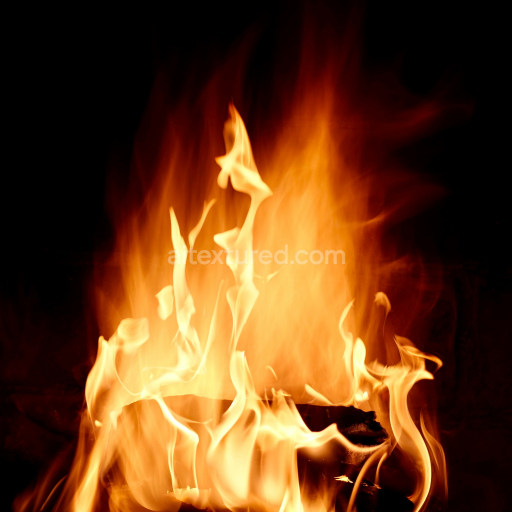
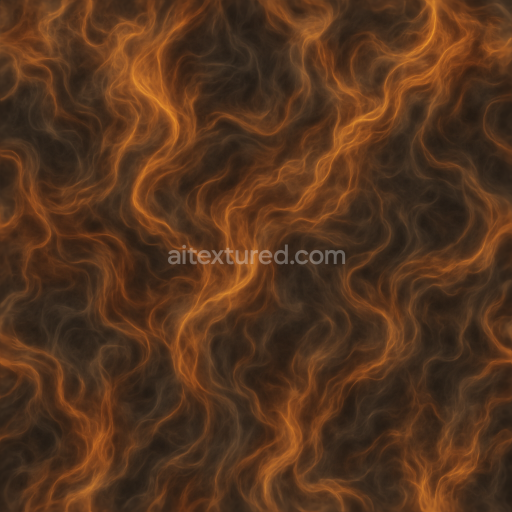
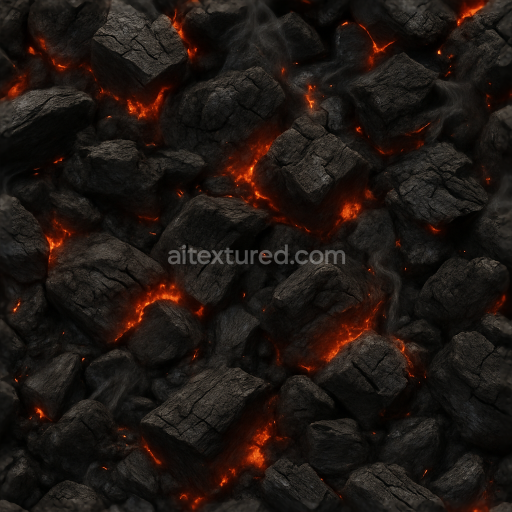
This high-quality seamless 3D texture showcases the intricate flaming edges of a dynamic burning surface rendered at an impressive 8K resolution using physically based rendering (PBR) techniques. The base substrate resembles a charred organic material such as scorched wood or weathered polymer composites featuring subtle grain orientation and natural porosity that enhances realism. Fine mineral ash and carbonized fibers are visible along the edges where delicate fire flicker and crackle effects manifest as vivid radiant sparks and glowing embers. The surface finish mimics a slightly roughened oxidized layer formed by heat exposure with colorants ranging from deep blacks and grays in the charred zones to intense oranges and yellows near the flame tips capturing the natural progression of combustion and radiant heat emission.
In the PBR channels this texture excels in delivering photorealistic detail: the BaseColor (Albedo) map captures the nuanced color shifts from unburned to flaming areas with neutral lighting suitable for any scene. The Normal map emphasizes the micro-variations in surface depth such as cracked edges and subtle warping from heat distortion. Roughness values vary realistically with smoother glowing ember regions contrasting against rough ash-covered sections while the Metallic channel remains minimal reflecting the organic non-metallic nature of the material. Ambient Occlusion enhances shadowing in crevices and charred fissures and the Height/Displacement map provides depth cues for more immersive parallax and geometry effects perfect for close-up viewing and dynamic lighting scenarios.
Designed with seamless tileability in mind this texture is ideal for digital projects requiring realistic flame edges and flickering fire animations especially in game engines and 3D software. It is fully Unreal Engine Blender and Unity ready ensuring easy integration into diverse workflows. For optimal results it is recommended to adjust the UV scale to maintain natural fire scale and to fine-tune roughness settings to balance between glossy ember highlights and matte charred surfaces. This helps achieve a convincing interplay of light and shadow that enhances the dynamic feel of burning materials while preserving the natural micro-variations that make fire effects visually compelling.
Import the texture maps into Blender with sRGB color space for albedo/base color and Non-Color for normal, roughness, metallic, AO, height, and ORM maps. Connect normal maps through a Normal Map node, then adjust UV scale with a Mapping node so the material repeats naturally on your model.
For the full step-by-step setup, see How to Use Seamless Textures in Blender. Browse related material examples in wood, concrete, and metal.
Yes. This texture is designed as a seamless tileable PBR material, so it can repeat across large surfaces without visible borders.
You can download PNG/WEBP versions and use 1K, 2K, 4K and 8K download options when available on the page.
Yes. The download options and engine-mapped ZIP workflow are designed for Blender, Unreal Engine, Unity Standard, URP and HDRP material pipelines.
Yes. The texture is available under the AITextured free commercial license. Review the license page for redistribution and AI-training restrictions.

Generate, preview, and export seamless PBR materials for Blender, Unity, and Unreal Engine—directly in your browser.
AI text-to-texture: type a prompt and get a seamless, tileable base image ready for PBR workflows (great starting point for materials).
Create a full PBR set (Normal, Roughness, AO, Metallic, etc.) from a single image. Seamless and tiling-friendly.
Instant WebGL viewer: inspect materials on a sphere, plane, and cube. Check tiling and lighting in real time.
Re-packages maps per engine: Unreal (BaseColor + ORM), Unity (Mask/MetallicSmoothness), Blender (separate channels).
PNG ↔ JPG ↔ SVG: fast convert, SVG rasterize, embed/trace options, quality & background controls.