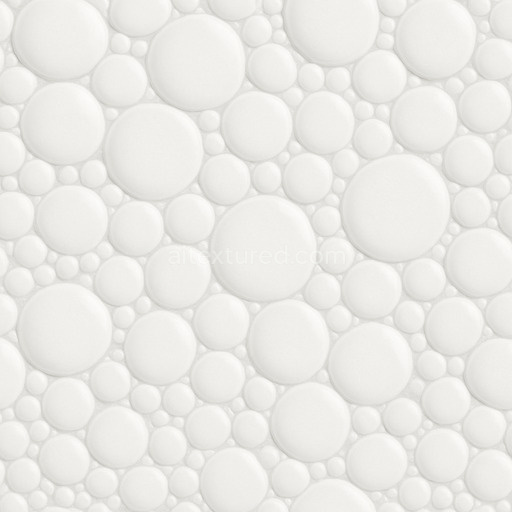
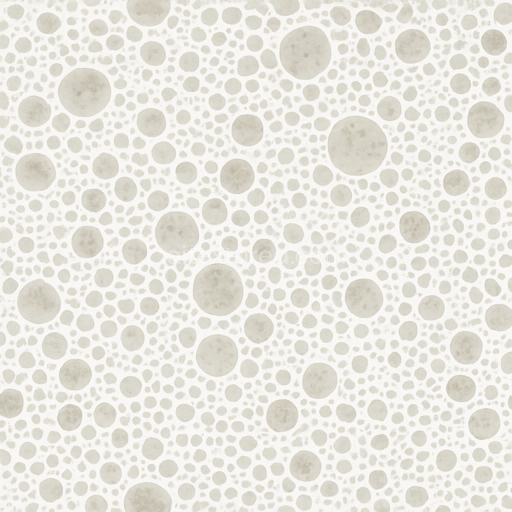
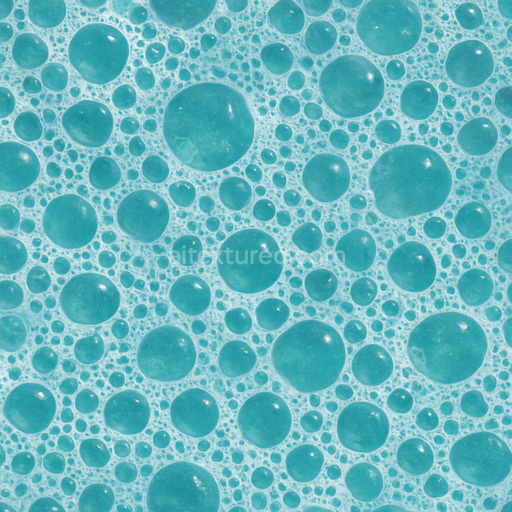
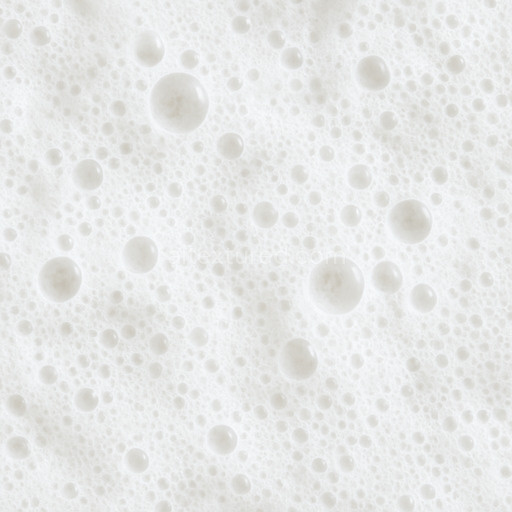
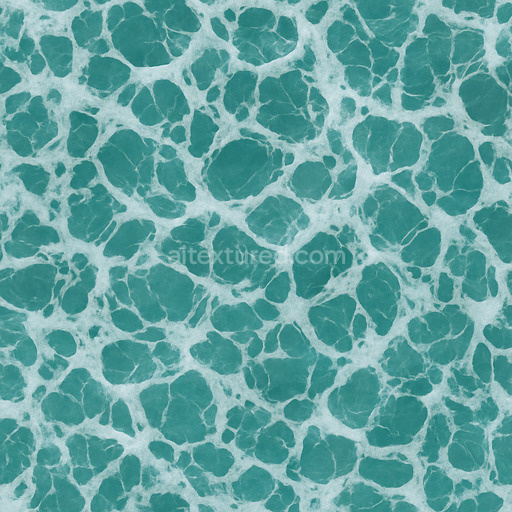
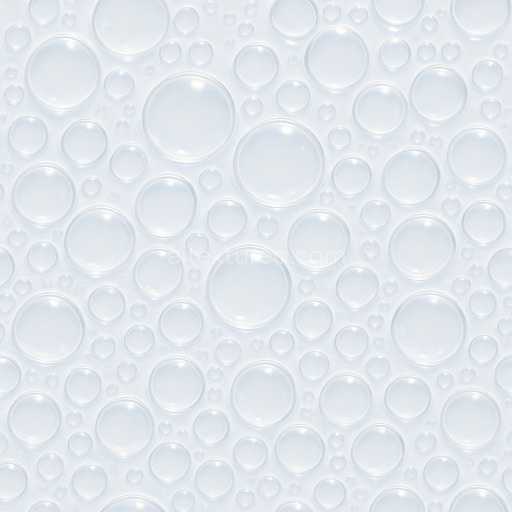
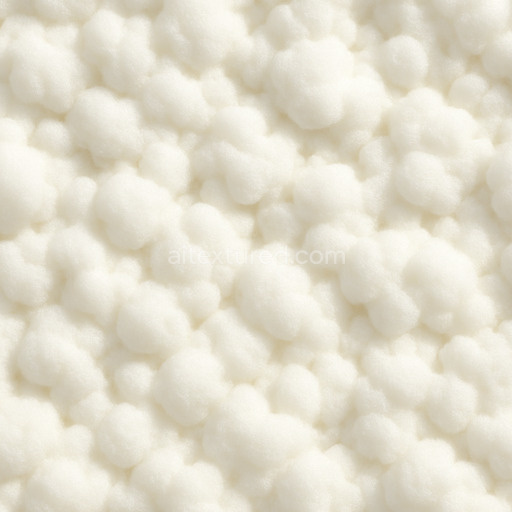
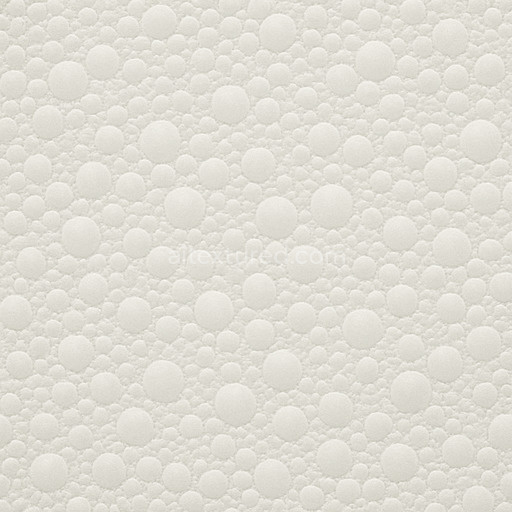
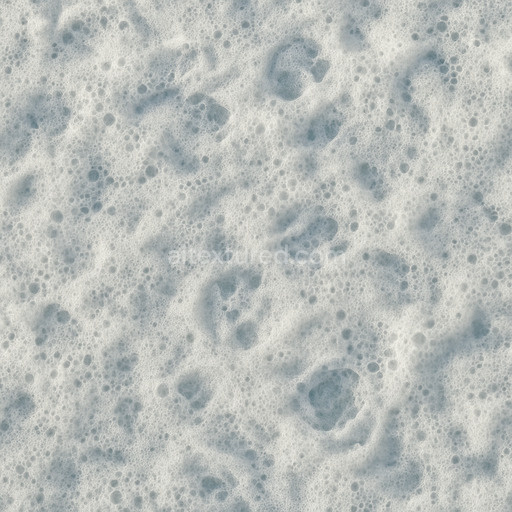
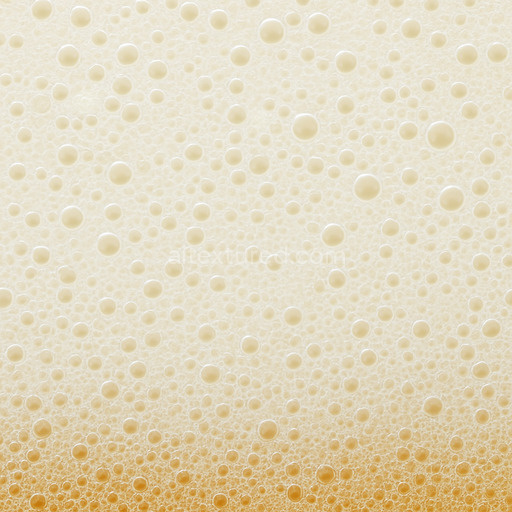
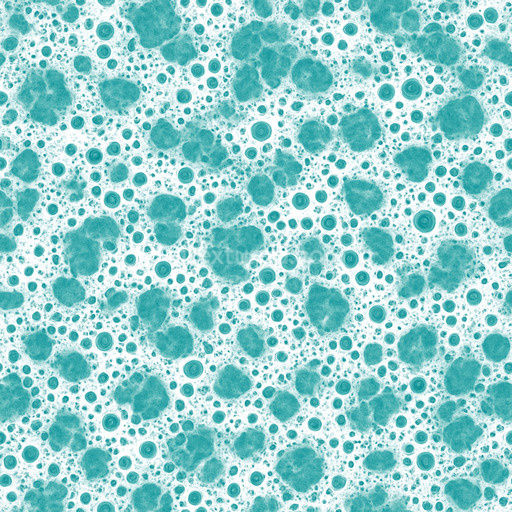
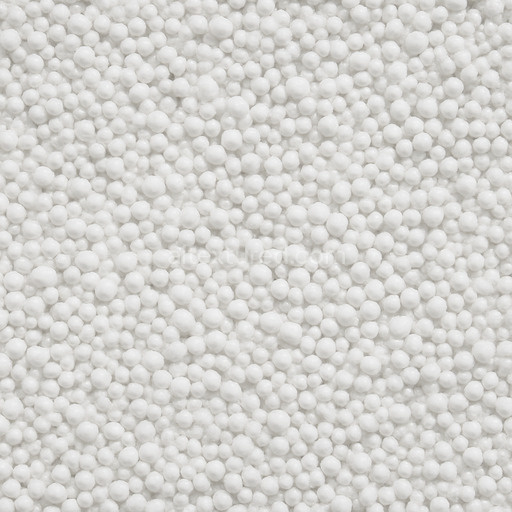
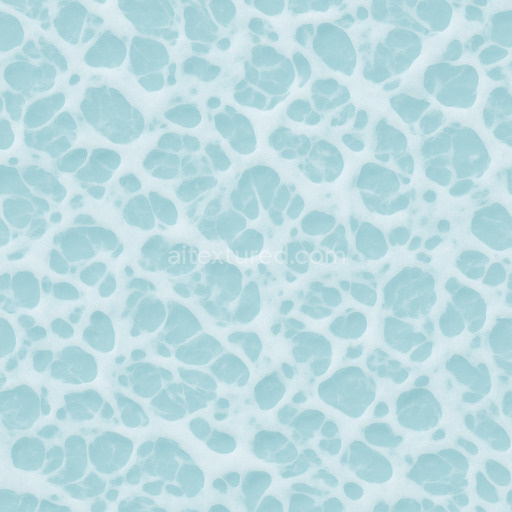
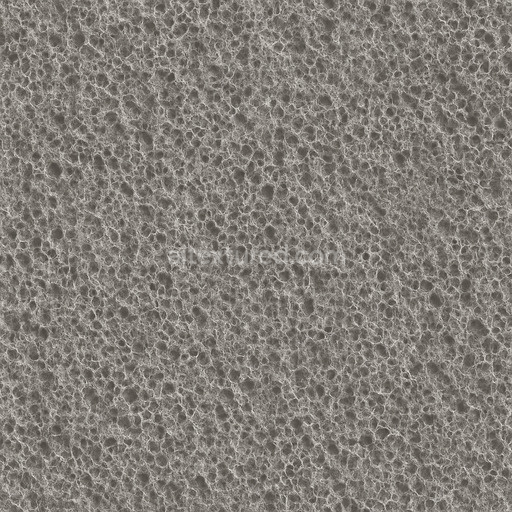
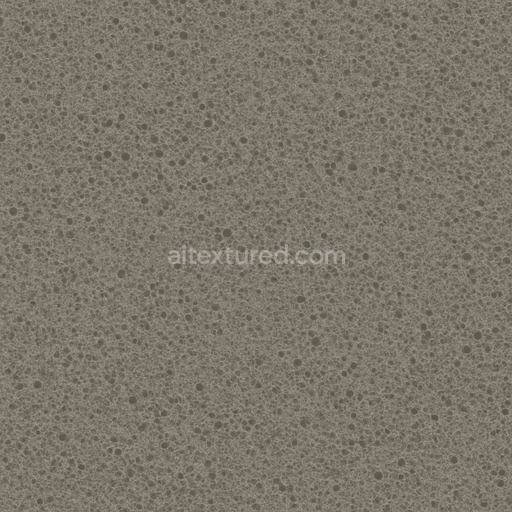
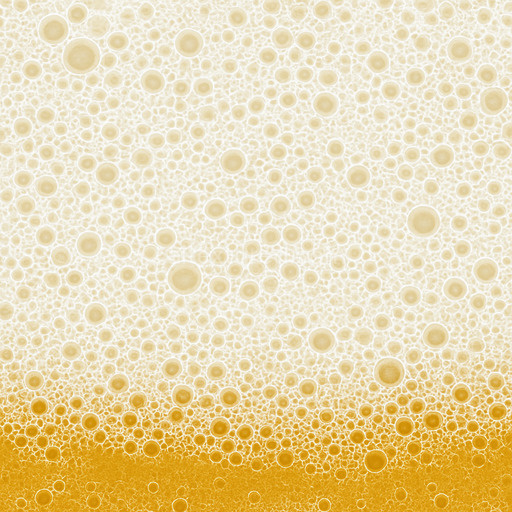
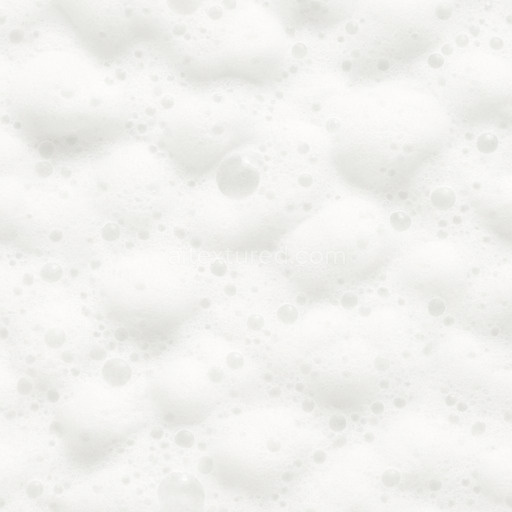
The Transparent Froth Seamless Texture is a meticulously crafted AI-generated material designed to replicate the delicate and intricate appearance of frothy foam with exceptional realism. This tileable transparent froth seamless texture features a finely detailed base substrate that mimics the organic porous nature of foam composed primarily of a lightweight polymer matrix interspersed with microscopic gas bubbles. The binder elements resemble a translucent gel-like adhesive that holds the froth structure together creating subtle variations in opacity and depth. The texture’s surface finish is soft and slightly glossy capturing the way light diffuses through thin layers of froth with gentle highlights and shadows enhancing the three-dimensional feel. Colorants are minimal relying mainly on natural off-white to pale cream hues with occasional hints of subtle iridescence which are faithfully represented in the BaseColor/Albedo channel for a clean and natural look.
In terms of Physically Based Rendering (PBR) channels this seamless transparent froth texture excels in delivering micro-detail and structural consistency. The Normal map encodes the soft undulations and tiny bubbles typical of frothy surfaces providing convincing surface breakup without harsh edges. Roughness is tuned to reflect the delicate semi-gloss finish of fresh foam—neither fully matte nor overly shiny—while the Metallic channel remains neutral as foam is inherently non-metallic. Ambient Occlusion enhances the perception of depth between bubbles and crevices adding realism to the overall material. Height or Displacement maps can be used subtly to emphasize the raised contours of froth ideal for adding tactile dimension in close-up renders. Thanks to its high resolution of up to 8K the texture scales elegantly across large surfaces without visible seams or pixelation making it perfect for architectural visualization game environments product mockups and interior staging.
This tileable transparent froth seamless texture integrates seamlessly into popular 3D software such as Blender Unreal Engine and Unity providing predictable and repeatable results that streamline the creative workflow. The AI-driven pipeline behind this texture ensures a production-ready finish by prioritizing fine micro-detail alongside broad structural clarity which is essential for realistic foam representations in digital projects. For optimal use it is recommended to combine this texture with a subtle ambient occlusion pass and a lightly applied normal map to enhance surface variation without oversharpening. Additionally adjusting the UV scale to match the scene’s scale can prevent repetition artifacts while fine-tuning roughness helps achieve the ideal balance between glossiness and softness depending on lighting conditions.
Overall the Transparent Froth Seamless Texture stands out as a highly versatile and naturalistic foam texture that enhances any material library. Its transparent qualities seamless tiling capabilities and ultra-high resolution make it an excellent choice for artists and designers seeking to add realistic froth details to their 3D scenes whether for immersive game environments photorealistic archviz or detailed product visualizations. By incorporating this texture into your projects you gain a reliable visually consistent resource that elevates surface realism and accelerates iteration speed across a variety of creative applications.
The AI texture transparent froth seamless texture offers a realistic foam texture with a transparent froth seamless texture that enhances materials through a detailed 3D preview for accurate PBR appearance.
How to Use These Seamless PBR Textures in Blender
This guide shows how to connect a full PBR texture set to Principled BSDF in Blender (Cycles or Eevee). Works with any of our seamless textures free download, including PBR PNG materials for Blender / Unreal / Unity.
What’s inside the download
*_albedo.png — Base Color (sRGB)*_normal.png — Normal map (Non-Color)*_roughness.png — Roughness (Non-Color)*_metallic.png — Metallic (Non-Color)*_ao.png — Ambient Occlusion (Non-Color)*_height.png — Height / Displacement (Non-Color)*_ORM.png — Packed map (R=AO, G=Roughness, B=Metallic, Non-Color)

Quick start (Node Wrangler, 30 seconds)
- Enable the addon: Edit → Preferences → Add-ons → Node Wrangler.
- Create a material and select the Principled BSDF node.
- Press Ctrl + Shift + T and select the maps
albedo, normal, roughness, metallic (skip height and ORM for now) → Open.
The addon wires Base Color, Normal (with a Normal Map node), Roughness, and Metallic automatically.
- Add AO and Height using the “Manual wiring” steps below (5 and 6).
Manual wiring (full control)
- Create a material (Material Properties → New) and open the Shader Editor.
- Add an Image Texture node for each map. Set Color Space:
- Albedo → sRGB
- AO, Roughness, Metallic, Normal, Height, ORM → Non-Color
- Connect to Principled BSDF:
albedo → Base Colorroughness → Roughnessmetallic → Metallic (for wood this often stays near 0)normal → Normal Map node (Type: Tangent Space) → Normal of Principled.
If details look “inverted”, enable Invert Y on the Normal Map node.
- Ambient Occlusion (AO):
- Add a MixRGB (or Mix Color) node in mode Multiply.
- Input A =
albedo, Input B = ao, Factor = 1.0.
- Output of Mix → Base Color of Principled (replaces the direct albedo connection).
- Height / Displacement:
Cycles — true displacement
- Material Properties → Settings → Displacement: Displacement and Bump.
- Add a Displacement node: connect
height → Height, set Midlevel = 0.5, Scale = 0.02–0.08 (tune to taste).
- Output of Displacement → Material Output → Displacement.
- Add geometry density (e.g., Subdivision Surface) so displacement has polygons to work with.
Eevee (or lightweight Cycles) — bump only
- Add a Bump node:
height → Height.
- Set Strength = 0.2–0.5, Distance = 0.05–0.1, and connect Normal output to Principled’s Normal.
Using the packed ORM texture (optional)
Instead of separate AO/Roughness/Metallic maps you can use the single *_ORM.png:
- Add one Image Texture (Non-Color) → Separate RGB (or Separate Color).
- R (red) → AO (use it in the Multiply node with albedo as above).
- G (green) → Roughness of Principled.
- B (blue) → Metallic of Principled.
UVs & seamless tiling
- These textures are seamless. If your mesh has no UVs, go to UV Editing → Smart UV Project.
- For scale/repeat, add Texture Coordinate (UV) → Mapping and plug it into all texture nodes.
Increase Mapping → Scale (e.g., 2/2/2) to tile more densely.
Recommended starter values
- Normal Map Strength: 0.5–1.0
- Bump Strength: ~0.3
- Displacement Scale (Cycles): ~0.03
Common pitfalls
- Wrong Color Space (normals/roughness/etc. must be Non-Color).
- “Inverted” details → enable Invert Y on the Normal Map node.
- Over-strong relief → lower Displacement Scale or Bump Strength.
Example: Download Wood Textures and instantly apply parquet or rustic planks inside Blender for architectural visualization.
To add the downloaded texture, go to Add — Texture — Image Texture.

Add a node and click the Open button.

Select the required texture on your hard drive and connect Color to Base Color.

