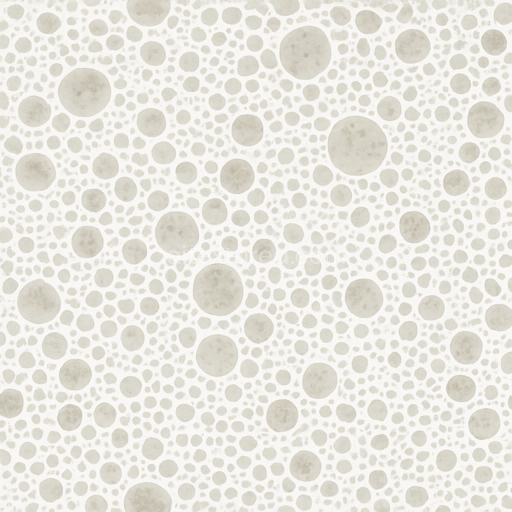
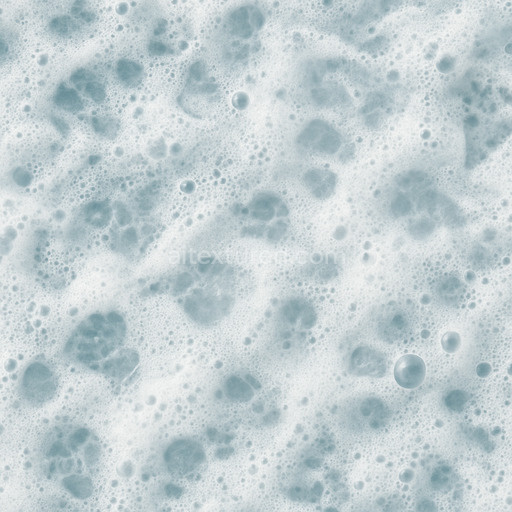
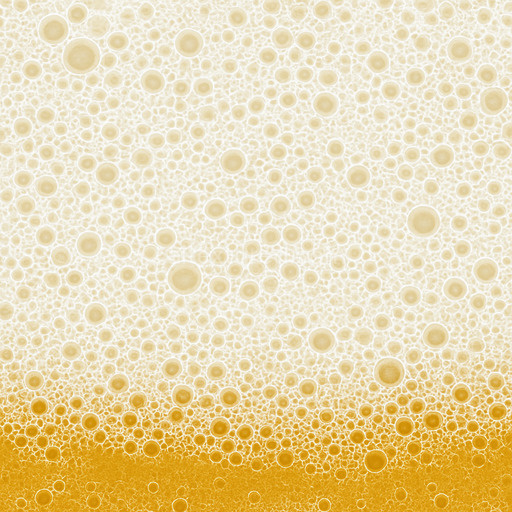
Transparent Froth Seamless Texture
Seamless texture (tileable) · PNG, WEBP, PBR ZIP. License: AITextured Free Commercial License (FCL) v1.1. Free personal and commercial use. Raw resale, standalone redistribution, mirroring/scraping, competing asset packs, and AI/ML training are not allowed without written permission. Attribution is not required, but appreciated..

| ID | light-beer-foam-seamless-texture |
|---|---|
| Category | Foam |
| Formats | PNG, WEBP, PBR ZIP |
| Size | 1k (1024x1024px), 2k (2048x2048px), 4k (4096x4096px), 8k (8192x8192px) |
| Color | sRGB |
| Tileable | Yes |
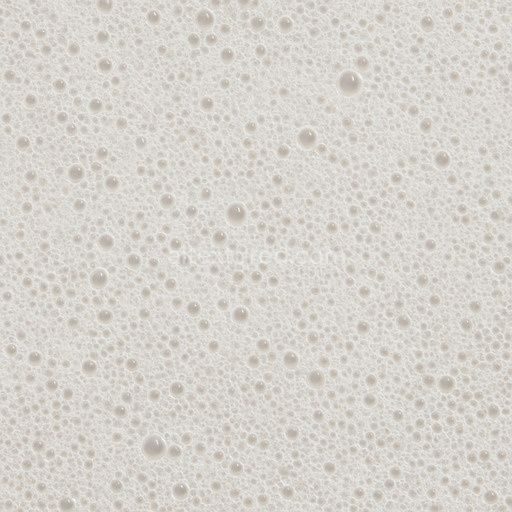
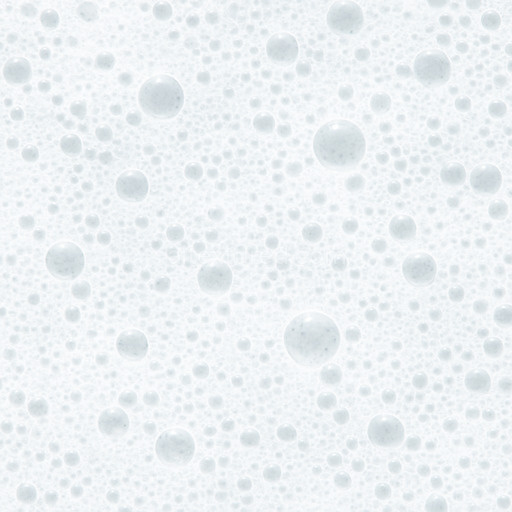
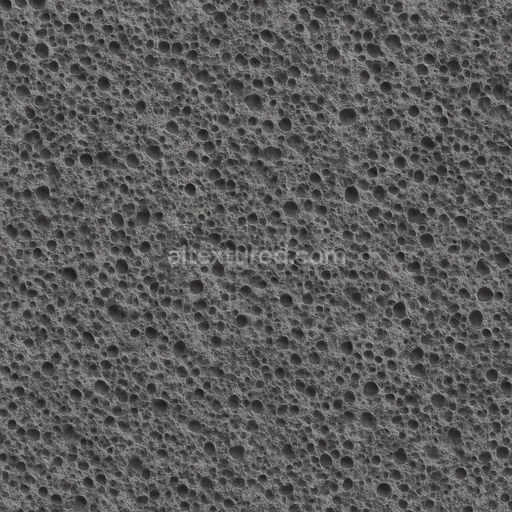
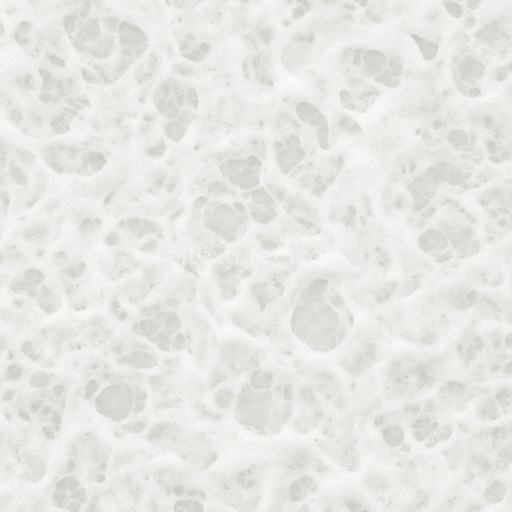
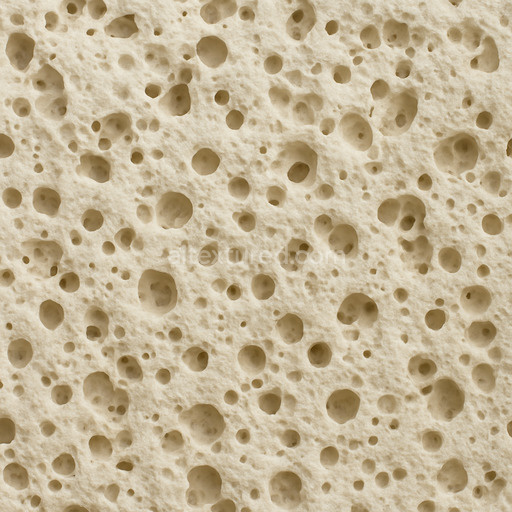
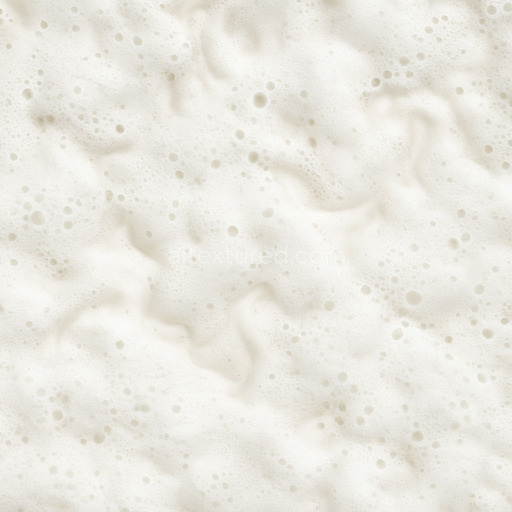
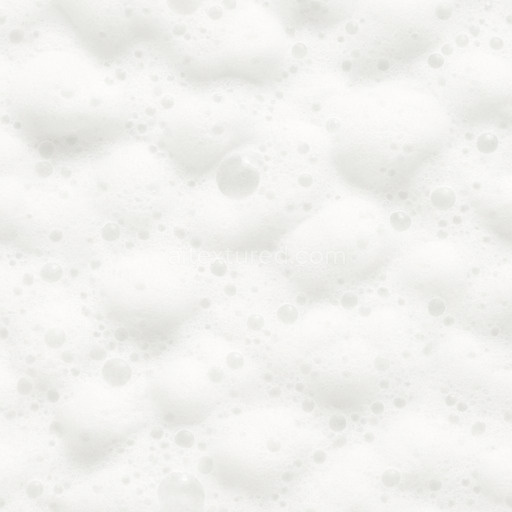
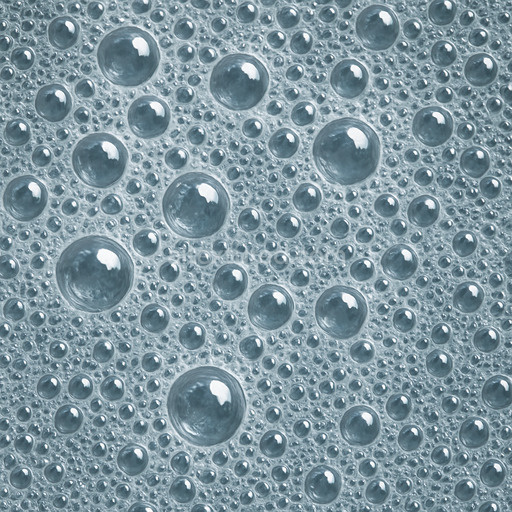
The Light Beer Foam Seamless Texture captures the intricate organic structure of freshly poured beer foam with remarkable fidelity. This texture simulates the delicate airy polymer-like bubbles formed by the aggregation of tiny gas pockets within a liquid substrate. The base material mimics an organic porous matrix with subtle translucency and micro-foam clusters while the surface finish exhibits a soft diffused sheen typical of wet foam. Colorants are characterized by pale golden hues blending with off-white highlights resulting from light scattering through microscopic bubbles and thin liquid films. In PBR channels the BaseColor/Albedo reflects this warm light yellow palette with subtle tonal variation while the Normal map encodes the complex undulating surface topography of clustered bubbles creating convincing micro-detail. The Roughness channel portrays a predominantly matte finish with slight gloss variation where moisture accumulates and the Metallic channel remains near zero consistent with organic non-metallic foam. Ambient Occlusion enhances crevices between bubbles adding depth and realism while the Height/Displacement map emphasizes the subtle elevation differences between foam peaks and troughs.
This tileable light beer foam seamless texture delivers high resolution up to 8K ensuring crisp detailed visuals even on large surfaces. It integrates smoothly into modern 3D workflows and is optimized for use in Blender Unity and Unreal Engine requiring minimal setup to achieve production-ready results. The AI-driven generation pipeline prioritizes both micro-detail and structural consistency avoiding repetitive artifacts and maintaining natural randomness across tiled patterns. This makes the texture ideal for a wide range of applications including architectural visualization immersive game environments product mockups and interior staging where photorealistic foam detail can enhance realism and immersion.
When applying this texture light beer foam seamless texture consider matching texel density across your assets and keeping UV maps uniform to prevent distortion or stretching of the foam pattern. Adjusting roughness values can help balance between wet and matte appearances depending on lighting conditions and subtle use of the height or parallax channel can add convincing depth to foam surfaces in close-up renders. This seamless light beer foam seamless texture is designed to flawlessly tile over vast areas while preserving consistent detail making it a versatile high-quality addition to your texture collection.
The light beer foam seamless texture demonstrates realistic foam textures with a detailed 3D preview highlighting its accurate PBR appearance and material composition.
Import the texture maps into Blender with sRGB color space for albedo/base color and Non-Color for normal, roughness, metallic, AO, height, and ORM maps. Connect normal maps through a Normal Map node, then adjust UV scale with a Mapping node so the material repeats naturally on your model.
For the full step-by-step setup, see How to Use Seamless Textures in Blender. Browse related material examples in wood, concrete, and metal.
Yes. This texture is designed as a seamless tileable PBR material, so it can repeat across large surfaces without visible borders.
You can download PNG/WEBP versions and use 1K, 2K, 4K and 8K download options when available on the page.
Yes. The download options and engine-mapped ZIP workflow are designed for Blender, Unreal Engine, Unity Standard, URP and HDRP material pipelines.
Yes. The texture is available under the AITextured free commercial license. Review the license page for redistribution and AI-training restrictions.

Generate, preview, and export seamless PBR materials for Blender, Unity, and Unreal Engine—directly in your browser.
AI text-to-texture: type a prompt and get a seamless, tileable base image ready for PBR workflows (great starting point for materials).
Create a full PBR set (Normal, Roughness, AO, Metallic, etc.) from a single image. Seamless and tiling-friendly.
Instant WebGL viewer: inspect materials on a sphere, plane, and cube. Check tiling and lighting in real time.
Re-packages maps per engine: Unreal (BaseColor + ORM), Unity (Mask/MetallicSmoothness), Blender (separate channels).
PNG ↔ JPG ↔ SVG: fast convert, SVG rasterize, embed/trace options, quality & background controls.