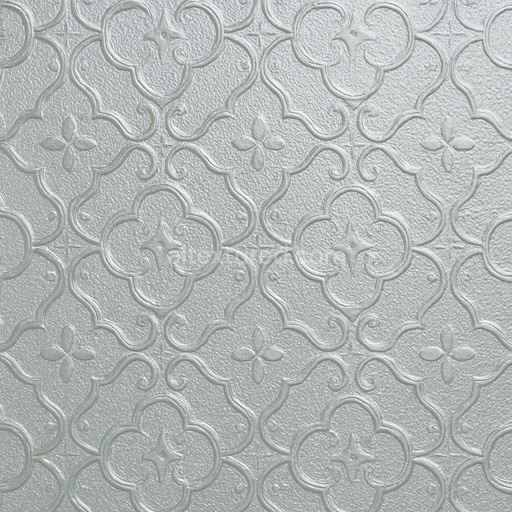
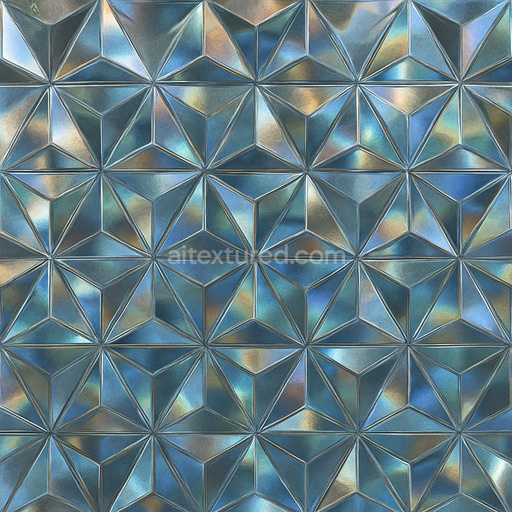
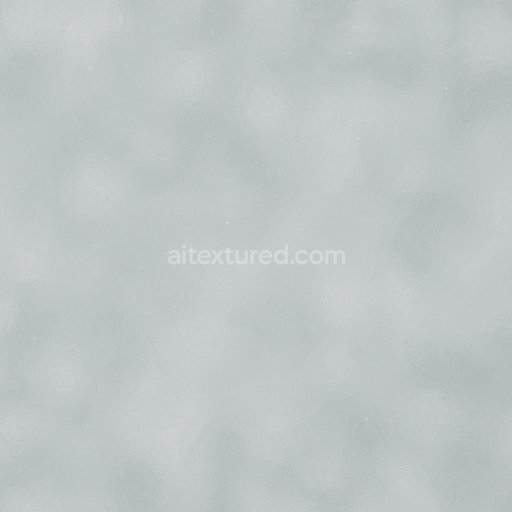
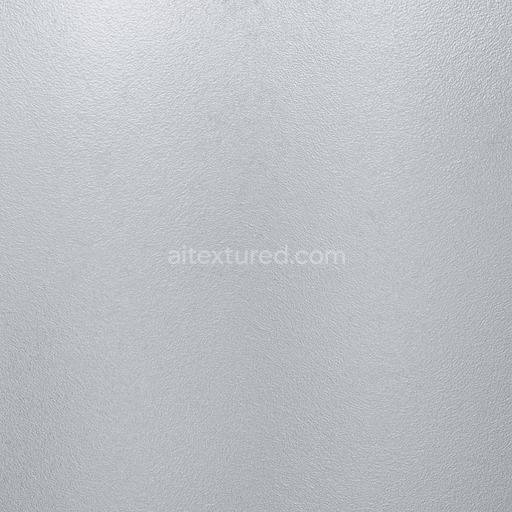
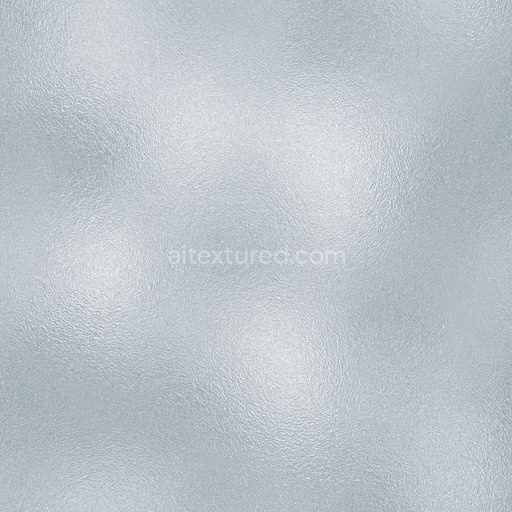
Dull Glass Seamless Texture
. Formats: PNG . Free for personal & commercial use.

| ID | glass-archviz-metal-substance-designer-window |
|---|---|
| Glass | |
| PNG | |
| Size | 1k (1024x1024px), 2k (2048x2048px), 4k (4096x4096px), 8k (8192x8192px) |
| sRGB | |
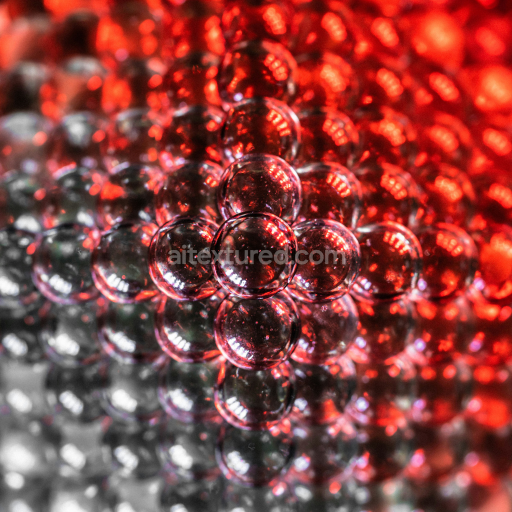
This Glass Archviz Metal Substance Designer Window texture showcases an expertly crafted seamless PBR surface designed for high-fidelity architectural visualization and rendering projects. The base substrate consists of a finely brushed metal frame distinguished by its subtle anisotropic grain orientation that responds realistically to varied lighting environments enhancing depth and material authenticity. The metal’s surface features oxide-based colorants that produce a consistent metallic hue with nuanced variations simulating natural patina and wear. Embedded within the frame are clean minimal-porosity glass panels exhibiting a slightly reflective finish that accurately captures light refraction and interaction. Between the metal and glass layers delicate adhesive bonds are implied through subtle transitions visible in the texture’s normal and height channels adding structural realism and textural depth ideal for close-up visualization and game engine integration.
This texture’s material composition is fully articulated across its PBR channels to deliver physically accurate rendering. The BaseColor (Albedo) map reflects the true colors of the brushed metal substrate alongside the neutral transparent tones of the glass panels. Fine surface details and anisotropic grain direction are encoded in the Normal map while the Roughness map carefully balances the polished glass reflectivity against the matte textured metal finish. The Metallic channel distinctly isolates metallic areas to ensure precise light behavior and Ambient Occlusion enhances the perception of crevices and layered depth. Height and Displacement maps add subtle surface relief perfect for parallax effects and enhancing tactile realism in both offline renders and real-time engines like Blender Unreal Engine and Unity. Rendered up to an 8K resolution this texture guarantees seamless tiling and consistent quality across large surfaces catering to demanding visualization workflows.
To maximize realism and visual coherence it is recommended to adjust the UV scale appropriately to maintain accurate material proportions especially when applied to large window surfaces. Additionally fine-tuning roughness parameters can help balance the reflectivity between glass and metal components ensuring the texture responds naturally under different lighting conditions. This approach helps achieve a refined and authentic material appearance during rapid look-development stages making this Glass Archviz Metal Substance Designer Window texture an invaluable resource for professionals seeking detailed high-quality materials optimized for modern 3D visualization pipelines.
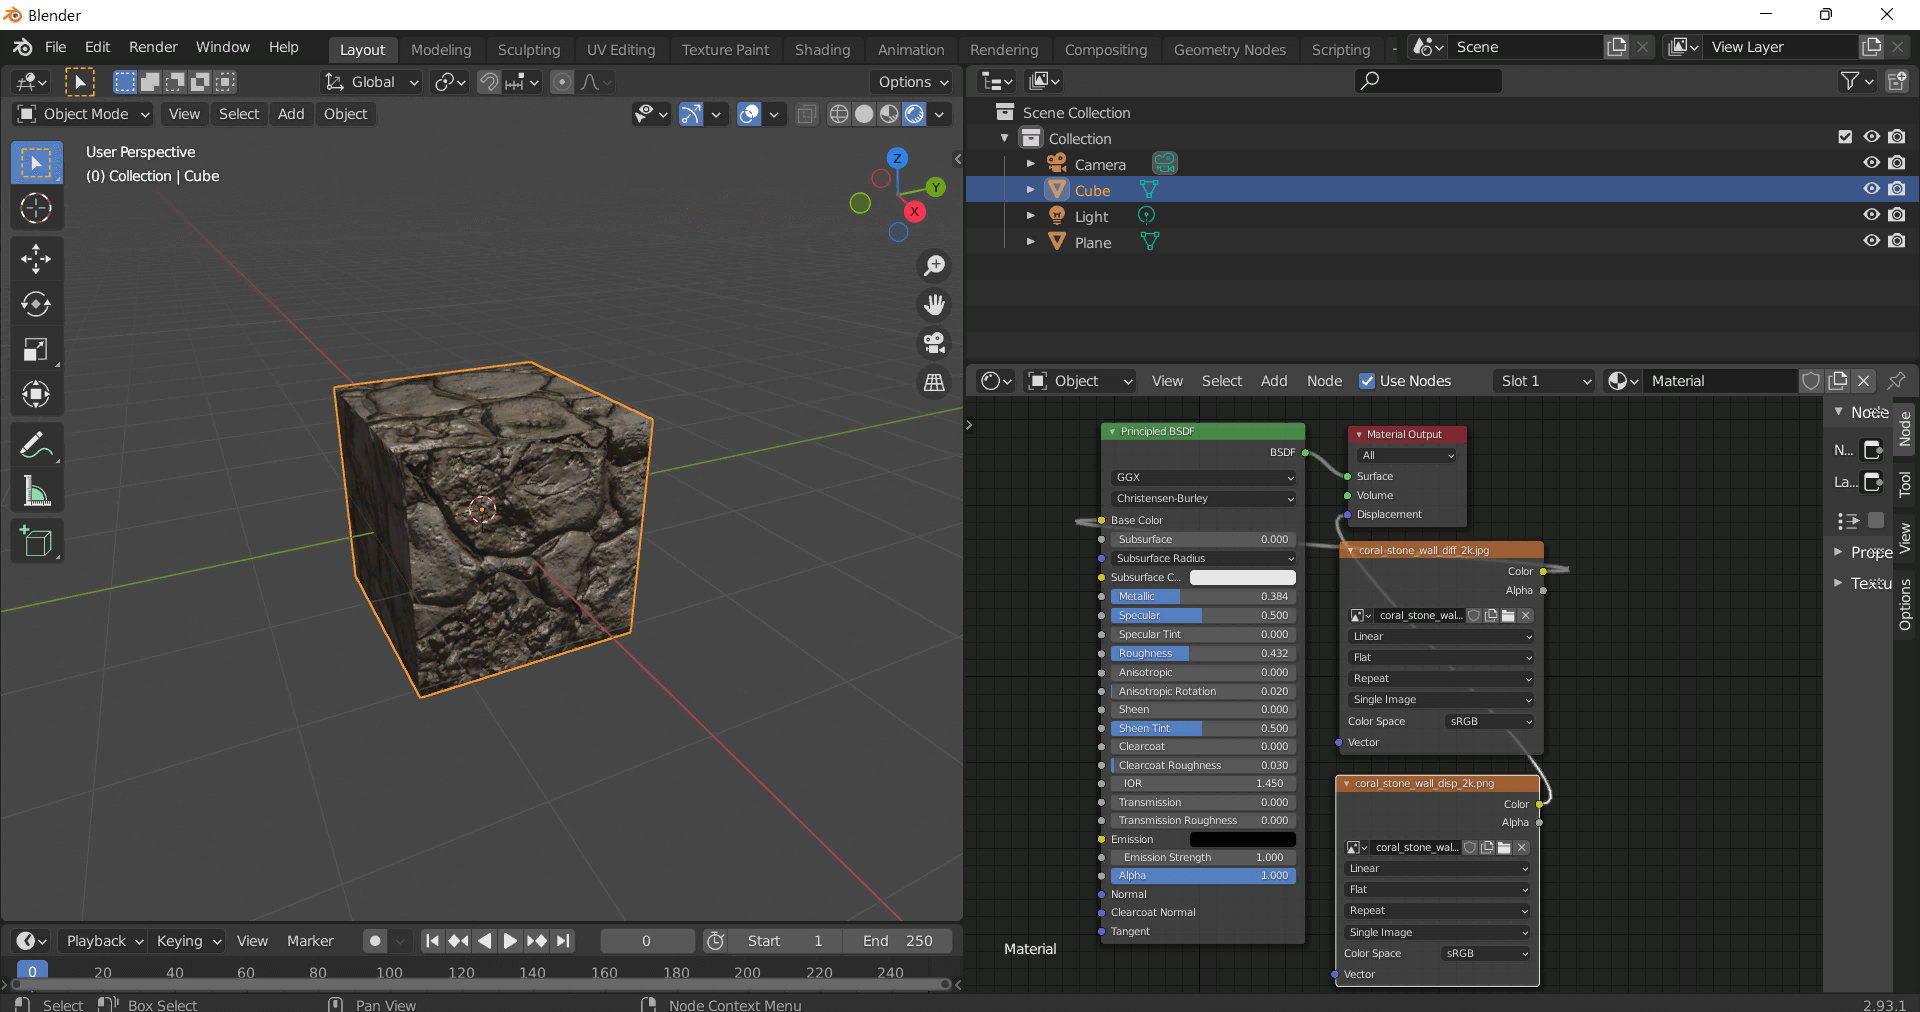
This guide shows how to connect a full PBR texture set to Principled BSDF in Blender (Cycles or Eevee). Works with any of our seamless textures free download, including PBR PNG materials for Blender / Unreal / Unity.
*_albedo.png — Base Color (sRGB)*_normal.png — Normal map (Non-Color)*_roughness.png — Roughness (Non-Color)*_metallic.png — Metallic (Non-Color)*_ao.png — Ambient Occlusion (Non-Color)*_height.png — Height / Displacement (Non-Color)*_ORM.png — Packed map (R=AO, G=Roughness, B=Metallic, Non-Color)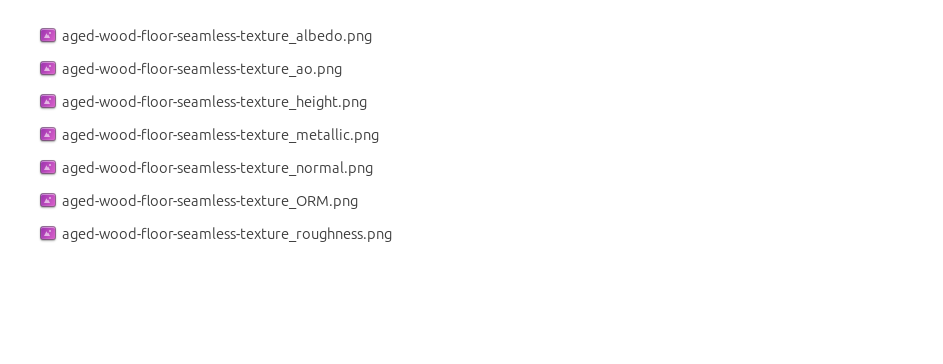
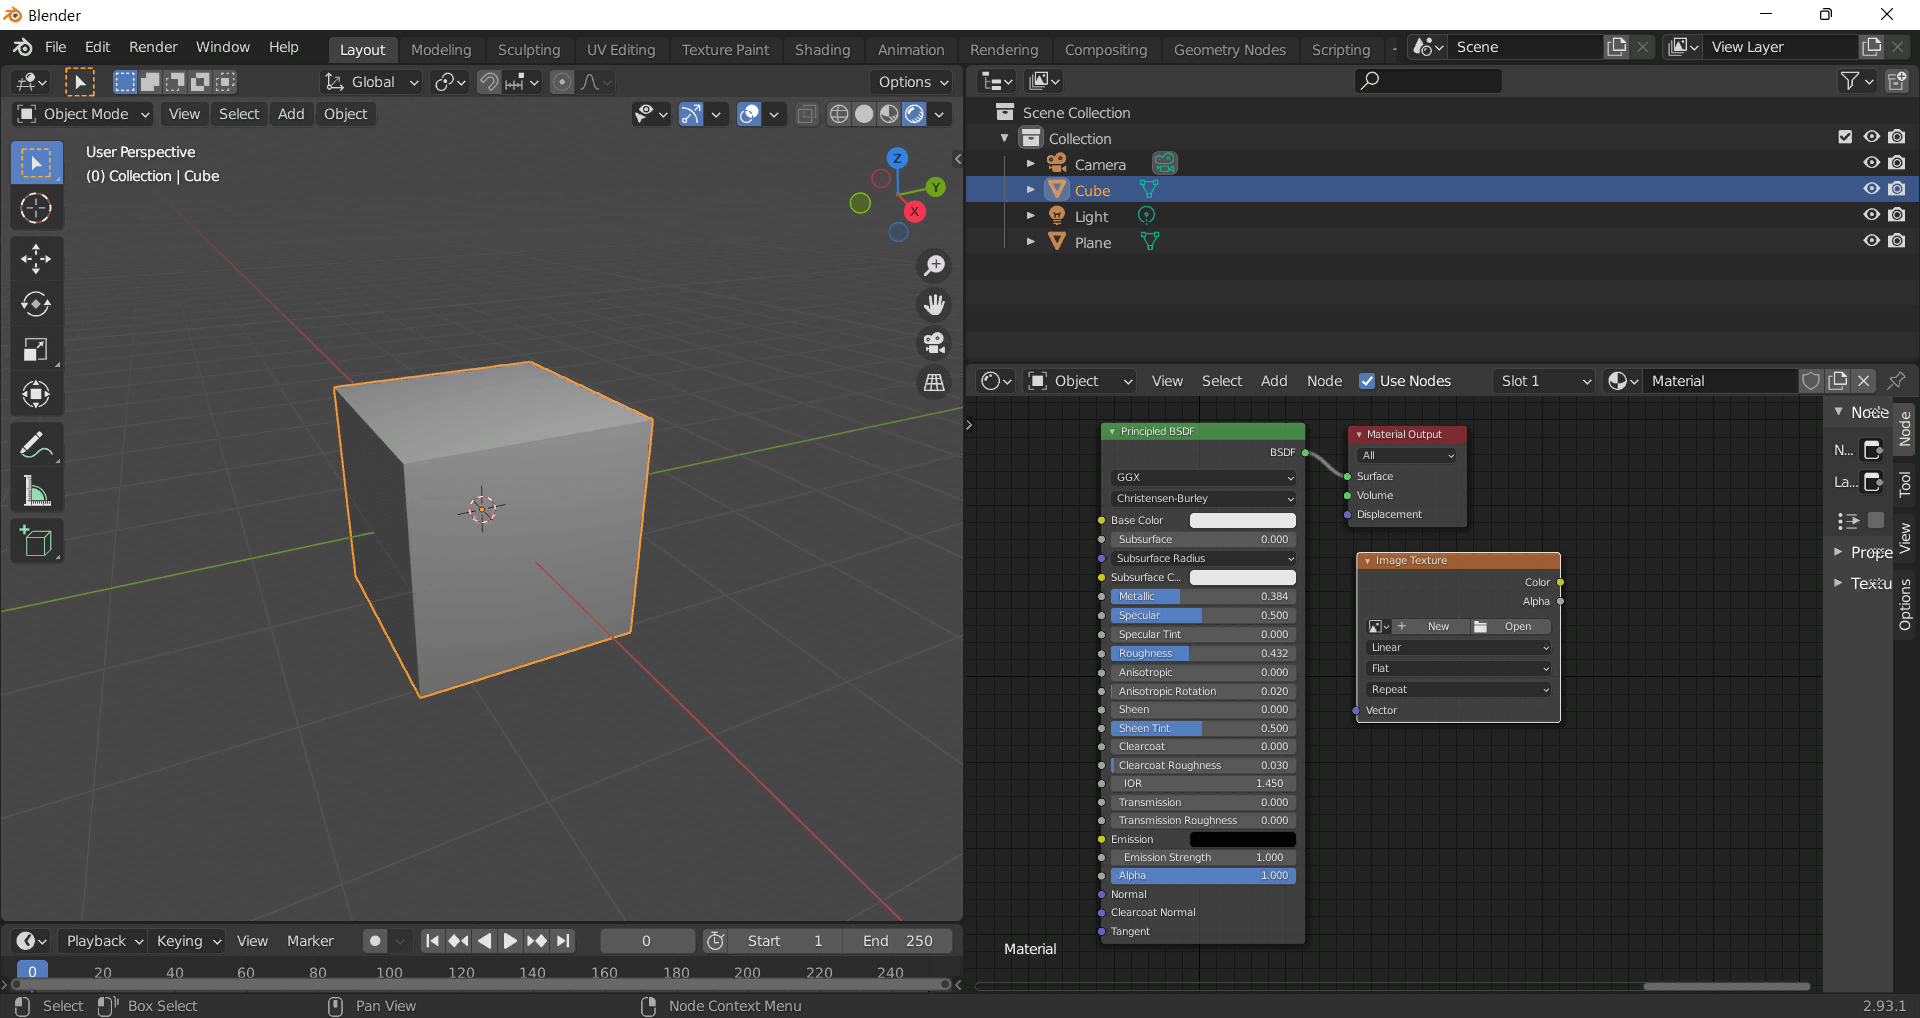
albedo → Base Colorroughness → Roughnessmetallic → Metallic (for wood this often stays near 0)normal → Normal Map node (Type: Tangent Space) → Normal of Principled.
If details look “inverted”, enable Invert Y on the Normal Map node.albedo, Input B = ao, Factor = 1.0.height → Height, set Midlevel = 0.5, Scale = 0.02–0.08 (tune to taste).height → Height.ORM texture (optional)Instead of separate AO/Roughness/Metallic maps you can use the single *_ORM.png:
Example: Download Wood Textures and instantly apply parquet or rustic planks inside Blender for architectural visualization.
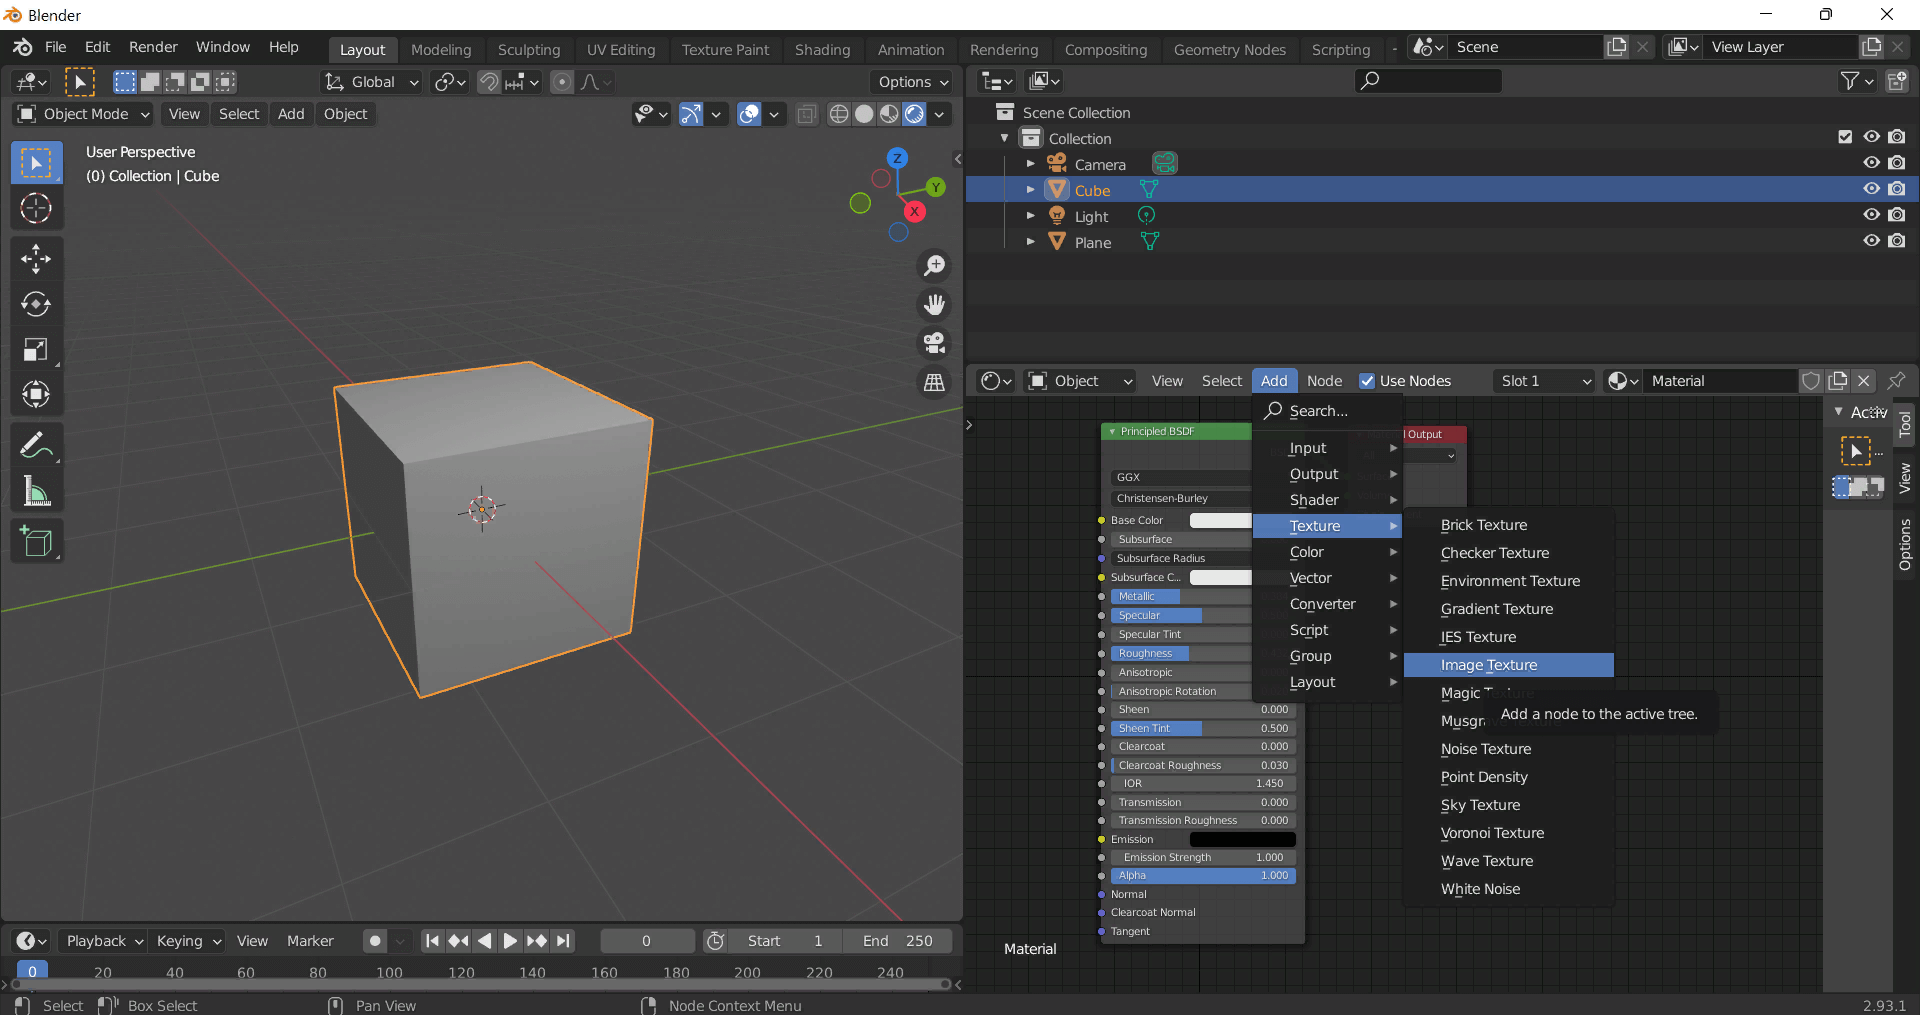
To add the downloaded texture, go to Add — Texture — Image Texture.


Build, preview, and export seamless PBR materials. Generate full map sets from a single image, inspect them in a real-time WebGL viewer, and re-package maps for Unreal, Unity, and Blender—directly in your browser.
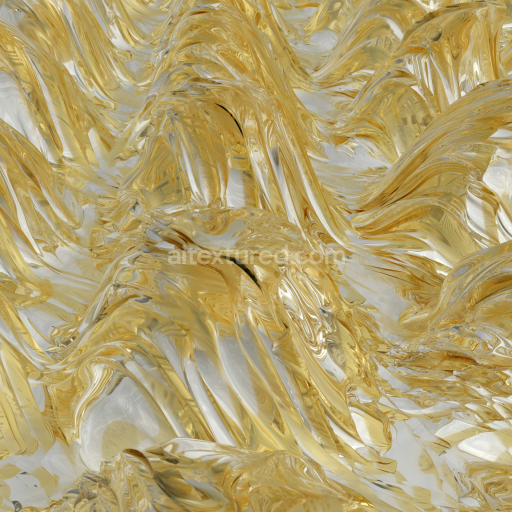
AI text-to-texture: type a prompt and get a seamless, tileable base image ready for PBR workflows (great starting point for materials).
Create a full PBR set (Normal, Roughness, AO, Metallic, etc.) from a single image. Seamless and tiling-friendly.
Instant WebGL viewer: inspect materials on a sphere, plane, and cube. Check tiling and lighting in real time.
Re-packages maps per engine: Unreal (BaseColor + ORM), Unity (Mask/MetallicSmoothness), Blender (separate channels).
PNG ↔ JPG ↔ SVG: fast convert, SVG rasterize, embed/trace options, quality & background controls.