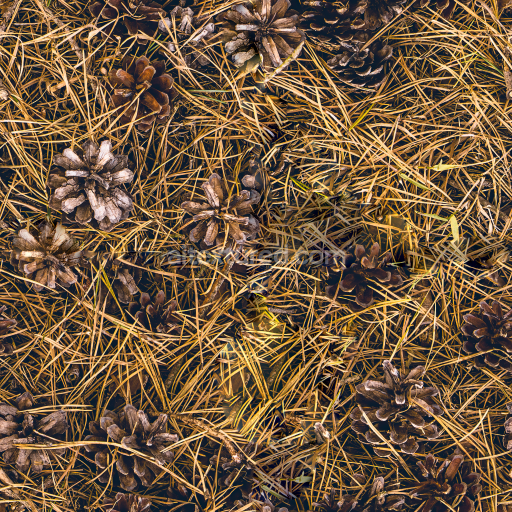
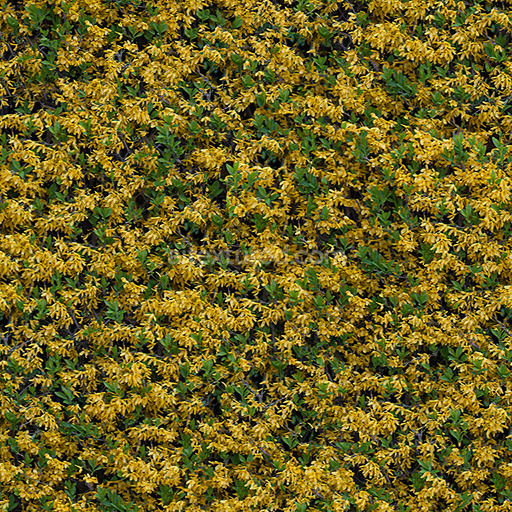
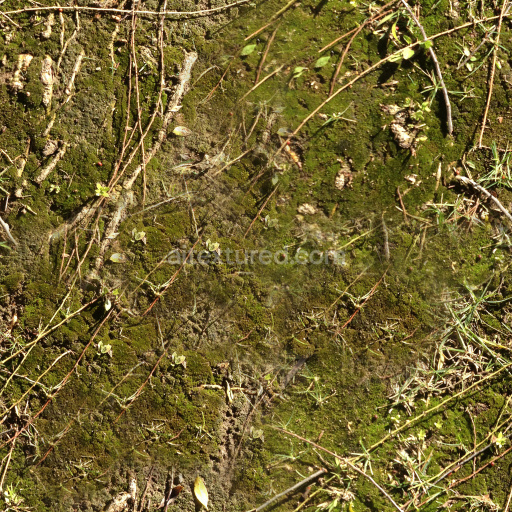
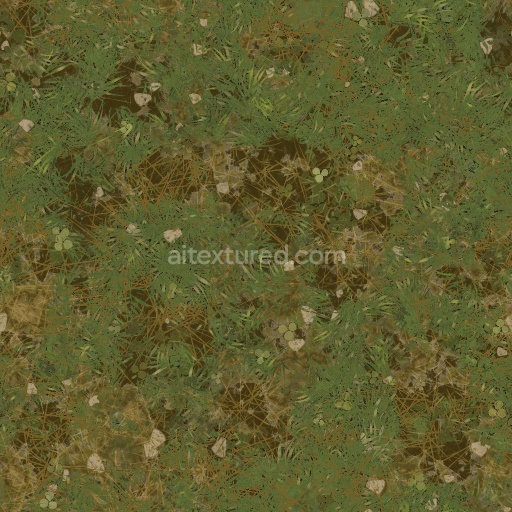
High-Quality Seamless Forest Ground Texture
Seamless texture (tileable) · PNG, WEBP, PBR ZIP. License: AITextured Free Commercial License (FCL) v1.1. Free personal and commercial use. Raw resale, standalone redistribution, mirroring/scraping, competing asset packs, and AI/ML training are not allowed without written permission. Attribution is not required, but appreciated..

| ID | wet-muddy-ground-texture-with-rocks-and-stones-free-pbr |
|---|---|
| Category | Ground surface |
| Formats | PNG, WEBP, PBR ZIP |
| Size | 1k (1024x1024px), 2k (2048x2048px), 4k (4096x4096px), 8k (8192x8192px) |
| Color | sRGB |
| Tileable | Yes |
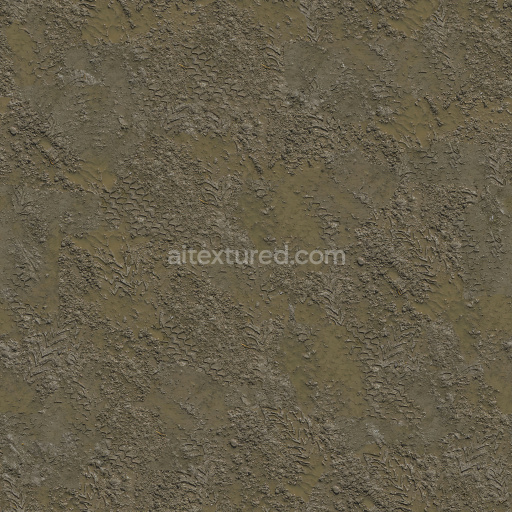
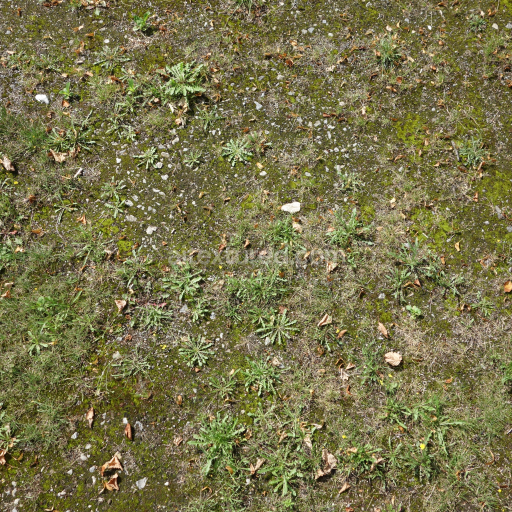
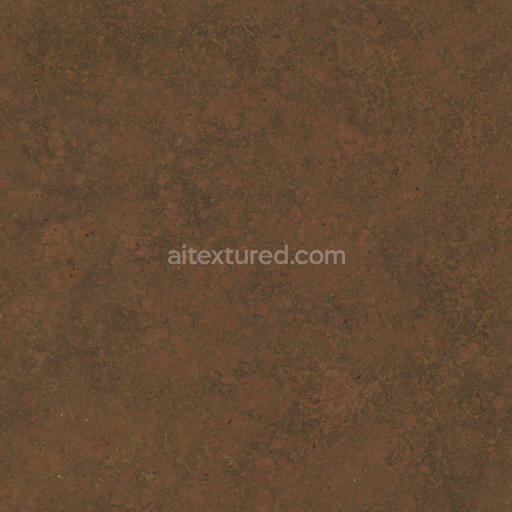
This wet muddy ground texture showcases a richly detailed and natural surface, primarily composed of organic soil blended with mineral aggregates such as rocks and stones, forming an uneven and authentic substrate. The base material consists of fine clay particles mixed with coarse mineral grains and bound together by moisture, which functions as a temporary adhesive, enhancing the cohesion of the soil matrix. This combination creates a heterogeneous composition marked by varying porosity levels, ranging from dense, water-saturated muddy patches to exposed, rugged stone surfaces. Subtle weathering effects manifest in gentle erosion patterns and compacted soil areas, while the overall surface finish effectively captures the dampness through a slightly glossy, reflective sheen that accurately represents wet conditions.
In terms of physically based rendering (PBR), the texture channels are meticulously crafted to convey the material’s complexity and realism. The BaseColor or Albedo map displays earthy hues dominated by deep browns and muted grays, with natural color variations introduced by mineral inclusions and organic matter. The Normal map emphasizes the intricate surface relief, highlighting the embedded stones and soil clumps to provide a strong sense of depth and tactile authenticity. Roughness values differ across the texture, with smoother, wetter mud areas exhibiting lower roughness for a semi-reflective, glossy finish, while the rocks present higher roughness for a matte, rugged appearance. The Metallic channel remains near zero, consistent with the non-metallic nature of soil and stone. Ambient Occlusion enhances natural shadowing by accentuating crevices between stones and depressions in the soil, and the Height or Displacement map captures subtle elevation changes that are essential for realistic parallax and depth effects.
Rendered at an impressive 8K resolution, this seamless wet muddy ground texture is optimized for use in leading 3D engines such as Blender, Unreal Engine, and Unity, ensuring crisp and detailed visuals even during close-up inspection. Its high fidelity supports detailed environmental storytelling, terrain modeling, and material layering across various game development and visualization projects. For optimal results, it is recommended to carefully adjust the UV scale to maintain natural proportions of the rocks and mud patterns relative to the scene. Additionally, fine-tuning the roughness map can help balance the wetness effect, allowing for greater control over glossiness depending on lighting conditions and artistic requirements.
Import the texture maps into Blender with sRGB color space for albedo/base color and Non-Color for normal, roughness, metallic, AO, height, and ORM maps. Connect normal maps through a Normal Map node, then adjust UV scale with a Mapping node so the material repeats naturally on your model.
For the full step-by-step setup, see How to Use Seamless Textures in Blender. Browse related material examples in wood, concrete, and metal.
Yes. This texture is designed as a seamless tileable PBR material, so it can repeat across large surfaces without visible borders.
You can download PNG/WEBP versions and use 1K, 2K, 4K and 8K download options when available on the page.
Yes. The download options and engine-mapped ZIP workflow are designed for Blender, Unreal Engine, Unity Standard, URP and HDRP material pipelines.
Yes. The texture is available under the AITextured free commercial license. Review the license page for redistribution and AI-training restrictions.


Generate, preview, and export seamless PBR materials for Blender, Unity, and Unreal Engine—directly in your browser.
AI text-to-texture: type a prompt and get a seamless, tileable base image ready for PBR workflows (great starting point for materials).
Create a full PBR set (Normal, Roughness, AO, Metallic, etc.) from a single image. Seamless and tiling-friendly.
Instant WebGL viewer: inspect materials on a sphere, plane, and cube. Check tiling and lighting in real time.
Re-packages maps per engine: Unreal (BaseColor + ORM), Unity (Mask/MetallicSmoothness), Blender (separate channels).
PNG ↔ JPG ↔ SVG: fast convert, SVG rasterize, embed/trace options, quality & background controls.