
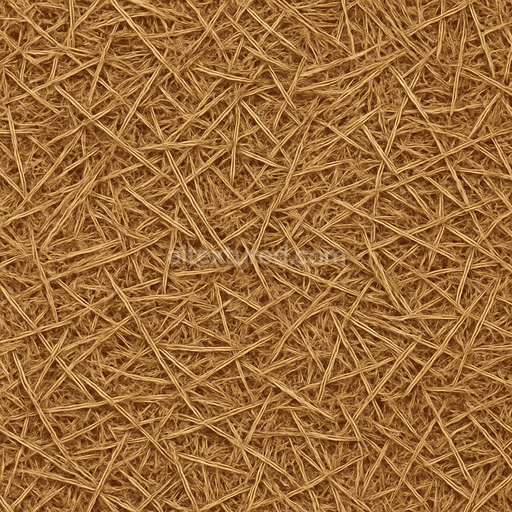
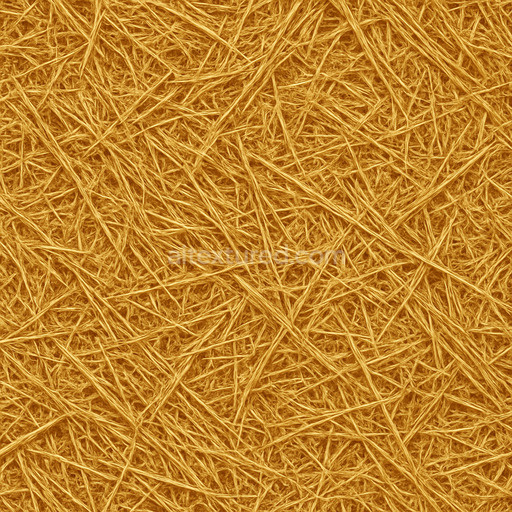
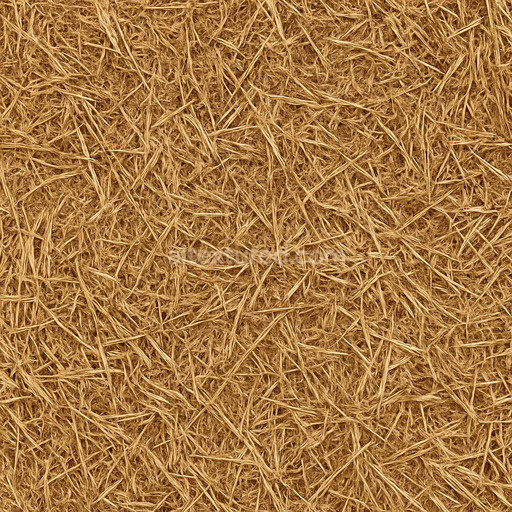
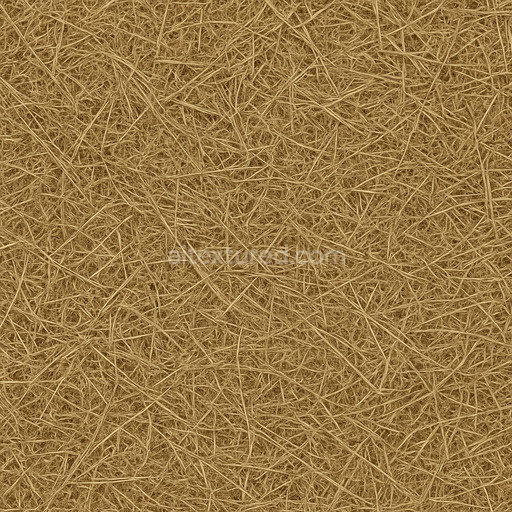
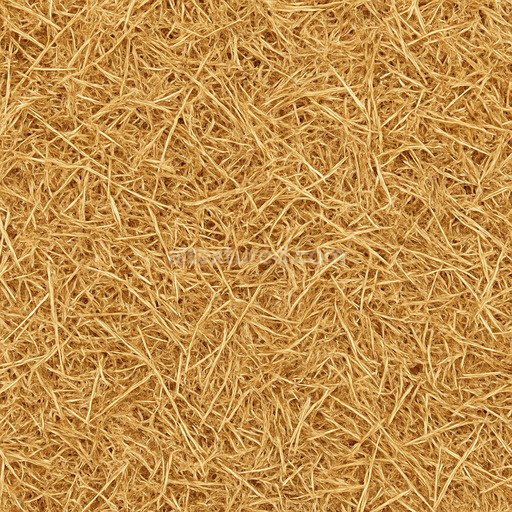
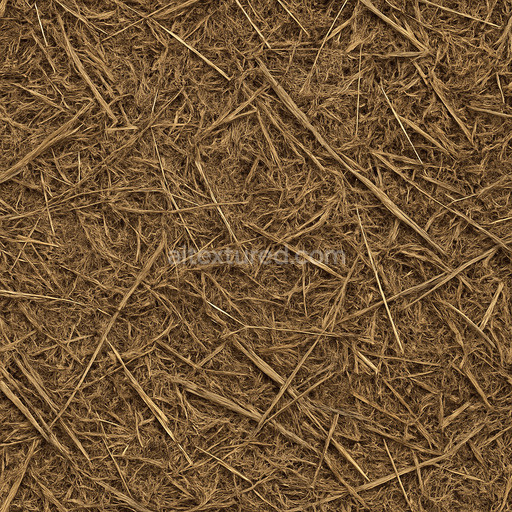
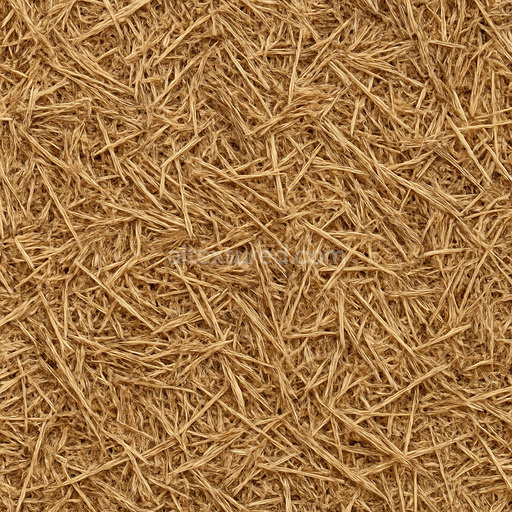
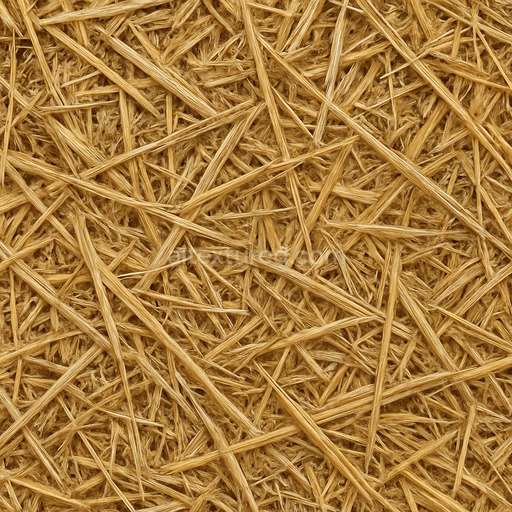
Ancient Straw Bale Seamless Texture
Seamless texture (tileable) · PNG, WEBP, PBR ZIP. License: AITextured Free Commercial License (FCL) v1.1. Free personal and commercial use. Raw resale, standalone redistribution, mirroring/scraping, competing asset packs, and AI/ML training are not allowed without written permission. Attribution is not required, but appreciated..

| ID | smooth-straw-seamless-texture-2 |
|---|---|
| Category | Hay-straw |
| Formats | PNG, WEBP, PBR ZIP |
| Size | 1k (1024x1024px), 2k (2048x2048px), 4k (4096x4096px), 8k (8192x8192px) |
| Color | sRGB |
| Tileable | Yes |
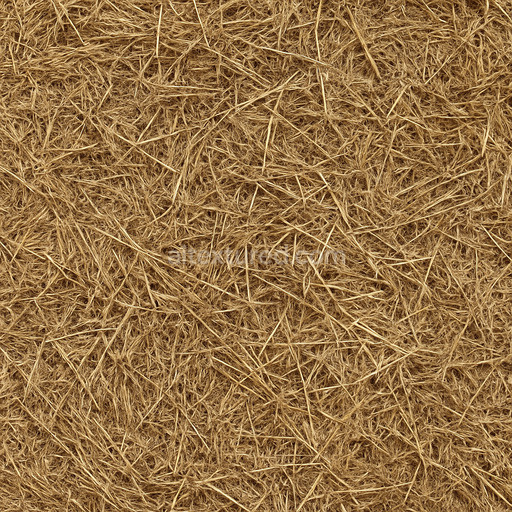
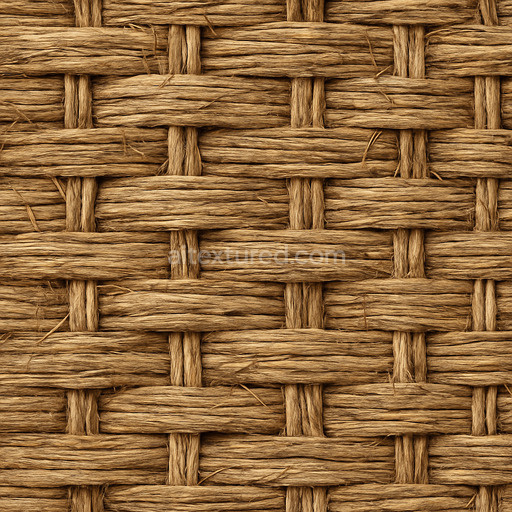
The Smooth Straw Seamless Texture is a meticulously crafted digital material designed to replicate the organic composition and visual intricacies of natural hay-straw surfaces. This texture emulates a fine smooth straw substrate composed primarily of dried plant fibers tightly interwoven and aligned with subtle variations in grain orientation. The surface finish reflects a gently polished yet slightly weathered appearance capturing the natural porosity and delicate fibrous structure typical of straw bundles. Coloration is achieved through subtle yellow ochre and warm tan pigments enhanced by minor oxidation and sun-bleached effects that lend authenticity and depth visible in the BaseColor (Albedo) channel. The Normal map highlights the fine ridges and soft depressions of the straw fibers while the Roughness channel balances areas of matte dryness with faintly glossier strands ensuring a believable tactile response under varying lighting conditions. Minimal metallic content means the Metallic channel remains neutral while Ambient Occlusion and Height maps add volume and shadowing to recreate the straw’s three-dimensional complexity with precision.
This tileable smooth straw seamless texture is optimized for modern production pipelines supporting high resolutions up to 8K to maintain exceptional clarity and cohesion even when applied to large UV islands. Its seamless tiling capability ensures distortion-free repetition making it ideal for a broad scope of creative applications including quick look development environment art architectural visualization and concept prototyping. The generated texture strikes a careful balance between crisp detail and controlled noise creating a natural and convincing material that performs reliably across popular platforms such as Blender Unity and Unreal Engine. The texture is formatted for easy integration with PNG and WEBP support allowing artists to maintain a fast iteration loop without compromising visual fidelity or workflow efficiency.
When integrating this smooth straw seamless texture into your 3D scenes it’s recommended to adjust the roughness and normal map intensity to harmonize with your specific lighting setup ensuring the material stays grounded and realistic. Additionally scaling the UV coordinates moderately can help emphasize the straw’s fibrous structure without overwhelming the overall composition. The height or parallax maps are particularly useful for adding subtle depth and relief enhancing the tactile quality of the straw surface when viewed up close or in dynamic lighting scenarios. This careful attention to material properties and technical detail makes the smooth straw seamless texture a versatile and dependable resource for artists seeking authentic hay-straw textures with ready-to-use 3D preview capabilities.
The PBR appearance of this material is enhanced by its PBR texture smooth straw seamless texture offering a seamless smooth straw seamless texture that highlights the smooth straw seamless texture for realistic surface detail.
Import the texture maps into Blender with sRGB color space for albedo/base color and Non-Color for normal, roughness, metallic, AO, height, and ORM maps. Connect normal maps through a Normal Map node, then adjust UV scale with a Mapping node so the material repeats naturally on your model.
For the full step-by-step setup, see How to Use Seamless Textures in Blender. Browse related material examples in wood, concrete, and metal.
Yes. This texture is designed as a seamless tileable PBR material, so it can repeat across large surfaces without visible borders.
You can download PNG/WEBP versions and use 1K, 2K, 4K and 8K download options when available on the page.
Yes. The download options and engine-mapped ZIP workflow are designed for Blender, Unreal Engine, Unity Standard, URP and HDRP material pipelines.
Yes. The texture is available under the AITextured free commercial license. Review the license page for redistribution and AI-training restrictions.


Generate, preview, and export seamless PBR materials for Blender, Unity, and Unreal Engine—directly in your browser.
AI text-to-texture: type a prompt and get a seamless, tileable base image ready for PBR workflows (great starting point for materials).
Create a full PBR set (Normal, Roughness, AO, Metallic, etc.) from a single image. Seamless and tiling-friendly.
Instant WebGL viewer: inspect materials on a sphere, plane, and cube. Check tiling and lighting in real time.
Re-packages maps per engine: Unreal (BaseColor + ORM), Unity (Mask/MetallicSmoothness), Blender (separate channels).
PNG ↔ JPG ↔ SVG: fast convert, SVG rasterize, embed/trace options, quality & background controls.