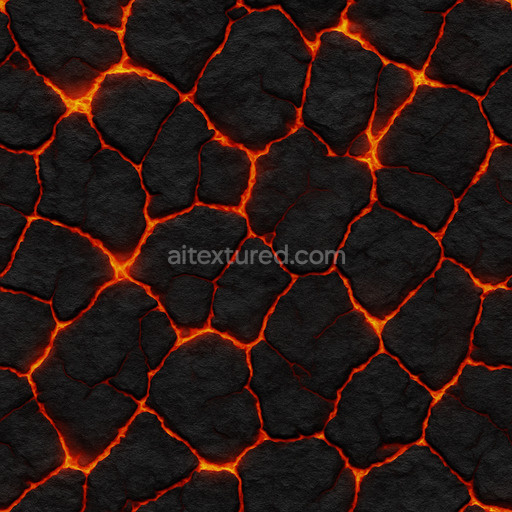
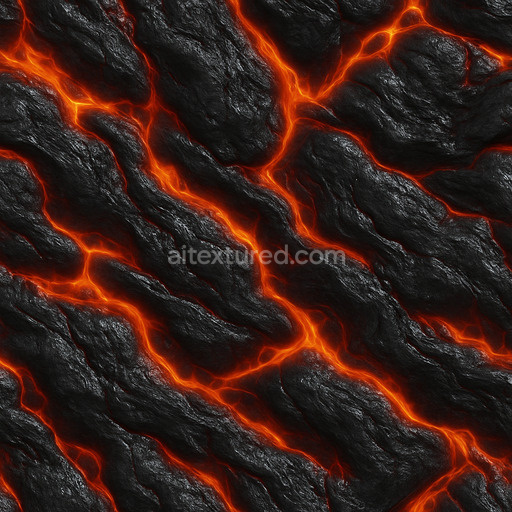
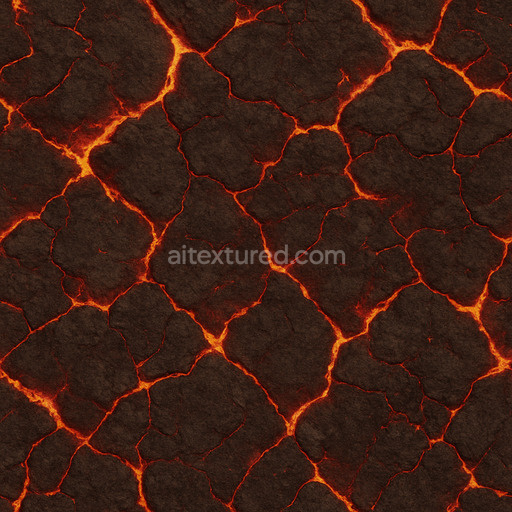
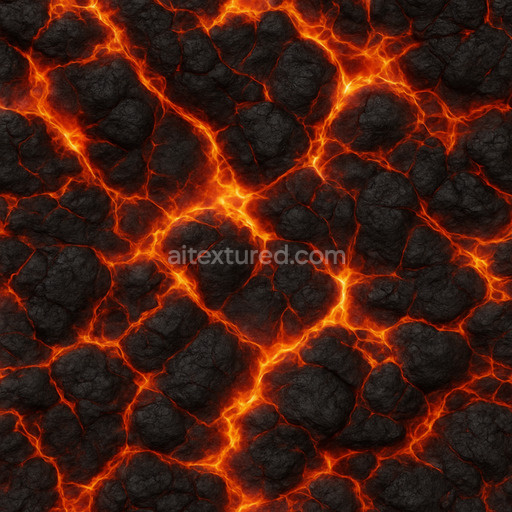
Cracked Lava Texture
Seamless texture (tileable) · PNG, WEBP, PBR ZIP. License: AITextured Free Commercial License (FCL) v1.1. Free personal and commercial use. Raw resale, standalone redistribution, mirroring/scraping, competing asset packs, and AI/ML training are not allowed without written permission. Attribution is not required, but appreciated..

| ID | toxic-fire-ground-texture |
|---|---|
| Category | Lava |
| Formats | PNG, WEBP, PBR ZIP |
| Size | 1k (1024x1024px), 2k (2048x2048px), 4k (4096x4096px), 8k (8192x8192px) |
| Color | sRGB |
| Tileable | Yes |
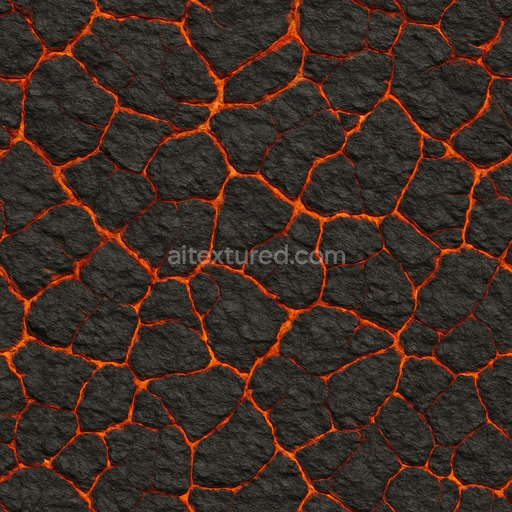
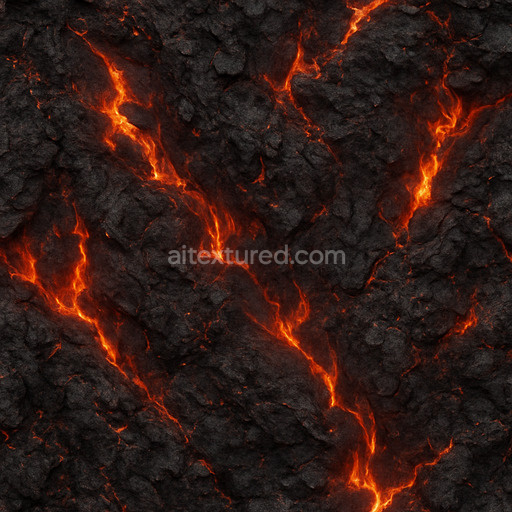
The Toxic Fire Ground Texture is a meticulously crafted seamless texture designed to replicate the intense volatile surface of molten lava infused with toxic fire elements. This tileable toxic fire ground texture portrays a complex base substrate that combines mineral-rich volcanic rock with organic resinous deposits creating a dynamic composition of jagged crystalline aggregates and viscous polymer-like binders. The surface appears partially oxidized with subtle weathering effects revealing a rough yet slightly polished finish that emphasizes natural fissures and scorched areas. Rich colorants derived from iron oxide pigments and sulfurous dyes produce vivid gradients ranging from deep charcoals and glowing ember reds to acidic yellows and greens mimicking the hazardous and unstable nature of toxic volcanic grounds. These material qualities are distinctly observable in the BaseColor/Albedo channel through rich saturated hues while the Normal map expertly conveys the rugged topography and fragmented grain orientation typical of cooled lava flows with embedded toxic residues.
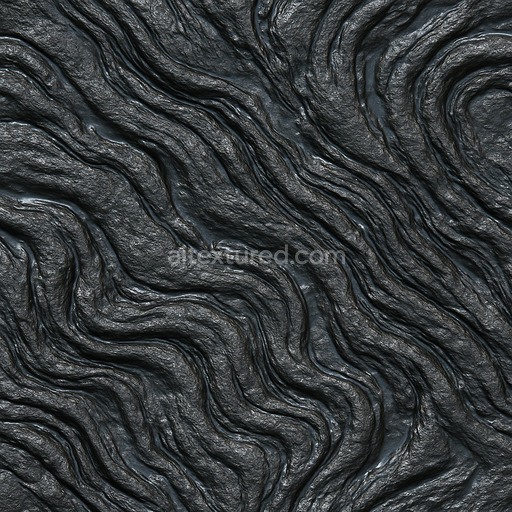
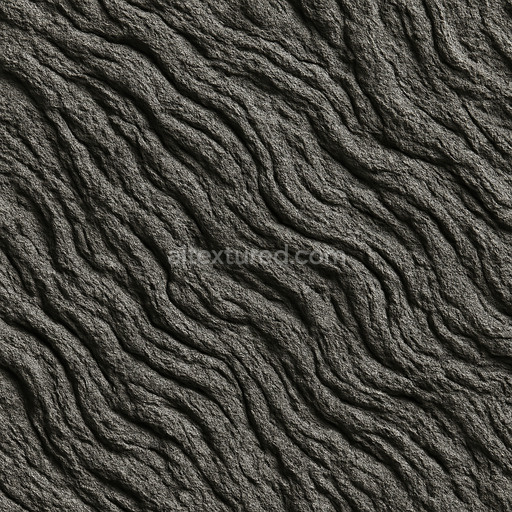
Technically this high-resolution texture available up to 8K is optimized for seamless tiling over large surfaces without visible seams making it ideal for detailed archviz projects immersive game environments realistic product mockups and sophisticated interior staging. The Roughness channel balances a controlled glossiness that reflects varying surface porosity—from matte weathered rocks to semi-glossy molten patches—adding to the believable tactile contrast. The Metallic channel remains minimal as expected for natural volcanic materials but the Ambient Occlusion map enhances depth perception in crevices and cracks increasing realism when integrated into physically based rendering workflows. Height and displacement maps are finely tuned to accentuate subtle elevation changes and surface breakup contributing to a natural three-dimensional feel that reacts well to dynamic lighting in Blender Unity and Unreal Engine setups.
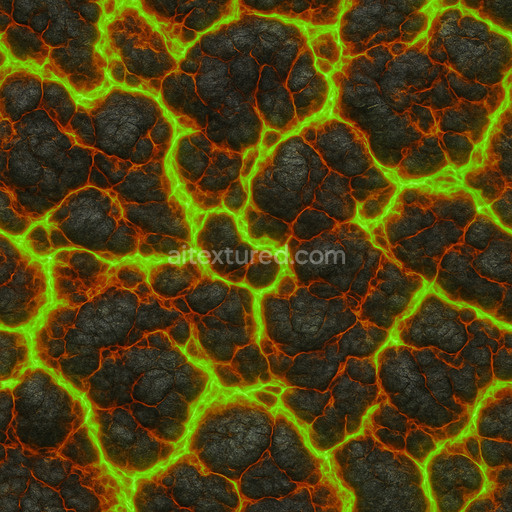
Generated using advanced AI-driven workflows this texture toxic fire ground texture maintains a careful balance of crisp detail and controlled noise avoiding overly sharp or artificial appearances. Its composition showcases how volcanic minerals and toxic chemical residues interact visually and physically offering a unique and compelling ground surface for digital artists and designers. For practical use it is recommended to apply a moderate UV scale to preserve the texture’s intricate detail on large terrains and to fine-tune roughness values to achieve the desired wetness or dryness effect depending on scene lighting and atmospheric conditions. This approach ensures the texture remains versatile and visually impactful across a variety of creative projects.
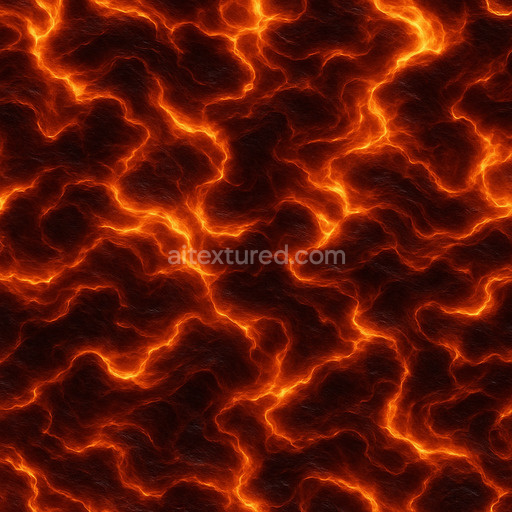
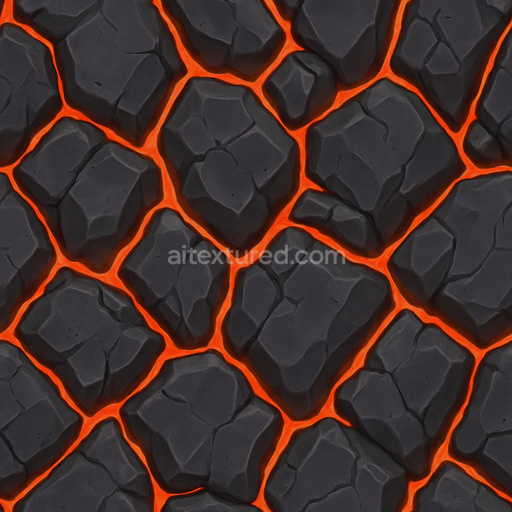
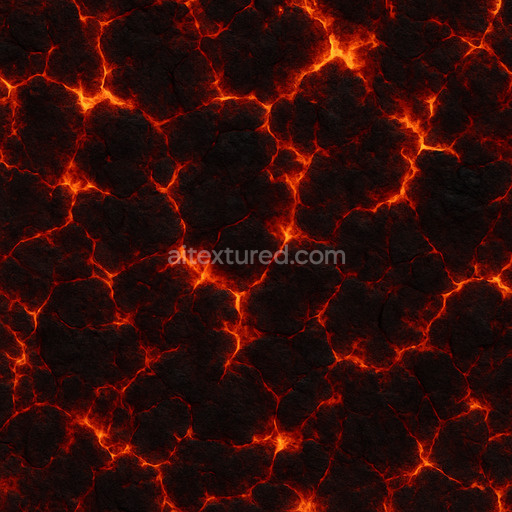
The seamless toxic fire ground texture combines detailed lava textures with realistic PBR shading offering a highly accurate 3D preview for use in immersive environments.
Import the texture maps into Blender with sRGB color space for albedo/base color and Non-Color for normal, roughness, metallic, AO, height, and ORM maps. Connect normal maps through a Normal Map node, then adjust UV scale with a Mapping node so the material repeats naturally on your model.
For the full step-by-step setup, see How to Use Seamless Textures in Blender. Browse related material examples in wood, concrete, and metal.
Yes. This texture is designed as a seamless tileable PBR material, so it can repeat across large surfaces without visible borders.
You can download PNG/WEBP versions and use 1K, 2K, 4K and 8K download options when available on the page.
Yes. The download options and engine-mapped ZIP workflow are designed for Blender, Unreal Engine, Unity Standard, URP and HDRP material pipelines.
Yes. The texture is available under the AITextured free commercial license. Review the license page for redistribution and AI-training restrictions.

Generate, preview, and export seamless PBR materials for Blender, Unity, and Unreal Engine—directly in your browser.
AI text-to-texture: type a prompt and get a seamless, tileable base image ready for PBR workflows (great starting point for materials).
Create a full PBR set (Normal, Roughness, AO, Metallic, etc.) from a single image. Seamless and tiling-friendly.
Instant WebGL viewer: inspect materials on a sphere, plane, and cube. Check tiling and lighting in real time.
Re-packages maps per engine: Unreal (BaseColor + ORM), Unity (Mask/MetallicSmoothness), Blender (separate channels).
PNG ↔ JPG ↔ SVG: fast convert, SVG rasterize, embed/trace options, quality & background controls.