Seamless Corrugated Steel 007 C by Textures - PBR 3D Texture (8K ready)
Seamless texture (tileable) · PNG, WEBP, PBR ZIP. License: AITextured Free Commercial License (FCL) v1.1. Free personal and commercial use. Raw resale, standalone redistribution, mirroring/scraping, competing asset packs, and AI/ML training are not allowed without written permission. Attribution is not required, but appreciated..

| ID | archviz-grill-metal-sci-scifi-substance-designer-x2 |
|---|---|
| Category | Metal |
| Formats | PNG, WEBP, PBR ZIP |
| Size | 1k (1024x1024px), 2k (2048x2048px), 4k (4096x4096px), 8k (8192x8192px) |
| Color | sRGB |
| Tileable | Yes |
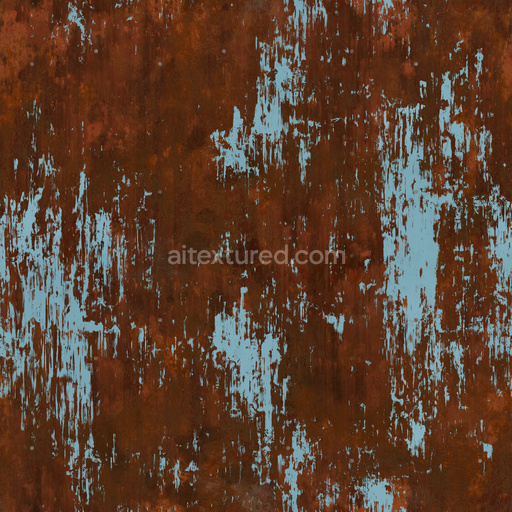
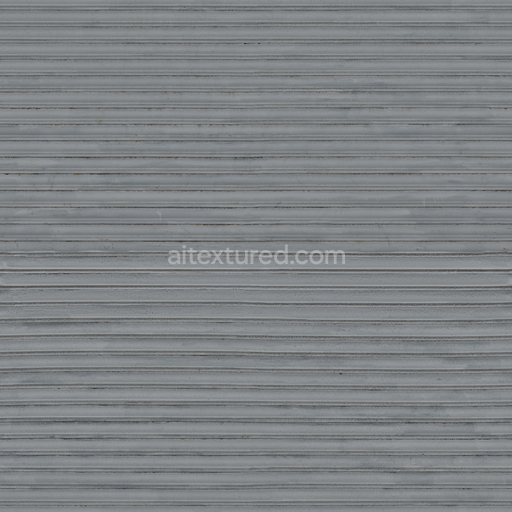
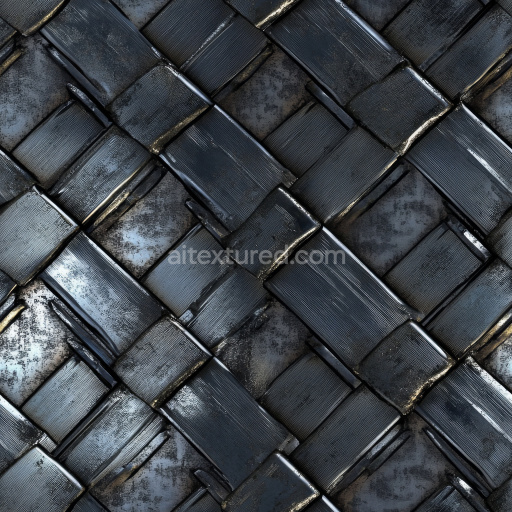
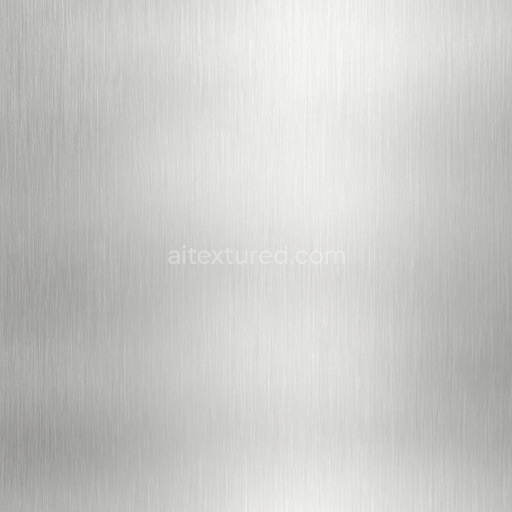
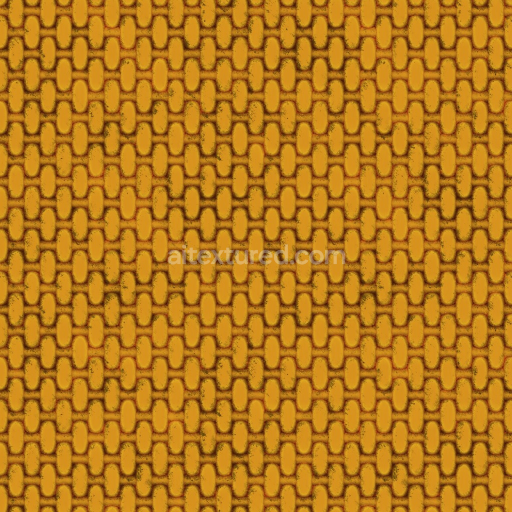
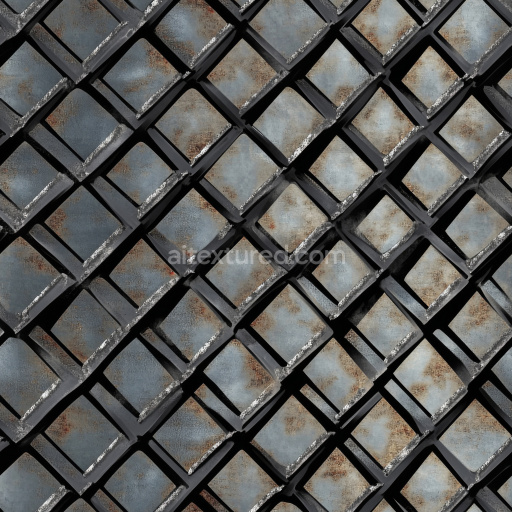
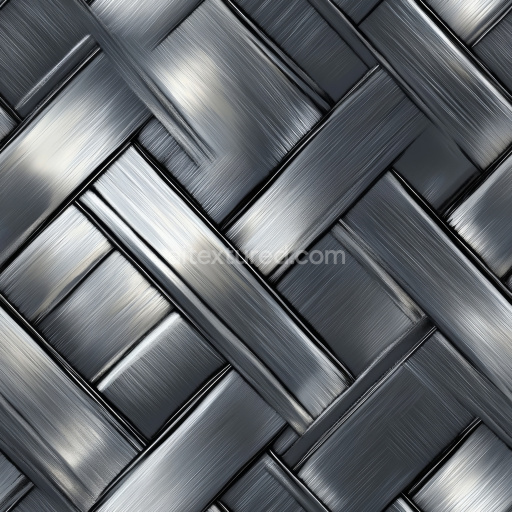
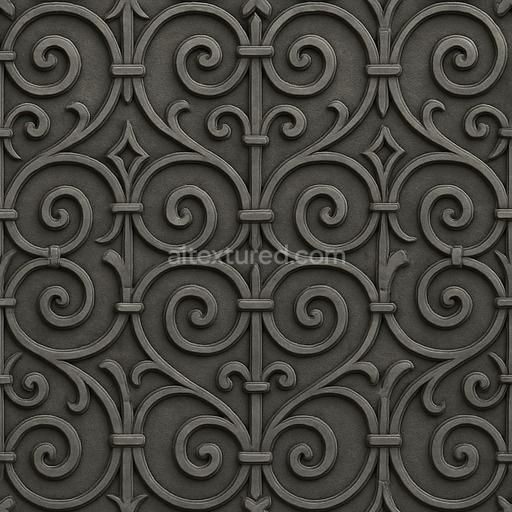
This Archviz Grill Metal Sci Scifi Substance Designer seamless PBR texture is expertly crafted to represent a futuristic metallic surface commonly found in sci-fi architectural visualization and game environments. The base substrate mimics a high-grade metal alloy with subtle industrial wear featuring a finely brushed finish combined with slight oxidation and minimal corrosion spots. This creates a realistic interplay of polished and weathered zones while embedded metal oxides introduce a cool bluish-gray tint that enhances the sci-fi aesthetic. The texture’s grain orientation is uniform yet detailed suggesting precision machining and layered metal sheets bonded with advanced adhesives typical of high-tech construction materials. Its porosity is negligible yielding a dense solid feel that complements large-scale visualization projects without visible tiling artifacts.
Within the PBR workflow this material’s BaseColor channel captures the nuanced metal hues and oxidized pigment layers providing subtle color variation and depth. The Normal map encodes fine surface details including brushed streaks and micro-indentations which contribute to realistic light scattering and highlight the metallic grain. Roughness values vary across the surface to simulate areas of polished metal contrasted by matte or slightly oxidized panels allowing dynamic light reflections that enhance realism. The Metallic channel is consistently high to reflect the metal composition while Ambient Occlusion and Height maps emphasize crevices and subtle elevation changes reinforcing the texture’s three-dimensionality. This comprehensive set is optimized up to 8K resolution ensuring crisp details for close-up renders and large-format tiling without compromising performance.
Designed to integrate seamlessly into physically based rendering workflows this texture is fully compatible with Blender Unreal Engine and Unity making it versatile for real-time engines and offline renderers alike. Users should verify color space and gamma settings in their projects to maintain accurate visual output and ensure the texture’s color response remains consistent. For practical application adjusting UV scale is recommended to fit the grill pattern proportionally in your scene while fine-tuning roughness values can help balance reflectivity depending on lighting conditions. This material is curated for quality and visual fidelity offering a reliable solution for sci-fi metal surfaces in architectural visualization game design and other 3D rendering applications. Attribution is appreciated but not mandatory.
Import the texture maps into Blender with sRGB color space for albedo/base color and Non-Color for normal, roughness, metallic, AO, height, and ORM maps. Connect normal maps through a Normal Map node, then adjust UV scale with a Mapping node so the material repeats naturally on your model.
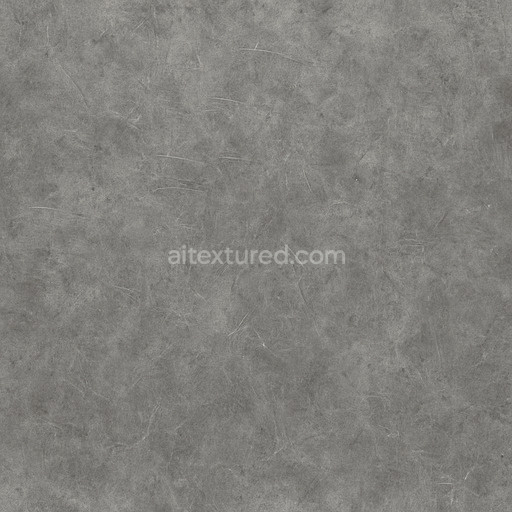
For the full step-by-step setup, see How to Use Seamless Textures in Blender. Browse related material examples in wood, concrete, and metal.
Yes. This texture is designed as a seamless tileable PBR material, so it can repeat across large surfaces without visible borders.
You can download PNG/WEBP versions and use 1K, 2K, 4K and 8K download options when available on the page.
Yes. The download options and engine-mapped ZIP workflow are designed for Blender, Unreal Engine, Unity Standard, URP and HDRP material pipelines.
Yes. The texture is available under the AITextured free commercial license. Review the license page for redistribution and AI-training restrictions.


Build, preview, and export seamless PBR materials. Generate full map sets from a single image, inspect them in a real-time WebGL viewer, and re-package maps for Unreal, Unity, and Blender—directly in your browser.
AI text-to-texture: type a prompt and get a seamless, tileable base image ready for PBR workflows (great starting point for materials).
Create a full PBR set (Normal, Roughness, AO, Metallic, etc.) from a single image. Seamless and tiling-friendly.
Instant WebGL viewer: inspect materials on a sphere, plane, and cube. Check tiling and lighting in real time.
Re-packages maps per engine: Unreal (BaseColor + ORM), Unity (Mask/MetallicSmoothness), Blender (separate channels).
PNG ↔ JPG ↔ SVG: fast convert, SVG rasterize, embed/trace options, quality & background controls.