Detailed Titanium Seamless Texture
Seamless texture (tileable) · PNG, WEBP, PBR ZIP. License: AITextured Free Commercial License (FCL) v1.1. Free personal and commercial use. Raw resale, standalone redistribution, mirroring/scraping, competing asset packs, and AI/ML training are not allowed without written permission. Attribution is not required, but appreciated..

| ID | hexagonal-black-perforated-metal-grille-mesh-free-pbr |
|---|---|
| Category | Metal |
| Formats | PNG, WEBP, PBR ZIP |
| Size | 1k (1024x1024px), 2k (2048x2048px), 4k (4096x4096px), 8k (8192x8192px) |
| Color | sRGB |
| Tileable | Yes |
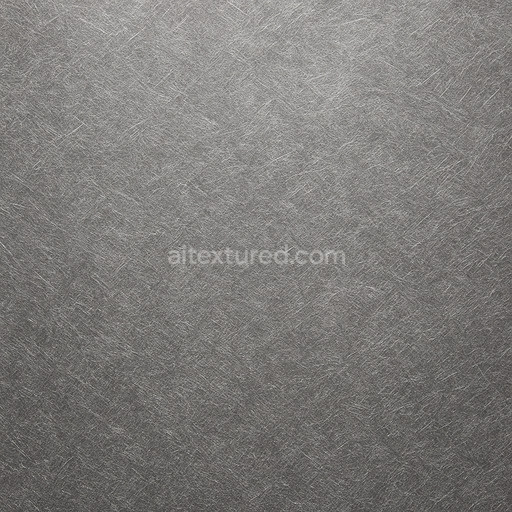
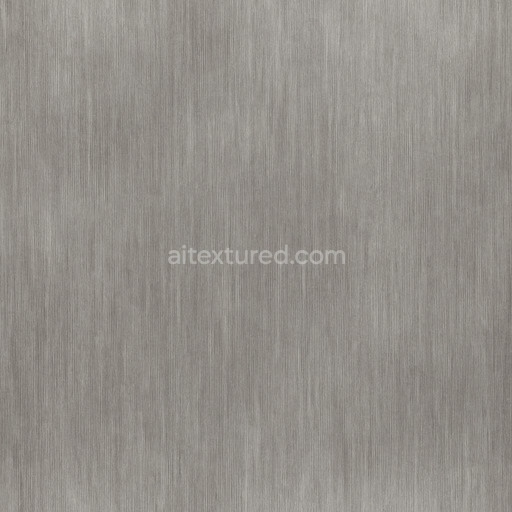
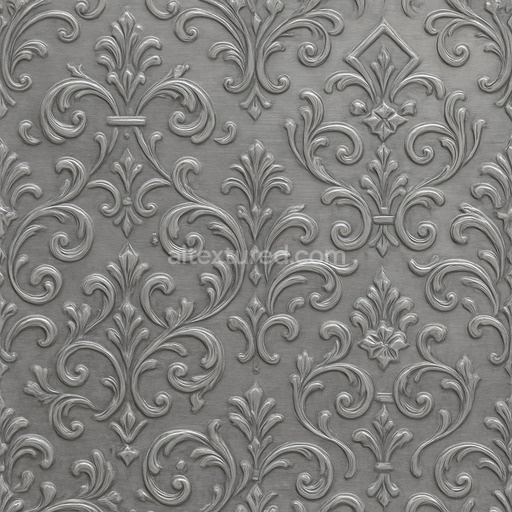
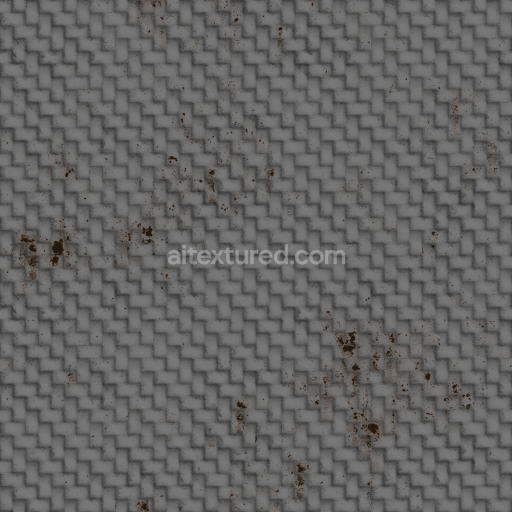
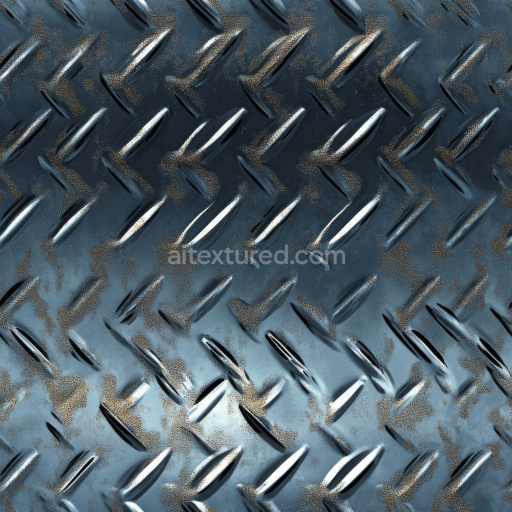
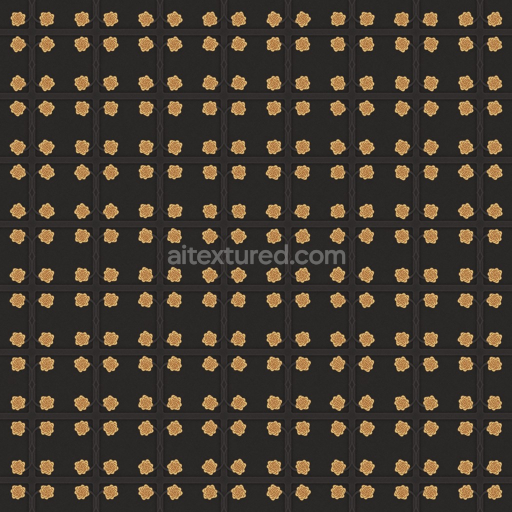
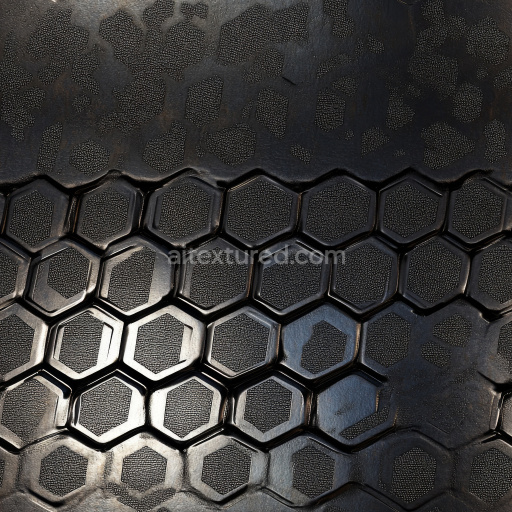
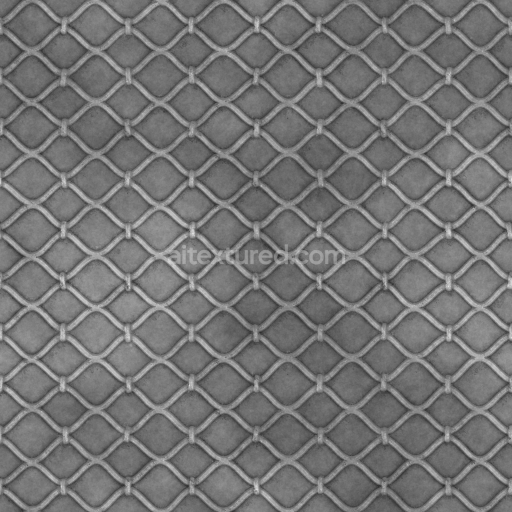
The Hexagonal Black Perforated Metal Grille Mesh (Metal 0076) is a meticulously engineered double-layered metal texture designed to emulate a robust and industrial-grade grille surface. Its base substrate is a high-strength metal alloy, cast with precision to form a durable and corrosion-resistant foundation. This alloy is finished with a matte black oxide layer, which not only imparts a sleek, modern, and minimalistic aesthetic but also enhances weathering resistance. The surface is subtly brushed, introducing fine linear textures that interact naturally with light, lending the perforated hexagonal pattern a realistic play of shadows and highlights. Each of the two layers features an exact hexagonal arrangement of perforations, creating a visually striking and functional mesh that balances openness with structural integrity, ideal for demanding industrial and architectural applications.
In physically based rendering workflows, this texture’s detailed material characteristics are faithfully represented across multiple PBR channels. The BaseColor (Albedo) map captures the deep black tone of the metal, including nuanced tonal variations introduced by the brushed finish and oxide pigmentation. The Normal map simulates the fine embossing and depth of the double-layered hexagonal perforations, enhancing the tactile three-dimensional effect. The Roughness channel reflects the semi-matte surface—carefully balanced to avoid excessive glossiness while maintaining a subtle sheen that suggests ruggedness. The Metallic map is set to maximum, emphasizing the inherent reflectivity of the metal alloy, while the Ambient Occlusion map adds realistic shading by darkening the recesses within the mesh pattern. Finally, the Height or Displacement maps enable convincing parallax effects, allowing the perforations to appear tangible and giving the surface a pronounced sense of depth when viewed from varying perspectives.
Rendered at an ultra-high 8K resolution, this seamless PBR texture provides exceptional detail and clarity, making it highly suitable for use in advanced 3D engines such as Blender, Unreal Engine, and Unity. This level of detail ensures that even large-scale surfaces maintain sharpness and realism, supporting projects ranging from automotive grille designs to sci-fi architectural facades and industrial equipment visualization. The double-layered hexagonal pattern not only enhances visual complexity but also contributes to the material’s functional authenticity. For optimized results, adjusting the UV scale can control the density and size of the perforations, allowing customization from fine mesh screens to more open structural grilles. Additionally, fine-tuning the roughness parameter can simulate a variety of surface conditions, from freshly machined metal to subtly oxidized finishes, further enhancing realism in diverse rendering scenarios.
Import the texture maps into Blender with sRGB color space for albedo/base color and Non-Color for normal, roughness, metallic, AO, height, and ORM maps. Connect normal maps through a Normal Map node, then adjust UV scale with a Mapping node so the material repeats naturally on your model.
For the full step-by-step setup, see How to Use Seamless Textures in Blender. Browse related material examples in wood, concrete, and metal.
Yes. This texture is designed as a seamless tileable PBR material, so it can repeat across large surfaces without visible borders.
You can download PNG/WEBP versions and use 1K, 2K, 4K and 8K download options when available on the page.
Yes. The download options and engine-mapped ZIP workflow are designed for Blender, Unreal Engine, Unity Standard, URP and HDRP material pipelines.
Yes. The texture is available under the AITextured free commercial license. Review the license page for redistribution and AI-training restrictions.

Build, preview, and export seamless PBR materials. Generate full map sets from a single image, inspect them in a real-time WebGL viewer, and re-package maps for Unreal, Unity, and Blender—directly in your browser.
AI text-to-texture: type a prompt and get a seamless, tileable base image ready for PBR workflows (great starting point for materials).
Create a full PBR set (Normal, Roughness, AO, Metallic, etc.) from a single image. Seamless and tiling-friendly.
Instant WebGL viewer: inspect materials on a sphere, plane, and cube. Check tiling and lighting in real time.
Re-packages maps per engine: Unreal (BaseColor + ORM), Unity (Mask/MetallicSmoothness), Blender (separate channels).
PNG ↔ JPG ↔ SVG: fast convert, SVG rasterize, embed/trace options, quality & background controls.