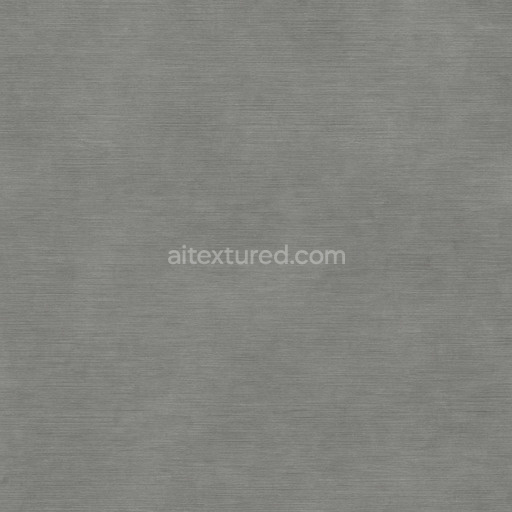
Synthetic Steel Seamless Texture
Seamless texture (tileable) · PNG, WEBP, PBR ZIP. License: AITextured Free Commercial License (FCL) v1.1. Free personal and commercial use. Raw resale, standalone redistribution, mirroring/scraping, competing asset packs, and AI/ML training are not allowed without written permission. Attribution is not required, but appreciated..

| ID | archviz-metal-substance-designer-trim-sheet-trimsheet |
|---|---|
| Category | Metal |
| Formats | PNG, WEBP, PBR ZIP |
| Size | 1k (1024x1024px), 2k (2048x2048px), 4k (4096x4096px), 8k (8192x8192px) |
| Color | sRGB |
| Tileable | Yes |
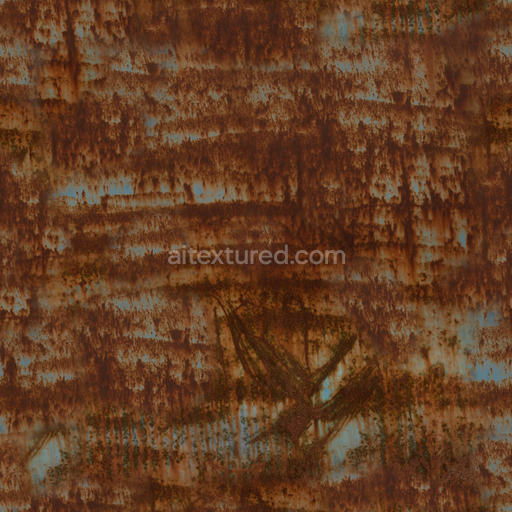
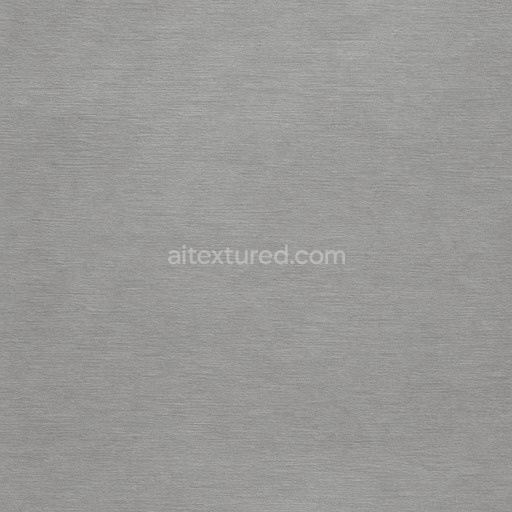
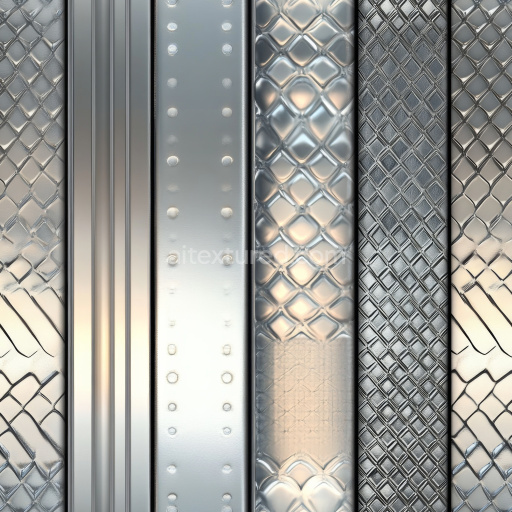
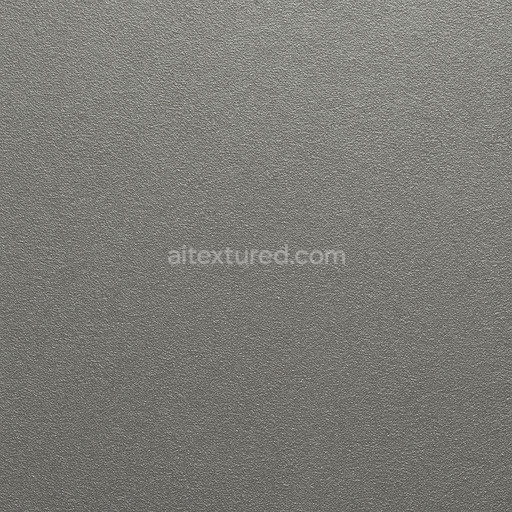
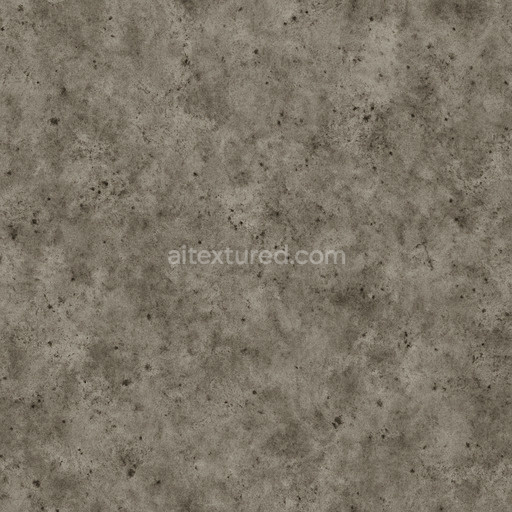
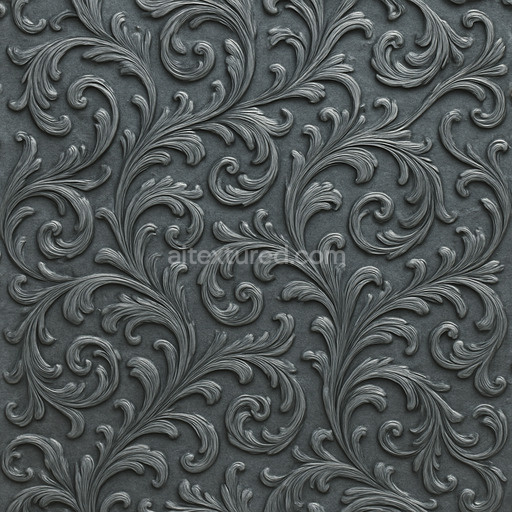
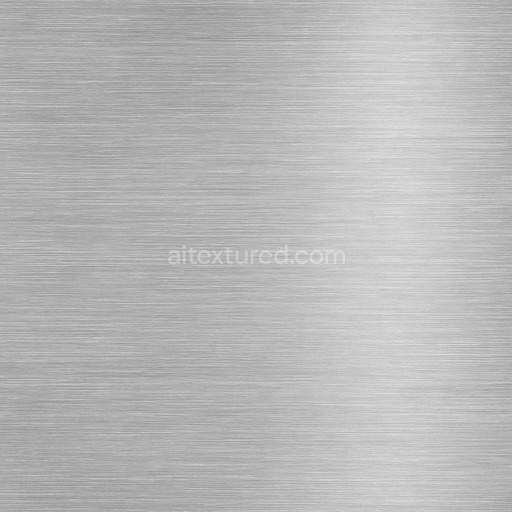
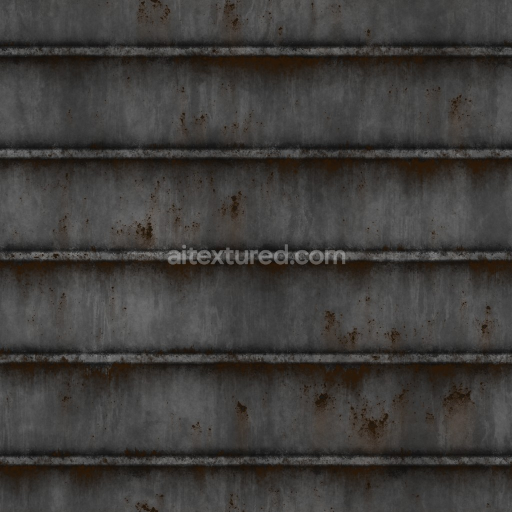
This Archviz Metal Substance Designer Trim Sheet is a meticulously crafted seamless PBR texture built to fulfill the rigorous demands of physically based rendering workflows in architectural visualization and game development. At its core the material is a refined metal substrate featuring a harmonious blend of polished and lightly brushed finishes. This combination highlights subtle variations in grain orientation and micro-scratches characteristic of industrial metal trim sheets imparting a genuine sense of tactile detail. The surface further incorporates thin oxide layers and natural wear patterns achieving a weathered yet clean appearance that maintains consistent color fidelity without sacrificing realism. The metal’s composition involves fine metal alloys with minimal porosity producing a dense durable look that translates effectively across diverse rendering engines and real-time platforms.
Within the PBR texture maps the BaseColor or Albedo channel captures the nuanced metallic hues and delicate color shifts created by surface oxide films and metal pigmentation. The Normal map conveys sharp surface details such as brushed strokes and minute indentations enhancing the perception of depth and texture. Complementing these the Roughness map skillfully balances reflective polished areas against more matte weathered sections to accurately simulate light diffusion on metal surfaces. The Metallic channel reinforces the conductive reflective quality inherent to metal while Ambient Occlusion adds realistic shadowing around edges and crevices boosting three-dimensionality. Additionally the Height/Displacement map delivers fine surface relief suitable for parallax effects enriching the tactile impression in both offline and real-time renderings.
Rendered at resolutions up to 8K this trimsheet ensures exceptional clarity and detail making it ideal for application on extensive surfaces in projects using Blender Unreal Engine or Unity. Its seamless design allows for effortless tiling without visible repetition preserving immersive realism in large-scale scenes. For optimal results it is advisable to carefully adjust the UV scale to prevent texture stretching and to fine-tune the Roughness map in accordance with specific lighting conditions or desired wear levels. This fine control facilitates efficient look development and material verification supported by the included base layer preview.
Overall this Archviz Metal Substance Designer Trim Sheet offers a high-quality reliable resource for professionals focused on physically accurate metal materials. Its carefully engineered composition and surface finishes integrate smoothly within common PBR pipelines with flexible color space and gamma settings adaptable to various project requirements. The texture balances creative freedom with technical precision enabling realistic surface rendering and consistent performance across visualization rendering and game engine environments.
Import the texture maps into Blender with sRGB color space for albedo/base color and Non-Color for normal, roughness, metallic, AO, height, and ORM maps. Connect normal maps through a Normal Map node, then adjust UV scale with a Mapping node so the material repeats naturally on your model.
For the full step-by-step setup, see How to Use Seamless Textures in Blender. Browse related material examples in wood, concrete, and metal.
Yes. This texture is designed as a seamless tileable PBR material, so it can repeat across large surfaces without visible borders.
You can download PNG/WEBP versions and use 1K, 2K, 4K and 8K download options when available on the page.
Yes. The download options and engine-mapped ZIP workflow are designed for Blender, Unreal Engine, Unity Standard, URP and HDRP material pipelines.
Yes. The texture is available under the AITextured free commercial license. Review the license page for redistribution and AI-training restrictions.


Build, preview, and export seamless PBR materials. Generate full map sets from a single image, inspect them in a real-time WebGL viewer, and re-package maps for Unreal, Unity, and Blender—directly in your browser.
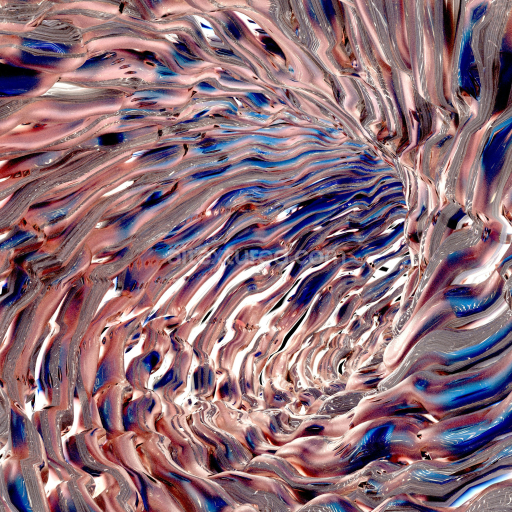
AI text-to-texture: type a prompt and get a seamless, tileable base image ready for PBR workflows (great starting point for materials).
Create a full PBR set (Normal, Roughness, AO, Metallic, etc.) from a single image. Seamless and tiling-friendly.
Instant WebGL viewer: inspect materials on a sphere, plane, and cube. Check tiling and lighting in real time.
Re-packages maps per engine: Unreal (BaseColor + ORM), Unity (Mask/MetallicSmoothness), Blender (separate channels).
PNG ↔ JPG ↔ SVG: fast convert, SVG rasterize, embed/trace options, quality & background controls.