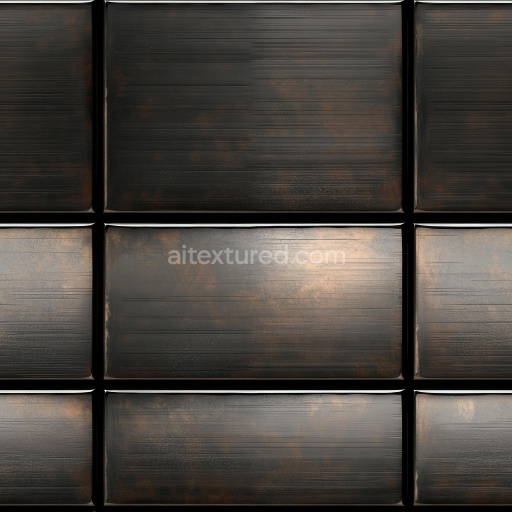
Bronze Metal Panel Pattern - Seamless PBR Texture
Seamless texture (tileable) · PNG, WEBP, PBR ZIP. License: AITextured Free Commercial License (FCL) v1.1. Free personal and commercial use. Raw resale, standalone redistribution, mirroring/scraping, competing asset packs, and AI/ML training are not allowed without written permission. Attribution is not required, but appreciated..

| ID | rusty-drain-manhole-cover-with-triangular-studs-free-pbr |
|---|---|
| Category | Metal |
| Formats | PNG, WEBP, PBR ZIP |
| Size | 1k (1024x1024px), 2k (2048x2048px), 4k (4096x4096px), 8k (8192x8192px) |
| Color | sRGB |
| Tileable | Yes |
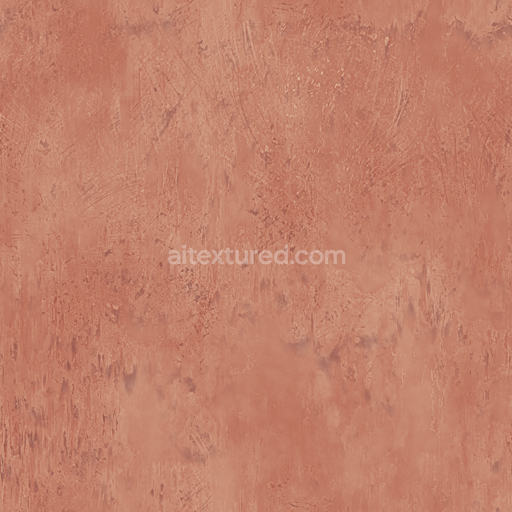
This Rusty Drain Manhole Cover with Triangular Studs (Metal 0075) is crafted to faithfully replicate the authentic material characteristics of a solid cast iron manhole cover, aged through prolonged exposure to environmental elements. The base metal substrate is dense and robust iron, which over time has developed extensive oxidation layers that create a rich, rusty patina. This corrosion manifests in a complex blend of iron oxide pigments, ranging from deep reddish-browns to lighter orange hues, reflecting the natural chemical transformation of iron surfaces subjected to moisture and air. The triangular studs, a distinctive industrial design element, maintain crisp edges softened by subtle wear and weathering, enhancing the tactile roughness and visual depth. The surface finish is distinctly oxidized and heavily corroded, featuring pitted textures and flaky rust deposits that convey the material’s age and exposure history.
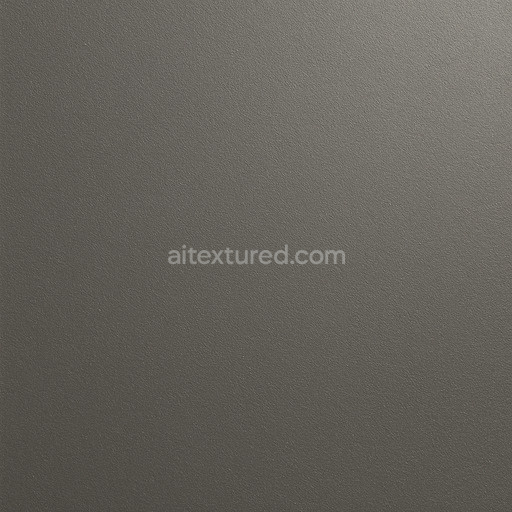
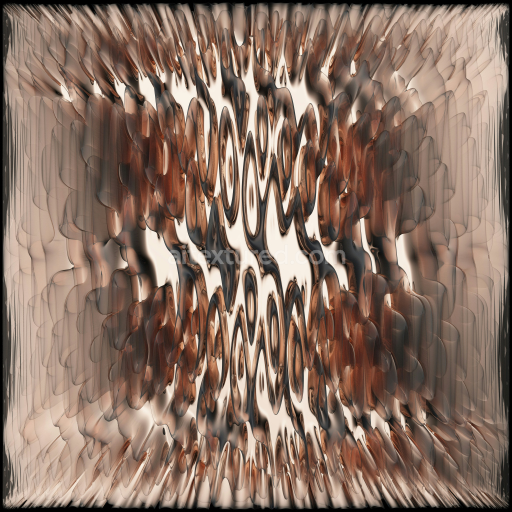
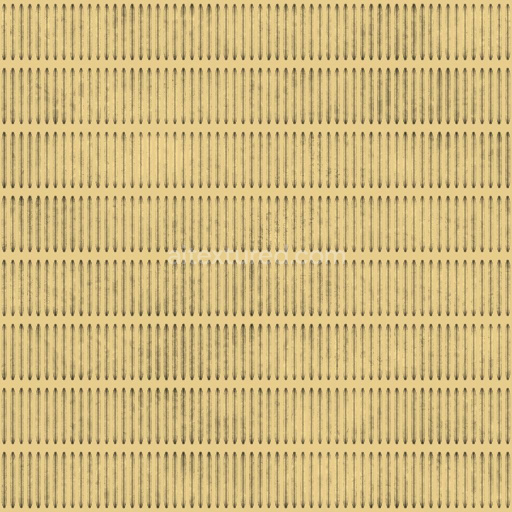
In terms of physically based rendering channels, the BaseColor (Albedo) map captures the nuanced interplay of rust tones layered over the solid iron base, accurately reflecting the heterogeneous color caused by oxidation. The Normal map delivers fine details of the raised triangular studs and the uneven, corroded surface topography, highlighting material imperfections and depth variation. The Roughness map reflects the diverse surface conditions, with higher roughness values on heavily corroded, flaky rust areas and lower values where the metal remains relatively smooth. The Metallic channel predominantly indicates a high metal content, consistent with the cast iron base, but is modulated to represent the non-metallic oxide layers formed by rust. Ambient Occlusion enhances the shading around the studs and recessed areas, adding realism and enhancing visual contrast, while the Height/Displacement map supports subtle elevation changes that improve parallax effects and the perceived tactile detail on flat surfaces.
This texture is presented in a seamless format at up to 8K resolution, ensuring exceptional detail and clarity for close-up renders. It is fully optimized for integration into advanced workflows using Blender, Unreal Engine, and Unity, accommodating high-fidelity projects such as game assets and architectural visualizations where industrial realism is paramount. The meticulous resolution preserves the integrity of the triangular stud pattern and the intricate rust layers, making it a versatile material for applications that require authentic aged metal appearances, including manhole covers, industrial floor elements, or weathered metallic walls in abandoned factory scenes.
For optimal results, it is recommended to adjust the UV scale in your 3D software to maintain realistic proportions of the triangular studs and rust patterns relative to real-world dimensions. Additionally, fine-tuning the Roughness map can help balance the reflectivity and weathering effects, ensuring the rusty metal reacts convincingly under various lighting conditions. Utilizing the Height map with parallax occlusion further enhances the sense of depth and texture, transforming flat geometry into a richly detailed surface, ideal for achieving a highly realistic industrial metal aesthetic.
Import the texture maps into Blender with sRGB color space for albedo/base color and Non-Color for normal, roughness, metallic, AO, height, and ORM maps. Connect normal maps through a Normal Map node, then adjust UV scale with a Mapping node so the material repeats naturally on your model.
For the full step-by-step setup, see How to Use Seamless Textures in Blender. Browse related material examples in wood, concrete, and metal.
Yes. This texture is designed as a seamless tileable PBR material, so it can repeat across large surfaces without visible borders.
You can download PNG/WEBP versions and use 1K, 2K, 4K and 8K download options when available on the page.
Yes. The download options and engine-mapped ZIP workflow are designed for Blender, Unreal Engine, Unity Standard, URP and HDRP material pipelines.
Yes. The texture is available under the AITextured free commercial license. Review the license page for redistribution and AI-training restrictions.


Build, preview, and export seamless PBR materials. Generate full map sets from a single image, inspect them in a real-time WebGL viewer, and re-package maps for Unreal, Unity, and Blender—directly in your browser.
AI text-to-texture: type a prompt and get a seamless, tileable base image ready for PBR workflows (great starting point for materials).
Create a full PBR set (Normal, Roughness, AO, Metallic, etc.) from a single image. Seamless and tiling-friendly.
Instant WebGL viewer: inspect materials on a sphere, plane, and cube. Check tiling and lighting in real time.
Re-packages maps per engine: Unreal (BaseColor + ORM), Unity (Mask/MetallicSmoothness), Blender (separate channels).
PNG ↔ JPG ↔ SVG: fast convert, SVG rasterize, embed/trace options, quality & background controls.