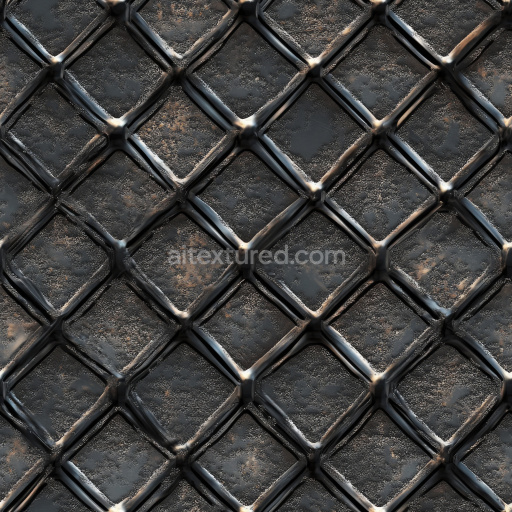
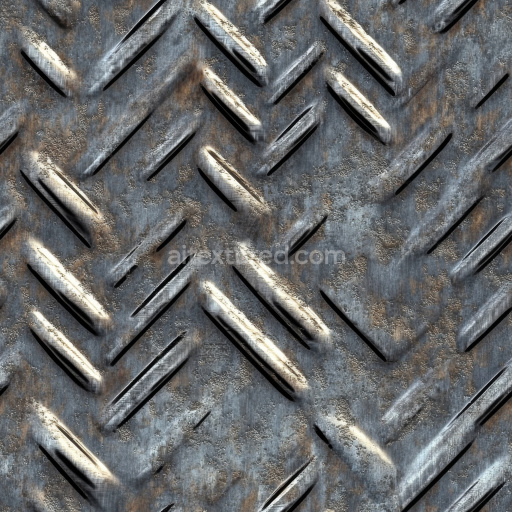
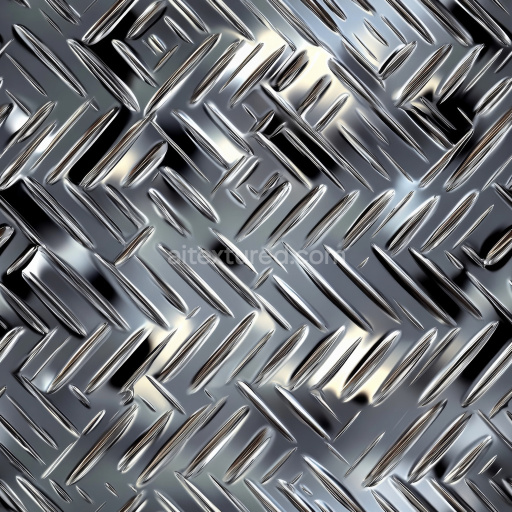
Rusted Steel Plate Texture with Raised Diamond Pattern
Seamless texture (tileable) · PNG, WEBP, PBR ZIP. License: AITextured Free Commercial License (FCL) v1.1. Free personal and commercial use. Raw resale, standalone redistribution, mirroring/scraping, competing asset packs, and AI/ML training are not allowed without written permission. Attribution is not required, but appreciated..

| ID | archviz-corrugated-metal-metallic-perforated-sheet-substance |
|---|---|
| Category | Metal |
| Formats | PNG, WEBP, PBR ZIP |
| Size | 1k (1024x1024px), 2k (2048x2048px), 4k (4096x4096px), 8k (8192x8192px) |
| Color | sRGB |
| Tileable | Yes |
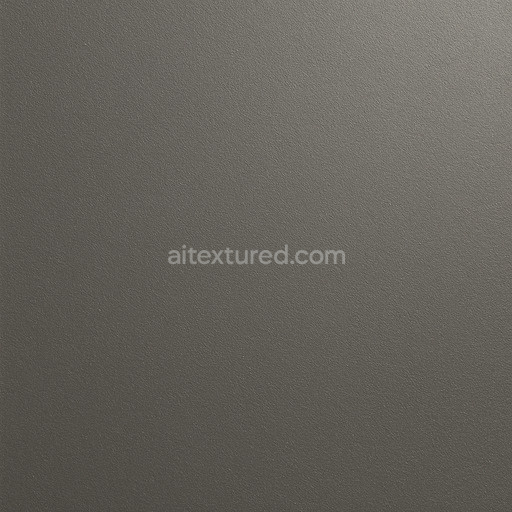
This Archviz Corrugated Metal Metallic Perforated Sheet Substance texture is expertly crafted to replicate a premium metal sheet commonly used in architectural visualization projects. The base substrate is a robust metallic alloy known for its durability and strength featuring a distinctive corrugated structure that enhances both structural rigidity and visual complexity. The surface is characterized by a finely perforated pattern created using precise industrial manufacturing techniques which provides not only functional ventilation but also a unique aesthetic dimension. The metal surface exhibits a brushed finish combined with subtle oxidation effects imparting a slightly weathered appearance that enriches realism while preserving the inherent reflective qualities of the metallic material. Variations in natural pigments arise from oxide layers and surface treatments resulting in nuanced color shifts that add depth and authenticity to the overall look of the sheet.
This seamless PBR substance texture set includes a comprehensive collection of maps optimized for physically based rendering workflows. The BaseColor map accurately conveys the true-to-life metallic hues subtly influenced by pigment deposits and oxidation effects. The Normal map encodes the intricate corrugated ridges and perforated details providing precise surface depth and tactile feel. Roughness is calibrated to simulate the brushed metal texture balancing specular highlights with diffuse reflection for a realistic metallic sheen. The Metallic map confirms the fully metallic nature of the sheet emphasizing its conductive surface attributes while Ambient Occlusion enhances shadowing around the perforations increasing depth perception in both real-time and offline rendering engines. The Height/Displacement map captures the undulating corrugated profile and recessed perforations enabling enhanced parallax effects or tessellation in popular platforms such as Blender Unreal Engine and Unity.
Rendered at resolutions up to 8K this texture ensures seamless tiling across expansive architectural surfaces without visible repetition or color inconsistencies making it ideal for both close-up and distant views. Its design substance is optimized for smooth integration within archviz pipelines and game engine workflows featuring a clear base layer preview that supports accurate color fidelity and gamma correction. For optimal results it is recommended to carefully adjust the UV scale to maintain the integrity of the perforation pattern relative to your model’s dimensions. Additionally fine-tuning the roughness values can help achieve the desired balance of specular reflections under varying lighting conditions ensuring a convincing metallic appearance across diverse rendering scenarios.
Import the texture maps into Blender with sRGB color space for albedo/base color and Non-Color for normal, roughness, metallic, AO, height, and ORM maps. Connect normal maps through a Normal Map node, then adjust UV scale with a Mapping node so the material repeats naturally on your model.
For the full step-by-step setup, see How to Use Seamless Textures in Blender. Browse related material examples in wood, concrete, and metal.
Yes. This texture is designed as a seamless tileable PBR material, so it can repeat across large surfaces without visible borders.
You can download PNG/WEBP versions and use 1K, 2K, 4K and 8K download options when available on the page.
Yes. The download options and engine-mapped ZIP workflow are designed for Blender, Unreal Engine, Unity Standard, URP and HDRP material pipelines.
Yes. The texture is available under the AITextured free commercial license. Review the license page for redistribution and AI-training restrictions.


Build, preview, and export seamless PBR materials. Generate full map sets from a single image, inspect them in a real-time WebGL viewer, and re-package maps for Unreal, Unity, and Blender—directly in your browser.
AI text-to-texture: type a prompt and get a seamless, tileable base image ready for PBR workflows (great starting point for materials).
Create a full PBR set (Normal, Roughness, AO, Metallic, etc.) from a single image. Seamless and tiling-friendly.
Instant WebGL viewer: inspect materials on a sphere, plane, and cube. Check tiling and lighting in real time.
Re-packages maps per engine: Unreal (BaseColor + ORM), Unity (Mask/MetallicSmoothness), Blender (separate channels).
PNG ↔ JPG ↔ SVG: fast convert, SVG rasterize, embed/trace options, quality & background controls.