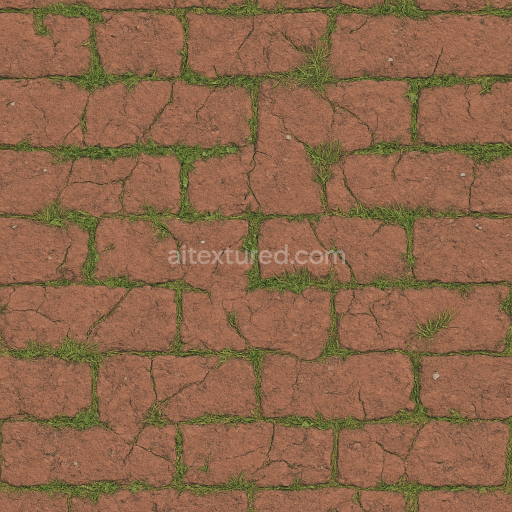
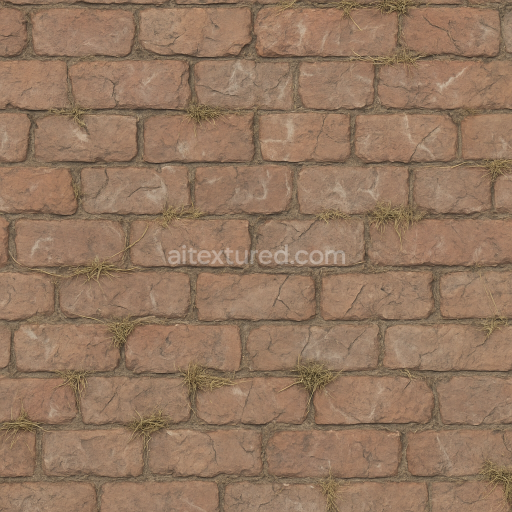
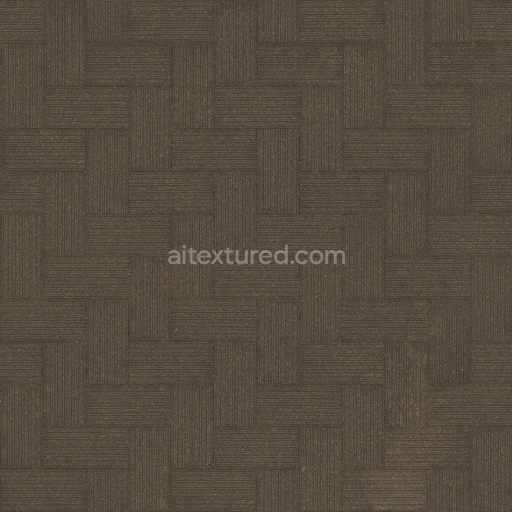
Brick Red With Rough Wear And Patchy Grass Cracks Natural Look
Seamless texture (tileable) · PNG, WEBP, PBR ZIP. License: AITextured Free Commercial License (FCL) v1.1. Free personal and commercial use. Raw resale, standalone redistribution, mirroring/scraping, competing asset packs, and AI/ML training are not allowed without written permission. Attribution is not required, but appreciated..

| ID | seamless-3d-texture-pbr-8k-flagstone-flat-with-light-grout-and-smooth-wear-natural-stone |
|---|---|
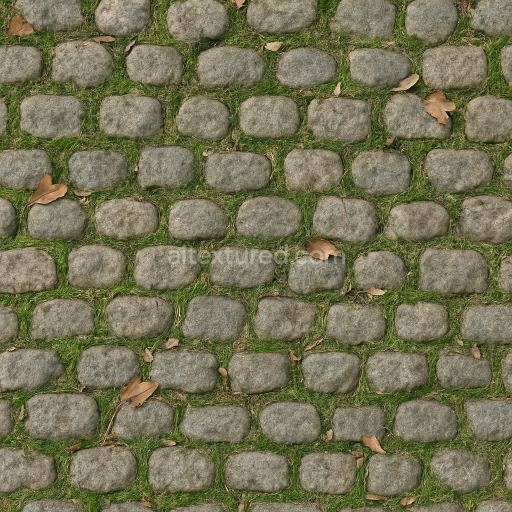
| Category | Park pavement |
| Formats | PNG, WEBP, PBR ZIP |
| Size | 1k (1024x1024px), 2k (2048x2048px), 4k (4096x4096px), 8k (8192x8192px) |
| Color | sRGB |
| Tileable | Yes |
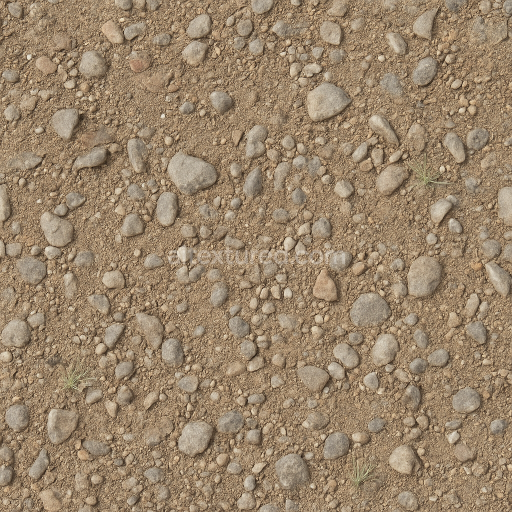
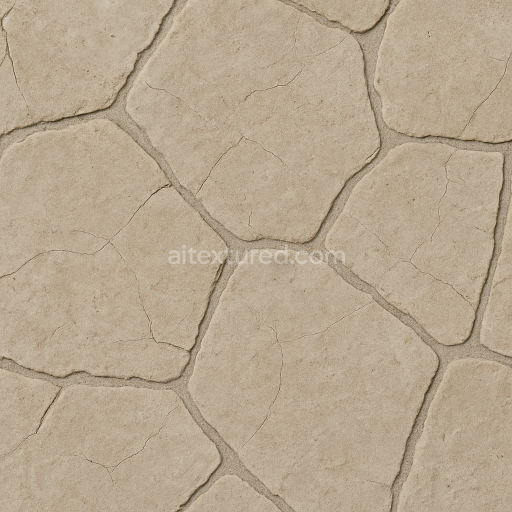
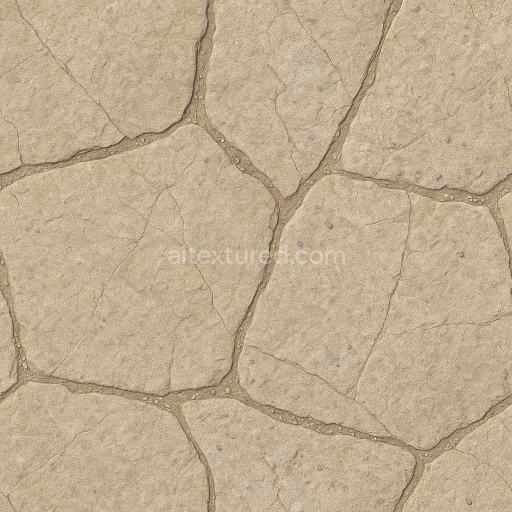
This seamless 3D texture presents a meticulously crafted flat flagstone pavement rendered at an ultra-high 8K resolution designed for physically based rendering (PBR) workflows. The composition simulates natural stone slabs with a subtle light grout filling the narrow joints between each stone enhancing the realistic appearance of the surface. The base material mimics mineral-rich natural stone with a slightly porous texture showing smooth wear patterns and weathered edges that reflect long-term pedestrian traffic. Minor cracks and natural variation across the stone surfaces add authenticity while small scattered stones and fine debris contribute additional detail to the scene. The overall surface finish is matte with gentle abrasion marks simulating naturally aged stone that has been gently worn down over time but remains structurally intact. This texture is ideal for creating photorealistic pavements in architectural visualizations game environments or any digital project requiring natural stone realism and seamless tiling.
From a materials perspective the flagstone’s base substrate is mineralogical closely resembling sedimentary or metamorphic rock with a composite of fine grains and natural aggregates. The light grout acts as a mineral-based binder filling joints with a slightly contrasting color and smooth texture which helps define each stone’s shape while maintaining a cohesive look. Weathering effects subtly alter the surface porosity and roughness reflected in the PBR channels: the BaseColor (Albedo) map showcases natural stone hues with varied earthy tones and lighter grout lines; Normal maps capture the subtle depth of the cracks chipped edges and surface grain orientation; Roughness maps convey the smooth yet worn finish balancing matte and slightly reflective areas; Metallic values remain minimal due to the non-metallic nature of stone; Ambient Occlusion enhances shadowing in crevices and grout joints; and Height (Displacement) maps provide depth cues for realistic surface relief and parallax effects. This PBR 8K texture is fully optimized and ready for seamless integration into Blender Unreal Engine and Unity projects.
For practical use adjusting the UV scale to align with real-world paving dimensions ensures the texture maintains authentic proportions in your 3D scenes. Additionally fine-tuning the roughness channel can help adapt the surface for different lighting conditions from dry sunny pavements to slightly damp environments enhancing realism. The high-resolution 8K detail preserves subtle nuances at close inspection making it perfect for camera close-ups or extensive ground surfaces in photorealistic environments requiring natural flagstone pavements with impeccable seamless tiling and smooth wear characteristics.
Import the texture maps into Blender with sRGB color space for albedo/base color and Non-Color for normal, roughness, metallic, AO, height, and ORM maps. Connect normal maps through a Normal Map node, then adjust UV scale with a Mapping node so the material repeats naturally on your model.
For the full step-by-step setup, see How to Use Seamless Textures in Blender. Browse related material examples in wood, concrete, and metal.
Yes. This texture is designed as a seamless tileable PBR material, so it can repeat across large surfaces without visible borders.
You can download PNG/WEBP versions and use 1K, 2K, 4K and 8K download options when available on the page.
Yes. The download options and engine-mapped ZIP workflow are designed for Blender, Unreal Engine, Unity Standard, URP and HDRP material pipelines.
Yes. The texture is available under the AITextured free commercial license. Review the license page for redistribution and AI-training restrictions.

Build, preview, and export seamless PBR materials. Generate full map sets from a single image, inspect them in a real-time WebGL viewer, and re-package maps for Unreal, Unity, and Blender—directly in your browser.
AI text-to-texture: type a prompt and get a seamless, tileable base image ready for PBR workflows (great starting point for materials).
Create a full PBR set (Normal, Roughness, AO, Metallic, etc.) from a single image. Seamless and tiling-friendly.
Instant WebGL viewer: inspect materials on a sphere, plane, and cube. Check tiling and lighting in real time.
Re-packages maps per engine: Unreal (BaseColor + ORM), Unity (Mask/MetallicSmoothness), Blender (separate channels).
PNG ↔ JPG ↔ SVG: fast convert, SVG rasterize, embed/trace options, quality & background controls.