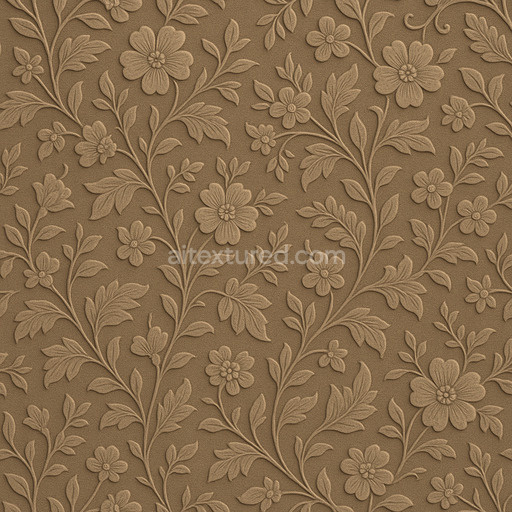
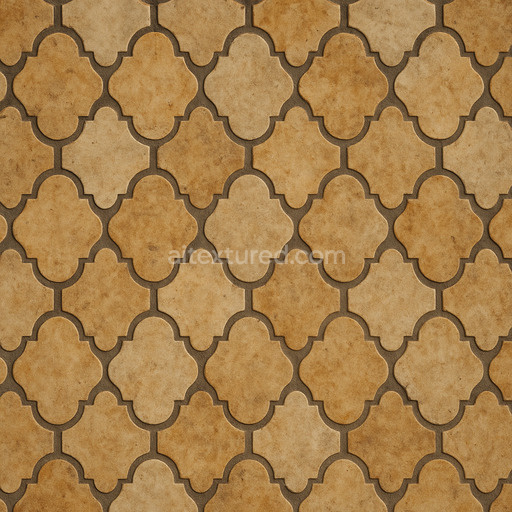
Polished Floral Pattern Seamless Texture
Seamless texture (tileable) · PNG, WEBP, PBR ZIP. License: AITextured Free Commercial License (FCL) v1.1. Free personal and commercial use. Raw resale, standalone redistribution, mirroring/scraping, competing asset packs, and AI/ML training are not allowed without written permission. Attribution is not required, but appreciated..

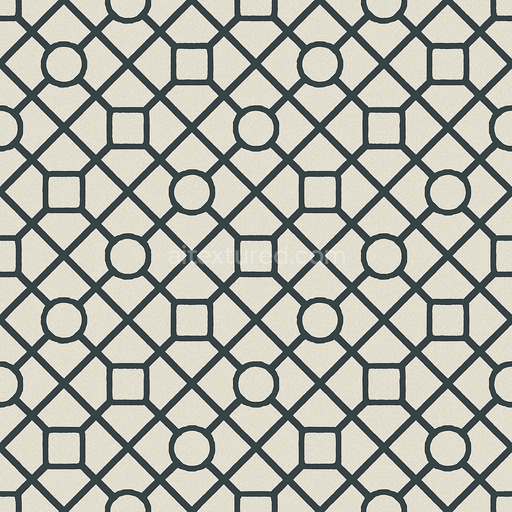
| ID | triangular-tessellation-low-poly |
|---|---|
| Category | Patterns |
| Formats | PNG, WEBP, PBR ZIP |
| Size | 1k (1024x1024px), 2k (2048x2048px), 4k (4096x4096px), 8k (8192x8192px) |
| Color | sRGB |
| Tileable | Yes |
The Triangular Tessellation Low Poly texture is a meticulously crafted generated surface designed to enhance your 3D projects with geometric precision and a modern aesthetic. At its core this seamless triangular tessellation low poly texture is built upon a sophisticated base substrate that evokes a harmonious blend of polymer and mineral composites. This composition creates a visually engaging pattern that balances sharp angular facets with subtle organic variations reminiscent of finely structured ceramic or lightly weathered mineral surfaces. The base material incorporates mineral oxide pigments as colorants imparting a muted yet dynamic tonal range clearly visible within the BaseColor/Albedo channel. This interplay of pigments results in a natural earthy appearance that complements a wide variety of environmental and architectural art styles.
The texture’s physical realism is further enhanced through its comprehensive PBR channel mapping. The Normal map captures the distinct triangular grain orientation and subtle surface undulations simulating fine ridges and shallow indentations that provide tactile depth without disrupting the pattern’s visual coherence across large areas. Roughness and Metallic maps work together to deliver a semi-matte finish featuring minimal specular reflectivity akin to brushed ceramic or oxidized metal surfaces offering a natural subdued sheen that responds realistically to lighting. Ambient Occlusion and Height/Displacement maps add nuanced shadowing and depth emphasizing the tessellated geometry and surface porosity to enhance realism and dimensionality. This tileable triangular tessellation low poly texture supports resolutions up to 8K ensuring exceptional clarity and detail suitable for high-fidelity environment art architectural visualization and real-time 3D preview workflows.
Designed for seamless integration with major 3D engines such as Blender Unreal Engine and Unity this texture supports physically based rendering workflows providing consistent and predictable results under various lighting conditions. Its tileable nature allows you to cover extensive surfaces effortlessly without visible seams maintaining uniform detail and visual coherence throughout your scene. For practical application adjusting the UV scale enables fine-tuning of the pattern’s density allowing you to either emphasize or soften the tessellation effect to suit your project’s artistic direction. Additionally modifying the roughness map can help control the material’s reflectivity adapting the finish from a more matte diffused appearance to a subtly polished sheen depending on the desired environmental lighting and style. This versatility makes the triangular tessellation low poly texture a reliable and efficient foundation for prototyping environment art and architectural facades.
Import the texture maps into Blender with sRGB color space for albedo/base color and Non-Color for normal, roughness, metallic, AO, height, and ORM maps. Connect normal maps through a Normal Map node, then adjust UV scale with a Mapping node so the material repeats naturally on your model.
For the full step-by-step setup, see How to Use Seamless Textures in Blender. Browse related material examples in wood, concrete, and metal.
Yes. This texture is designed as a seamless tileable PBR material, so it can repeat across large surfaces without visible borders.
You can download PNG/WEBP versions and use 1K, 2K, 4K and 8K download options when available on the page.
Yes. The download options and engine-mapped ZIP workflow are designed for Blender, Unreal Engine, Unity Standard, URP and HDRP material pipelines.
Yes. The texture is available under the AITextured free commercial license. Review the license page for redistribution and AI-training restrictions.


Generate, preview, and export seamless PBR materials for Blender, Unity, and Unreal Engine—directly in your browser.
AI text-to-texture: type a prompt and get a seamless, tileable base image ready for PBR workflows (great starting point for materials).
Create a full PBR set (Normal, Roughness, AO, Metallic, etc.) from a single image. Seamless and tiling-friendly.
Instant WebGL viewer: inspect materials on a sphere, plane, and cube. Check tiling and lighting in real time.
Re-packages maps per engine: Unreal (BaseColor + ORM), Unity (Mask/MetallicSmoothness), Blender (separate channels).
PNG ↔ JPG ↔ SVG: fast convert, SVG rasterize, embed/trace options, quality & background controls.