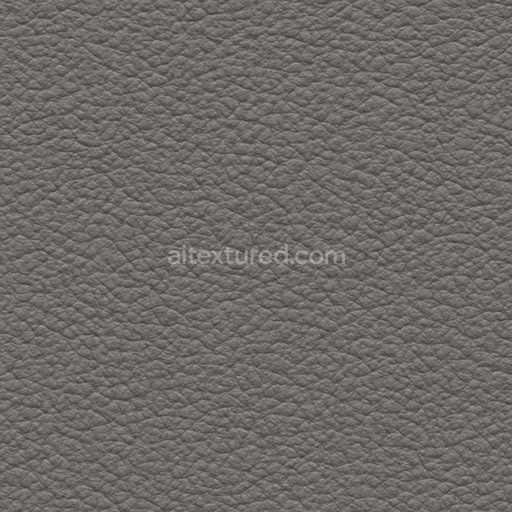
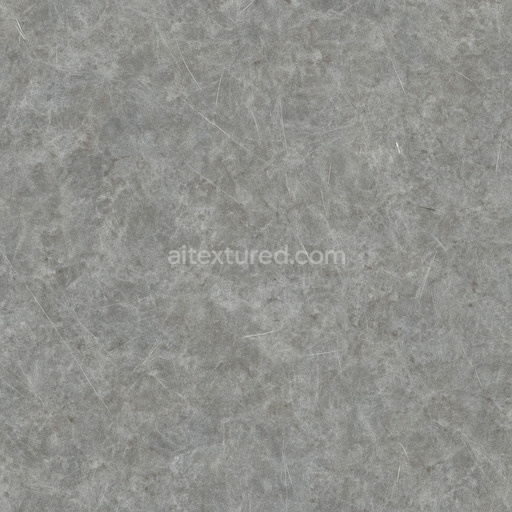
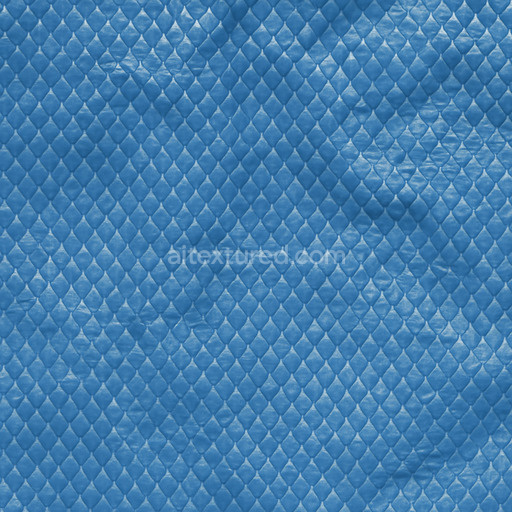
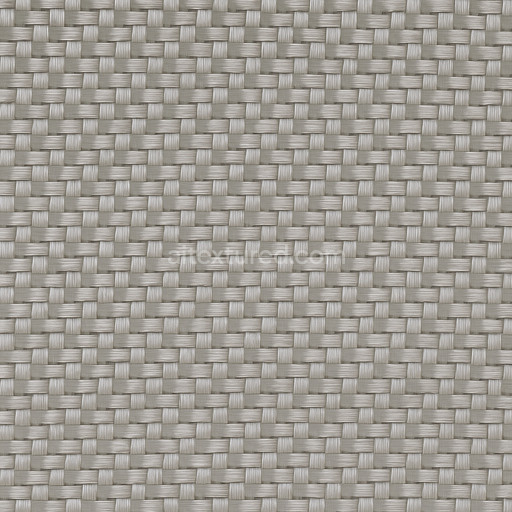
Rough Pvc Seamless Texture
Seamless texture (tileable) · PNG, WEBP, PBR ZIP. License: AITextured Free Commercial License (FCL) v1.1. Free personal and commercial use. Raw resale, standalone redistribution, mirroring/scraping, competing asset packs, and AI/ML training are not allowed without written permission. Attribution is not required, but appreciated..

| ID | acoustic-panels-studio-foam-wedges-tiles-free-pbr |
|---|---|
| Category | Plastic |
| Formats | PNG, WEBP, PBR ZIP |
| Size | 1k (1024x1024px), 2k (2048x2048px), 4k (4096x4096px), 8k (8192x8192px) |
| Color | sRGB |
| Tileable | Yes |
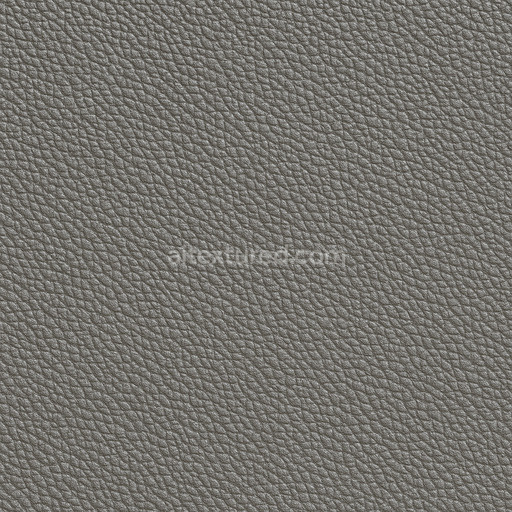
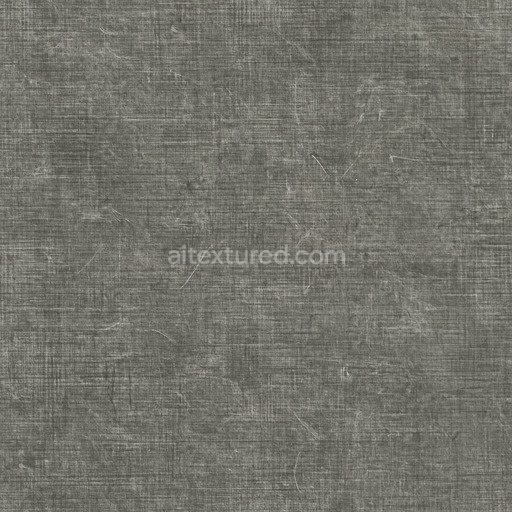
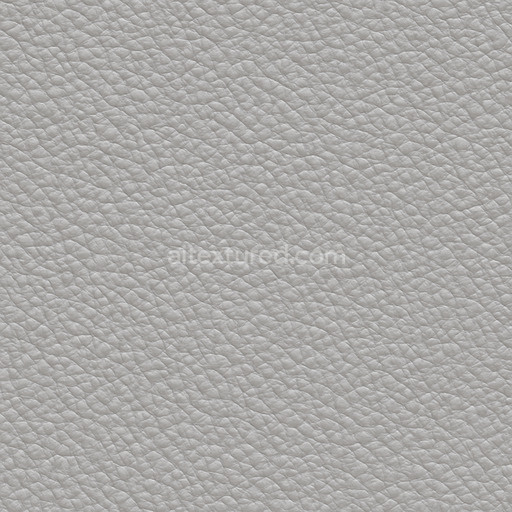
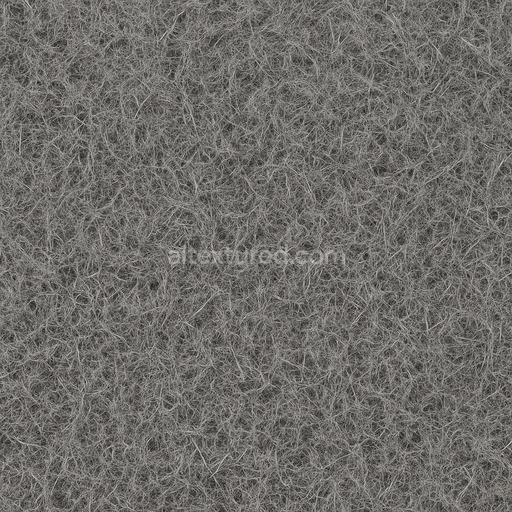
This high-quality, seamless PBR texture accurately represents acoustic panels made from studio foam wedges, expertly designed to simulate the intricate material properties of sound-absorbing tiles. The base substrate consists of a lightweight polymer foam with an open-cell structure that significantly enhances sound diffusion and absorption. This foam matrix is typically bound by flexible adhesives that maintain the precise wedge shapes while ensuring long-lasting durability. Within the foam, fine fibers contribute to its porosity and irregular grain orientation, which play a crucial role in breaking up sound waves and minimizing echo. The surface finish is naturally matte and slightly rough, reflecting the authentic tactile feel of acoustic foam, with subtle coloration achieved through organic dyes or engineered pigments that provide a soft, muted tone without any gloss or metallic shine.
In the PBR workflow, these material characteristics are carefully captured across multiple texture channels to maximize realism and practical usability in 3D environments. The BaseColor (Albedo) channel accurately depicts the foam’s primary color and the subtle variations caused by its porous surface texture. The Normal map emphasizes the distinctive wedge geometry and fine surface undulations, enhancing depth perception and spatial complexity. Roughness values remain consistently high, reflecting the foam’s diffuse, non-reflective nature, while the Metallic channel stays black, as the polymer foam contains no metallic elements. Ambient Occlusion maps add shadow detail within the recessed areas between the wedges, improving spatial definition and realism. Finally, the Height or Displacement map encodes the three-dimensional relief of the foam wedges, enabling realistic parallax effects and geometry displacement in advanced render engines.
This texture is provided at an impressive 8K resolution, ensuring outstanding detail and clarity suitable for close-up renders in Blender, Unreal Engine, and Unity. Its seamless design allows for effortless tiling across large surfaces without visible repetition, making it ideal for virtual studio environments, architectural visualizations, or product presentations. For optimal results, it is recommended to carefully adjust the UV scale to maintain the natural size and proportions of the foam wedges relative to your model. Additionally, fine-tuning the roughness channel can help simulate variations in foam density or subtle aging effects by subtly increasing or decreasing surface reflectivity, while modifying the height map can enhance parallax depth, adding an extra layer of immersive realism to your scenes.
Import the texture maps into Blender with sRGB color space for albedo/base color and Non-Color for normal, roughness, metallic, AO, height, and ORM maps. Connect normal maps through a Normal Map node, then adjust UV scale with a Mapping node so the material repeats naturally on your model.
For the full step-by-step setup, see How to Use Seamless Textures in Blender. Browse related material examples in wood, concrete, and metal.
Yes. This texture is designed as a seamless tileable PBR material, so it can repeat across large surfaces without visible borders.
You can download PNG/WEBP versions and use 1K, 2K, 4K and 8K download options when available on the page.
Yes. The download options and engine-mapped ZIP workflow are designed for Blender, Unreal Engine, Unity Standard, URP and HDRP material pipelines.
Yes. The texture is available under the AITextured free commercial license. Review the license page for redistribution and AI-training restrictions.


Build, preview, and export seamless PBR materials. Generate full map sets from a single image, inspect them in a real-time WebGL viewer, and re-package maps for Unreal, Unity, and Blender—directly in your browser.
AI text-to-texture: type a prompt and get a seamless, tileable base image ready for PBR workflows (great starting point for materials).
Create a full PBR set (Normal, Roughness, AO, Metallic, etc.) from a single image. Seamless and tiling-friendly.
Instant WebGL viewer: inspect materials on a sphere, plane, and cube. Check tiling and lighting in real time.
Re-packages maps per engine: Unreal (BaseColor + ORM), Unity (Mask/MetallicSmoothness), Blender (separate channels).
PNG ↔ JPG ↔ SVG: fast convert, SVG rasterize, embed/trace options, quality & background controls.